This design symbolizes the harmony of spring, with the egg representing new life and the flower representing the possibility of growth and bloom. The colorful details bring the essence of Easter to life, filling your space with the joy and renewal that the season brings.
Can I really make a mosaic?
Of course you can! This DIY kit includes everything you need to make a beautiful mosaic design. No experience is required. Our kits are designed for beginners, so you don't need to be an artist to create something beautiful. Each step is broken down into easy-to-follow instructions, and we also provide a helpful video tutorial to guide you from start to finish.
Skill Level:
Beginner - No experience necessary! Recommended for ages 8+ (younger artisans can join with supervision).
Size:
Square: 5.5 inches on a side
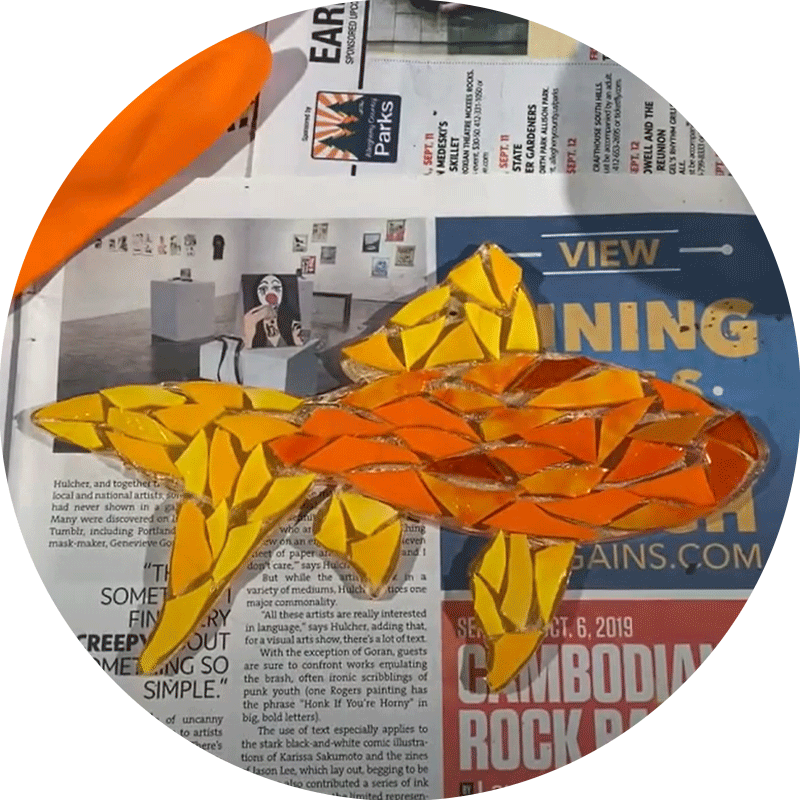
![Flower Easter Egg Glass Mosaic Kit [New Pre-Order Special: Ships February 28th]](https://img-va.myshopline.com/image/store/1735811140484/--53.jpeg?w=800&h=800)
![Flower Easter Egg Glass Mosaic Kit [New Pre-Order Special: Ships February 28th]](https://img-va.myshopline.com/image/store/1735811140484/-2-41.jpeg?w=800&h=800)
![Flower Easter Egg Glass Mosaic Kit [New Pre-Order Special: Ships February 28th]](https://img-va.myshopline.com/image/store/1735811140484/-3-45.jpeg?w=800&h=800)
![Flower Easter Egg Glass Mosaic Kit [New Pre-Order Special: Ships February 28th]](https://img-va.myshopline.com/image/store/1735811140484/-4-45.jpeg?w=800&h=800)
![Flower Easter Egg Glass Mosaic Kit [New Pre-Order Special: Ships February 28th]](https://img-va.myshopline.com/image/store/1735811140484/--53.jpeg?h=800&q=100&w=800)
![Flower Easter Egg Glass Mosaic Kit [New Pre-Order Special: Ships February 28th]](https://img-va.myshopline.com/image/store/1735811140484/-2-41.jpeg?h=800&q=100&w=800)
![Flower Easter Egg Glass Mosaic Kit [New Pre-Order Special: Ships February 28th]](https://img-va.myshopline.com/image/store/1735811140484/-3-45.jpeg?h=800&q=100&w=800)
![Flower Easter Egg Glass Mosaic Kit [New Pre-Order Special: Ships February 28th]](https://img-va.myshopline.com/image/store/1735811140484/-4-45.jpeg?h=800&q=100&w=800)

.png?w=300&h=300)