Free shipping on orders over $100

Cart

Your cart is currently empty.

Continue shopping

1 / 5

Mallard Duck Glass Mosaic Kit | DIY Arts & Crafts Kit for Adults

$49.00 USD $69.00 USD Save $20.00 USD
Quantity

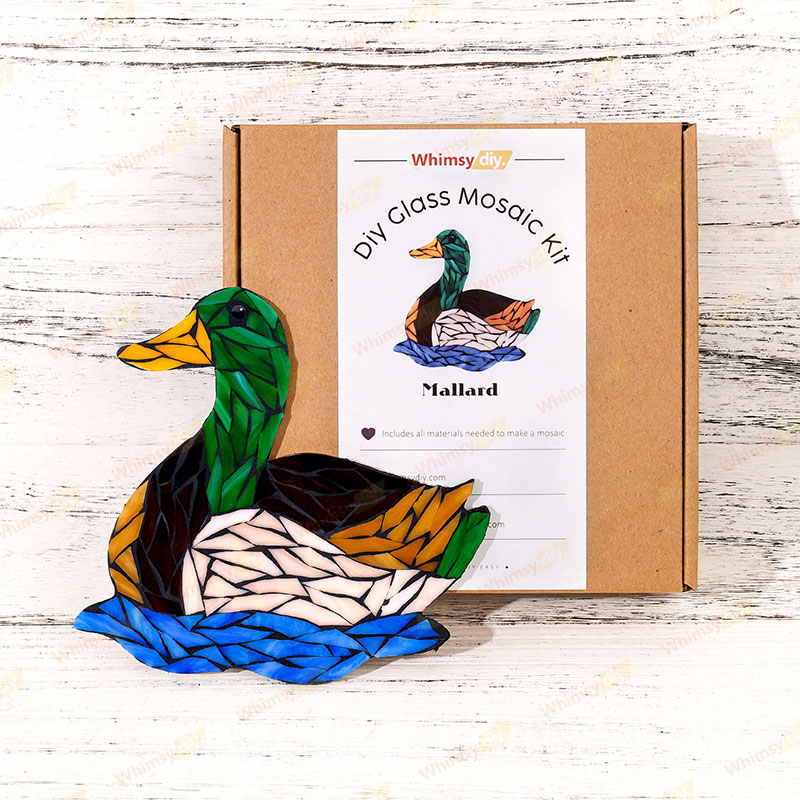
Bring the serene beauty of nature into your home with our Mallard Duck Glass Mosaic Kit. Ideal for both beginners and experienced mosaic crafters, this kit contains everything you need to create a captivating work of art, allowing you to create vibrant, nature-inspired masterpieces.

Why choose us?
✅ NO EXPERIENCE NECESSARY: Step-by-step instructions and video tutorials guide you every minute from mixing grout to final assembly.
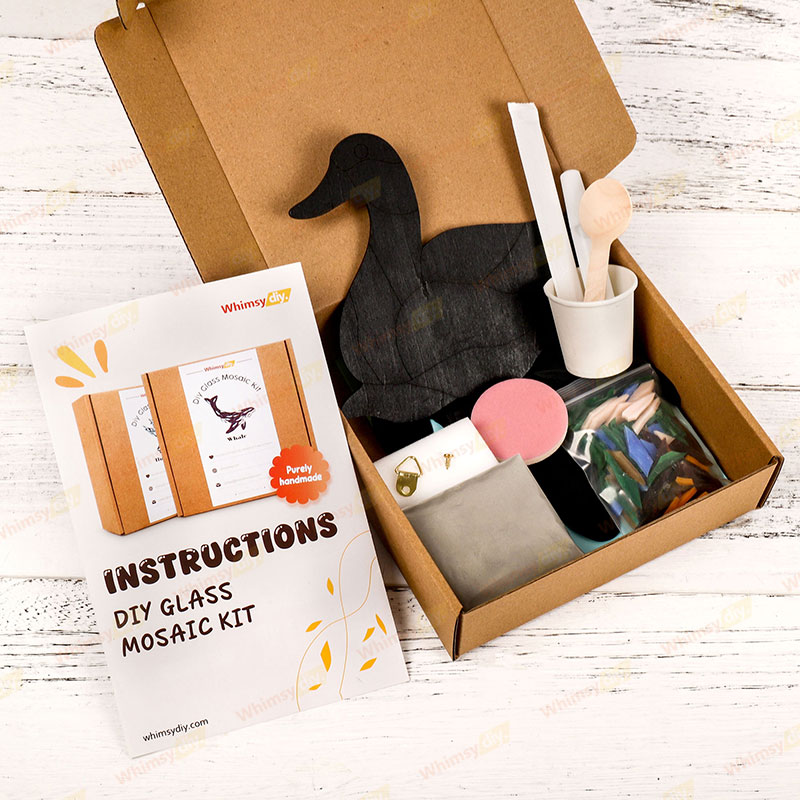
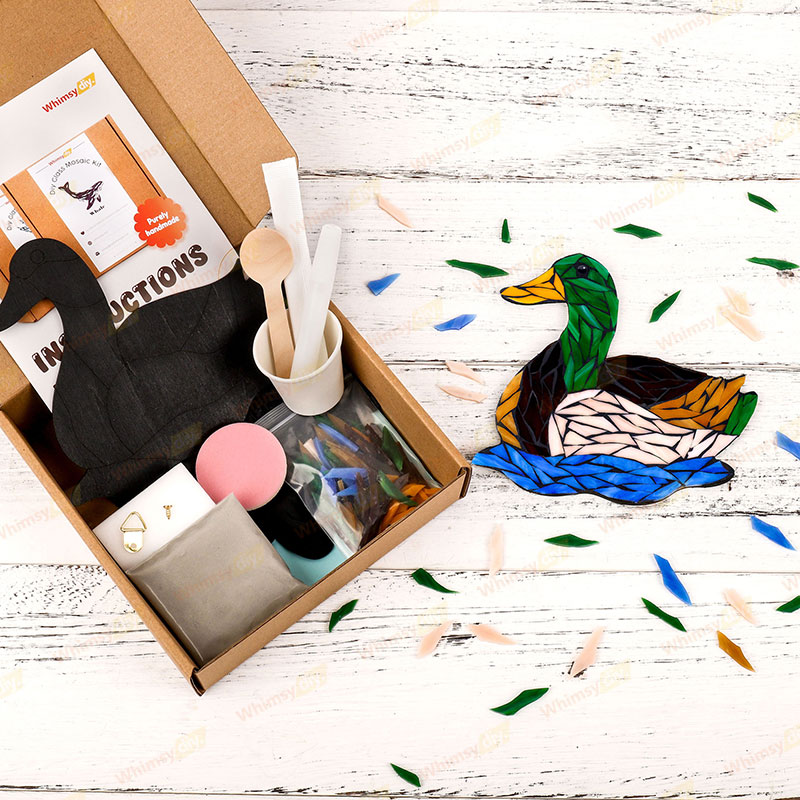
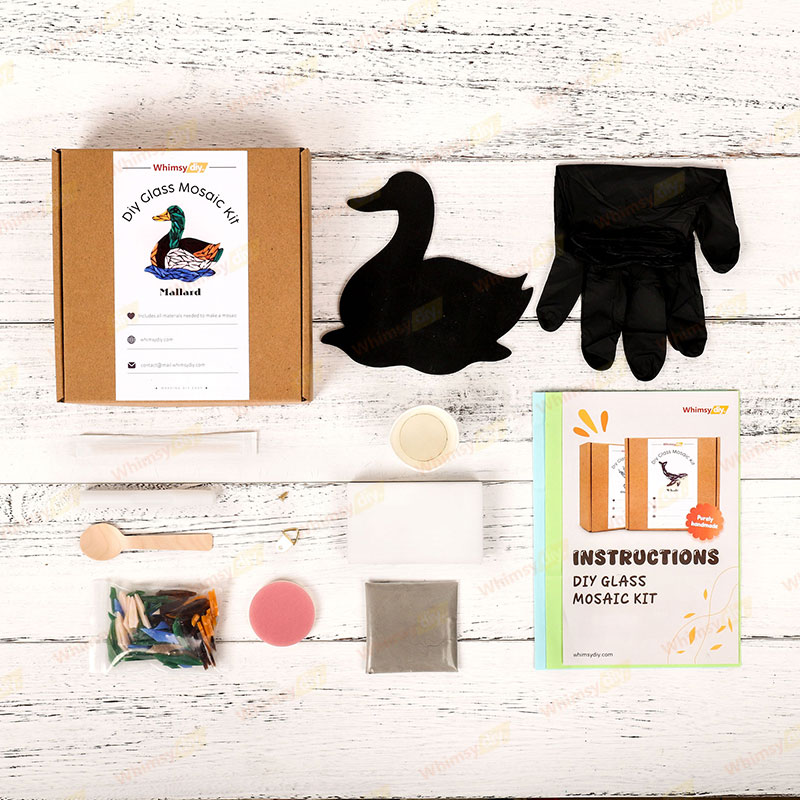
✅ Everything included: illustrated step-by-step instructions, video tutorials, wooden base, crushed glass in the specified pattern, grout, 1 bottle of glue, 2 work pads, latex-free gloves, mini scoop, wooden stick for mixing the grout, foam sponge, abrasive sponge, and back hooks!
✅ TIMELESS DESIGN: Mallards are known for their distinctive, eye-catching colors and elegant posture. Their vibrant greens, rich maroons and subtle blacks symbolize vitality, balance and natural elegance.
✅ GUARANTEED SUCCESS: Ensures professional results even for beginners.

When finished place your vibrant artwork in a sunny window, on a shelf, or as a holiday centerpiece.

Size
About 6.5 in (16.5 cm) .

Everything necessary is provided

Mallard Duck Glass Mosaic Kit | DIY Arts & Crafts Kit for Adults Mallard Duck Glass Mosaic Kit | DIY Arts & Crafts Kit for Adults Mallard Duck Glass Mosaic Kit | DIY Arts & Crafts Kit for Adults Mallard Duck Glass Mosaic Kit | DIY Arts & Crafts Kit for Adults Mallard Duck Glass Mosaic Kit | DIY Arts & Crafts Kit for Adults

How do you do glass mosaic art?

1. Apply adhesive
Apply some glue to the wooden backing and attach the glass pieces according to the patterned grain on the backing.
2. Grouting the mosaic
Once the grout is dry, use an abrasive sponge to gently wipe away any grout residue from the surface of the tile. Rub the tiles again with a foam sponge to make them shine.
3. Cleaning and polishing
Once the grout is dry, use an abrasive sponge to gently wipe away any grout residue from the surface of the tile. Rub the tiles again with a foam sponge to make them shine.
1 / 3

You may also like