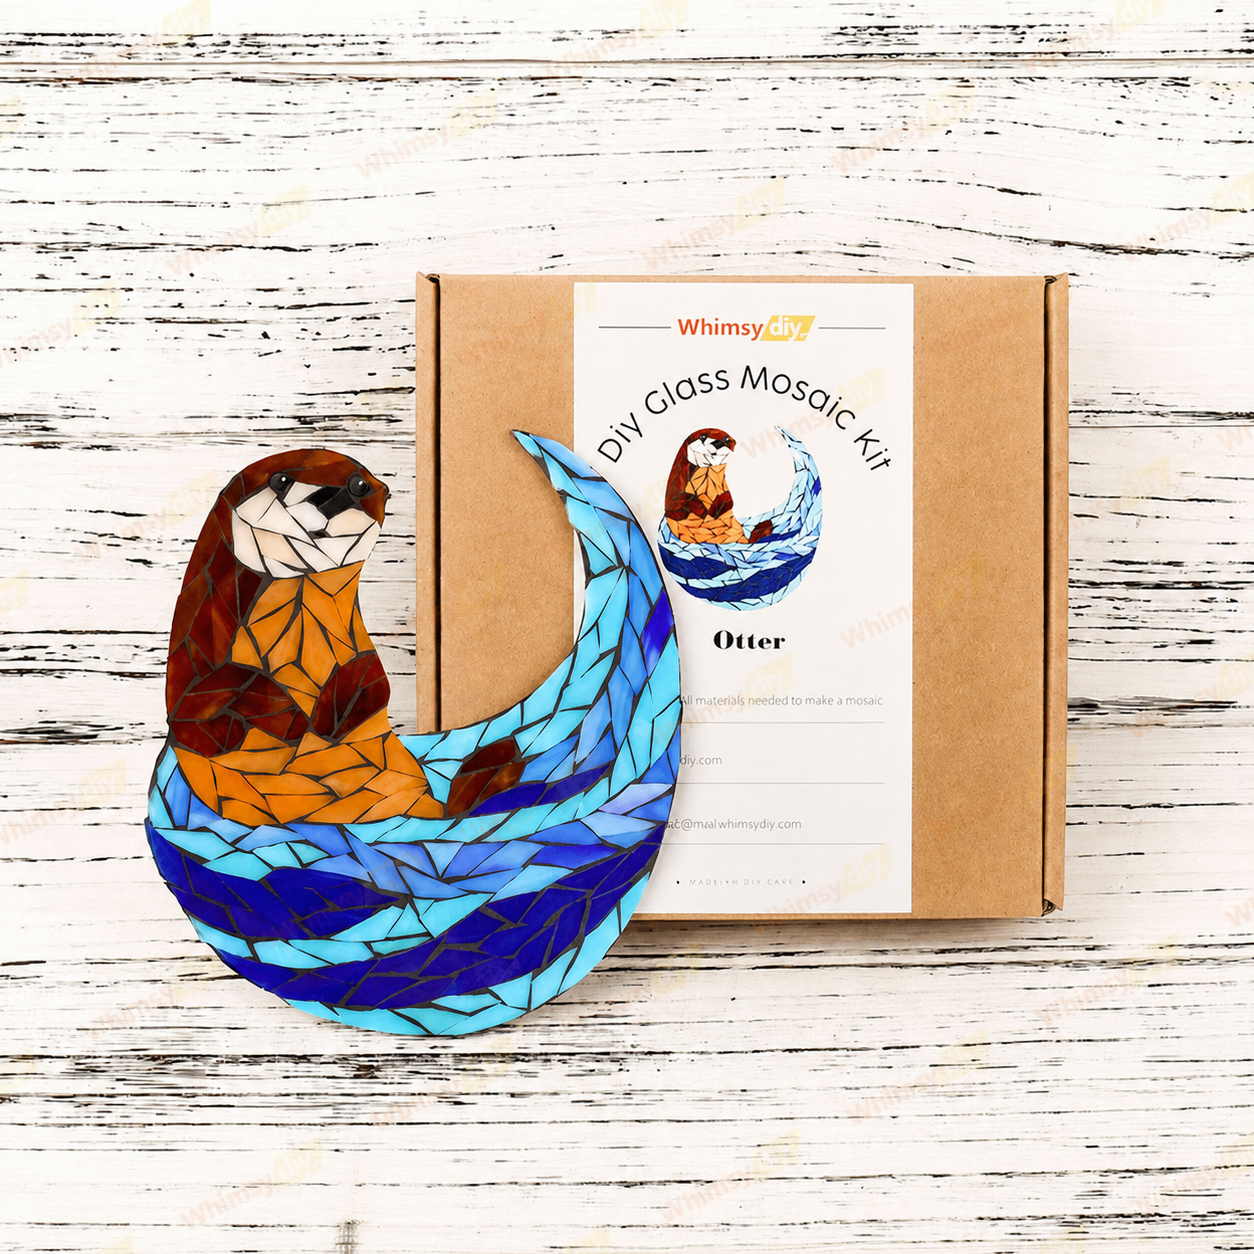
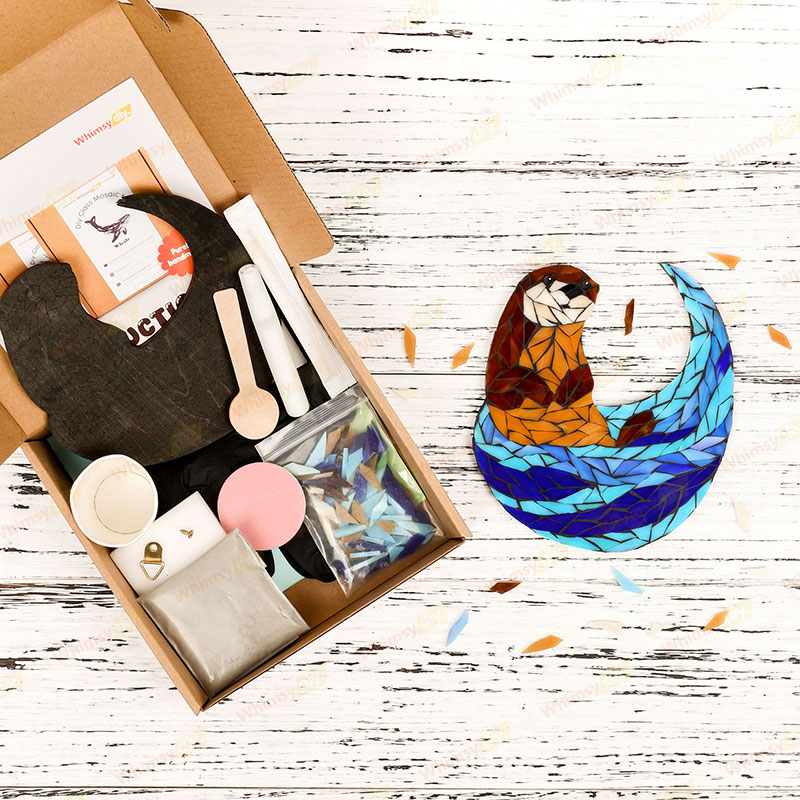
This adorable otter mosaic features rich warm browns paired with vibrant shades of blue, capturing the playful charm of an otter floating peacefully on the water. The layered glass pieces create a lively sense of movement, while the curved wave design adds a fun, flowing touch that makes the whole piece feel bright, cheerful, and full of personality.Ideal for beginners and experienced mosaic craftsmen alike, this kit contains everything you need to make a stunning work of art.
Why choose us?
✅ FOR ALL SKILL LEVELS: Step-by-step instructions and video tutorials guide you every minute from mixing grout to final assembly.
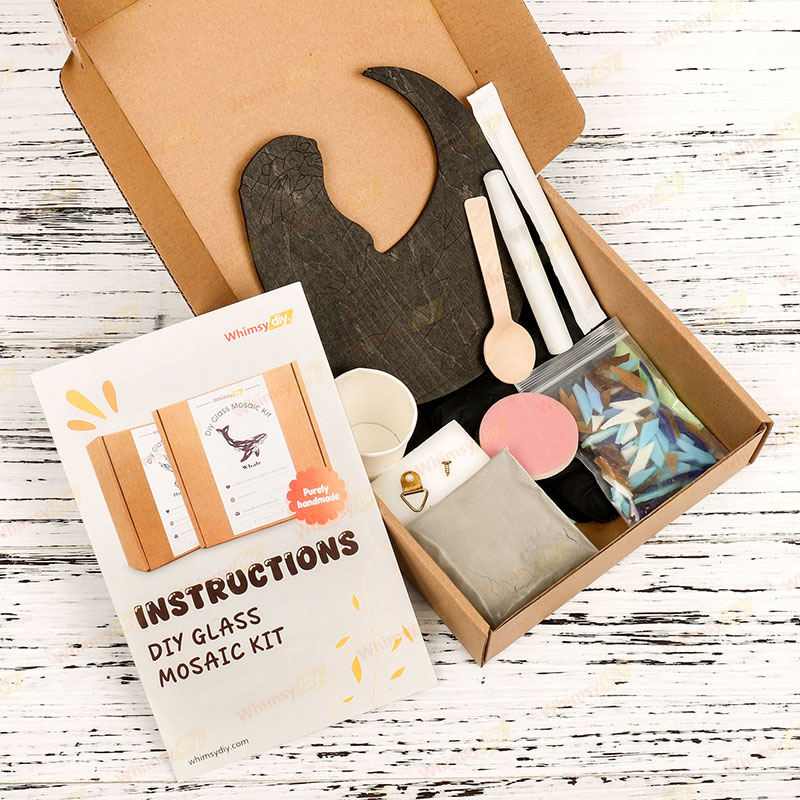
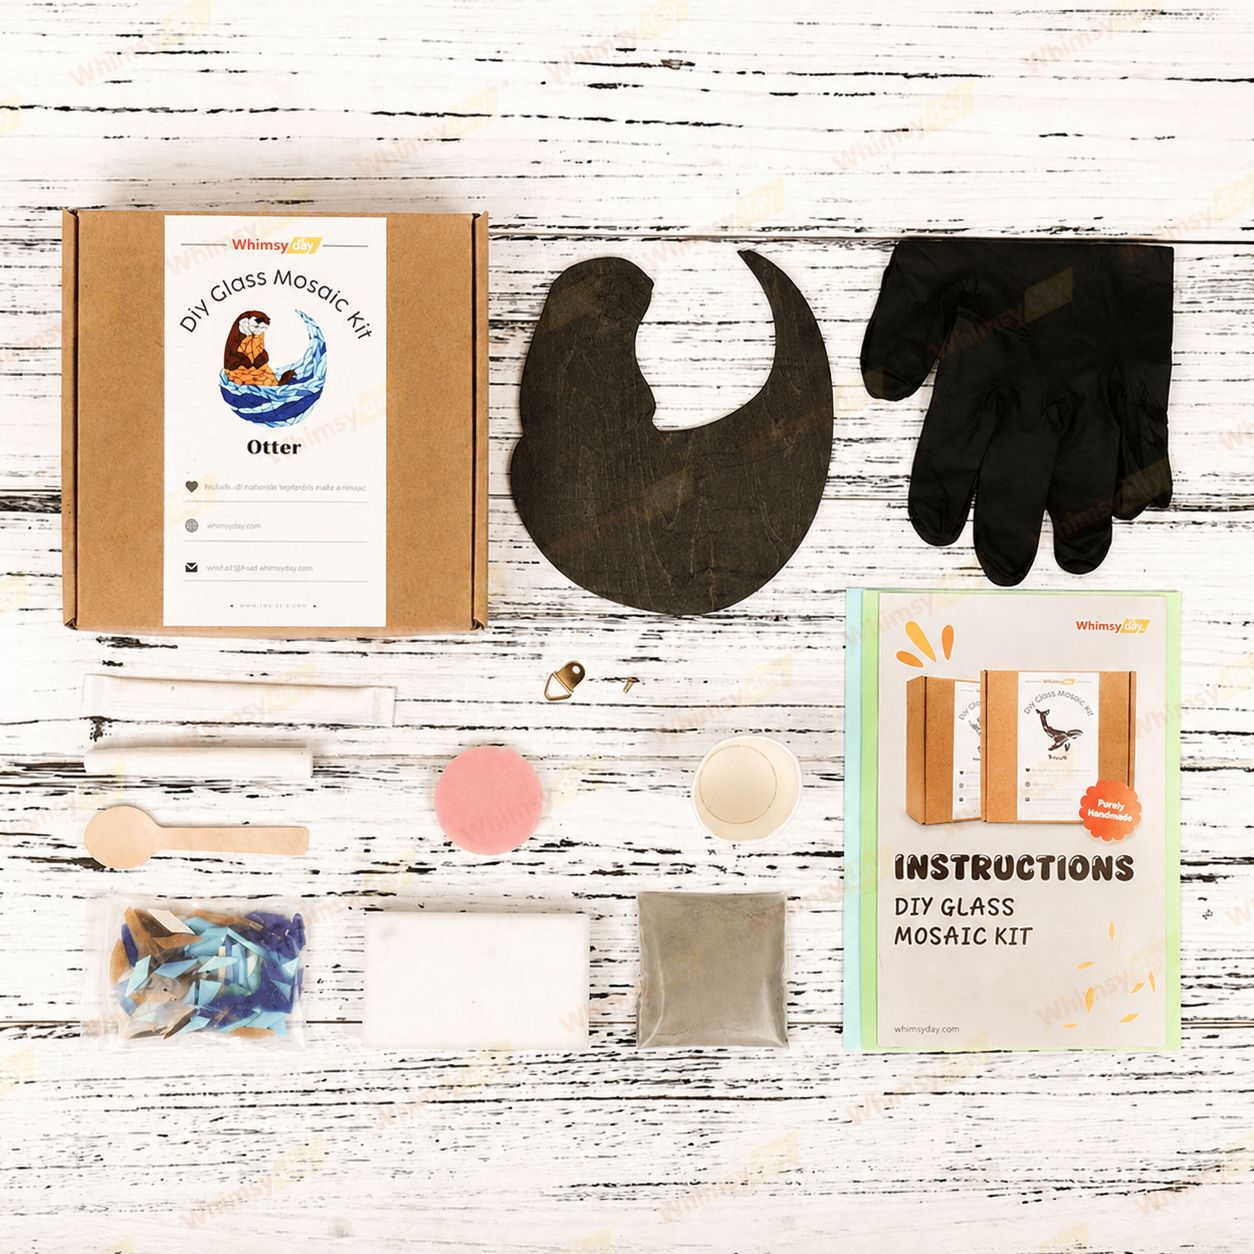
✅ EVERYTHING INCLUDED: illustrated step-by-step instructions, video tutorials, wooden backing board, crushed glass of specified pattern, grout, 1 bottle of glue, 2 sheets of work mat paper, latex-free gloves, mini spoon, wooden stick for mixing grout, foam sponge, abrasive sponge and back hook!
✅ TIMELESS DESIGN: Otters are often associated with joy, curiosity, and a carefree spirit. This handcrafted piece brings a refreshing coastal feel and a lighthearted energy into any space, making it a delightful décor accent for animal lovers or a thoughtful gift for anyone who enjoys the beauty of wildlife and the calm of the water.
✅ GUARANTEED SUCCESS: Ensures professional results even for beginners.
When finished place your vibrant artwork in a sunny window, on a shelf, or as a holiday centerpiece.
Size
About 6.7 in (17 cm) .


.png?w=300&h=300)