1 / 4

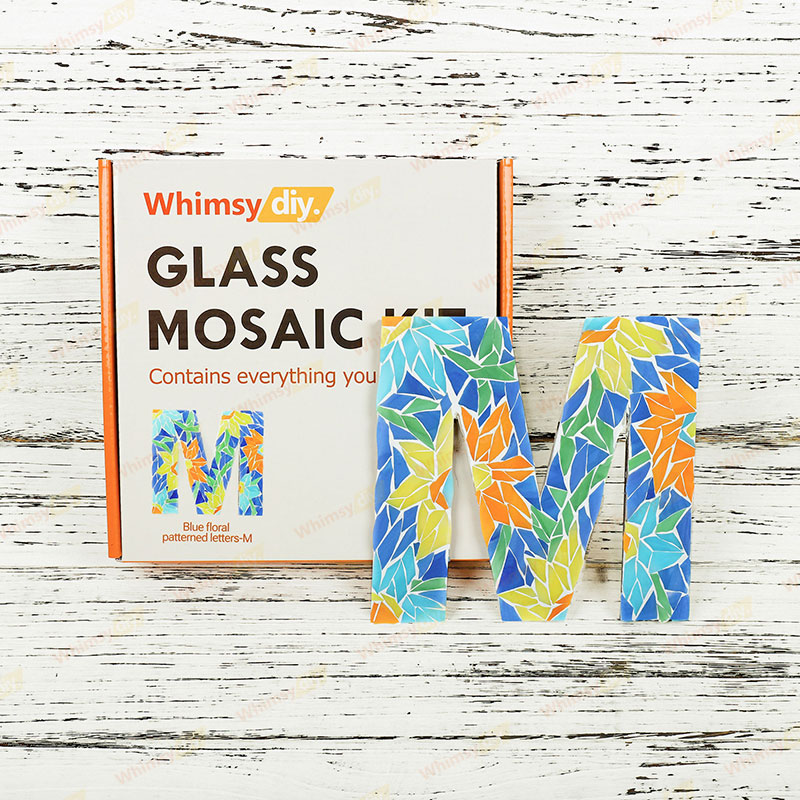
Whimsy DIY Blue Floral Patterned Letters-M Glass Mosaic Kit Puzzles

Piece, glue and grout your own glass mosaic masterpiece.
$25.00 USD
Back Board Hole Option
Quantity
  • Unique original design

  • Over 20k+ kits have been sold

  • 30-Day Money Back Guanrantee

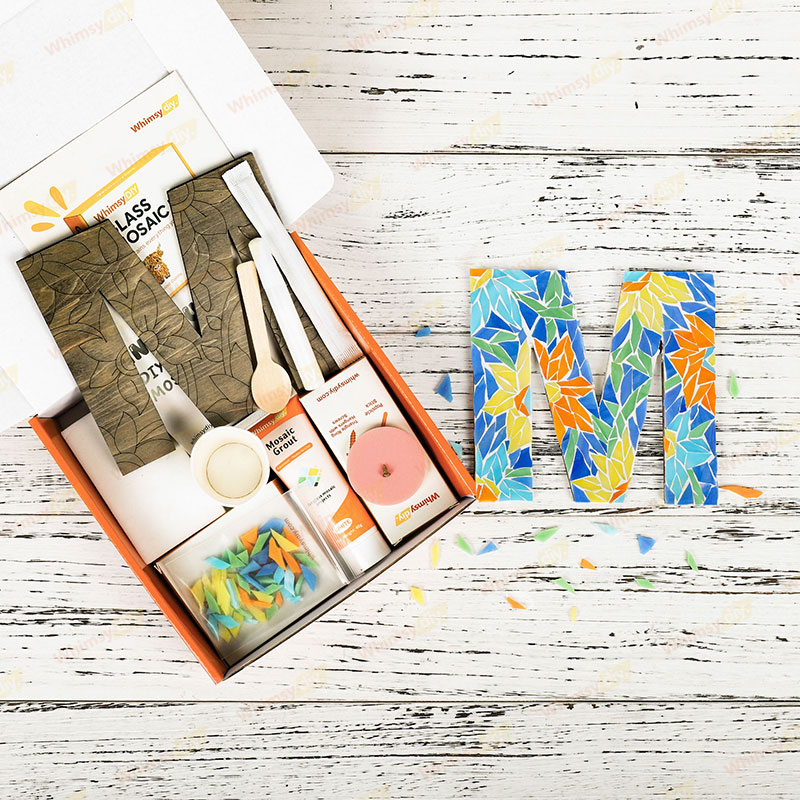
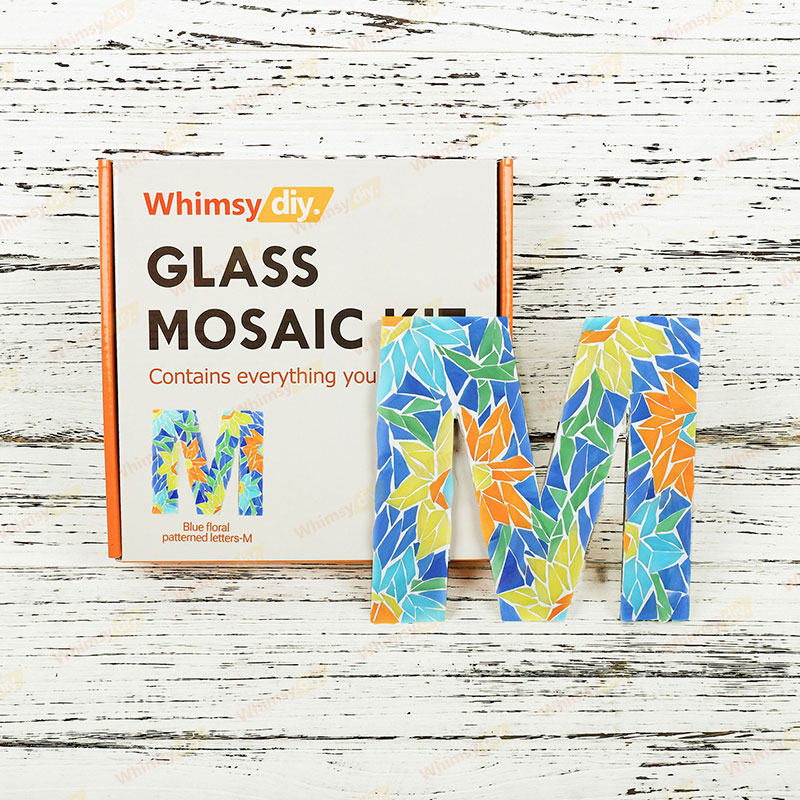
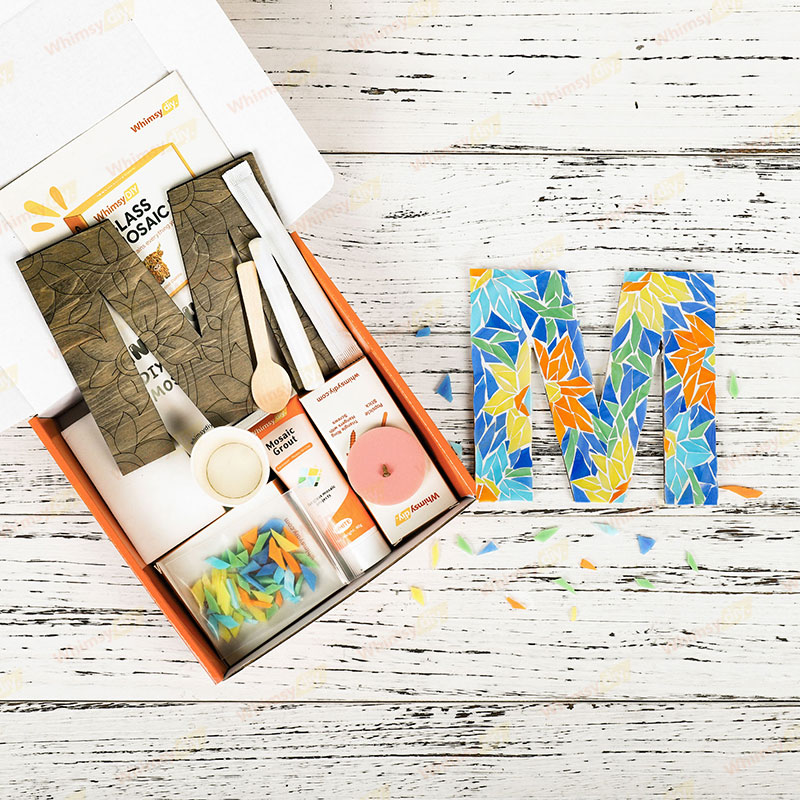
This personalized letter M mosaic features a lively blue base accented with bright orange and yellow floral motifs, along with soft aqua and green details that bring freshness and movement to the design. Made from carefully arranged glass pieces, it blends the bold shape of the letter with a handcrafted artistic feel, creating a look that is colorful, cheerful, and full of personality.Ideal for beginners and experienced mosaic craftsmen alike, this kit contains everything you need to make a stunning work of art.

Why choose us?
✅ FOR ALL SKILL LEVELS: Step-by-step instructions and video tutorials guide you every minute from mixing grout to final assembly.
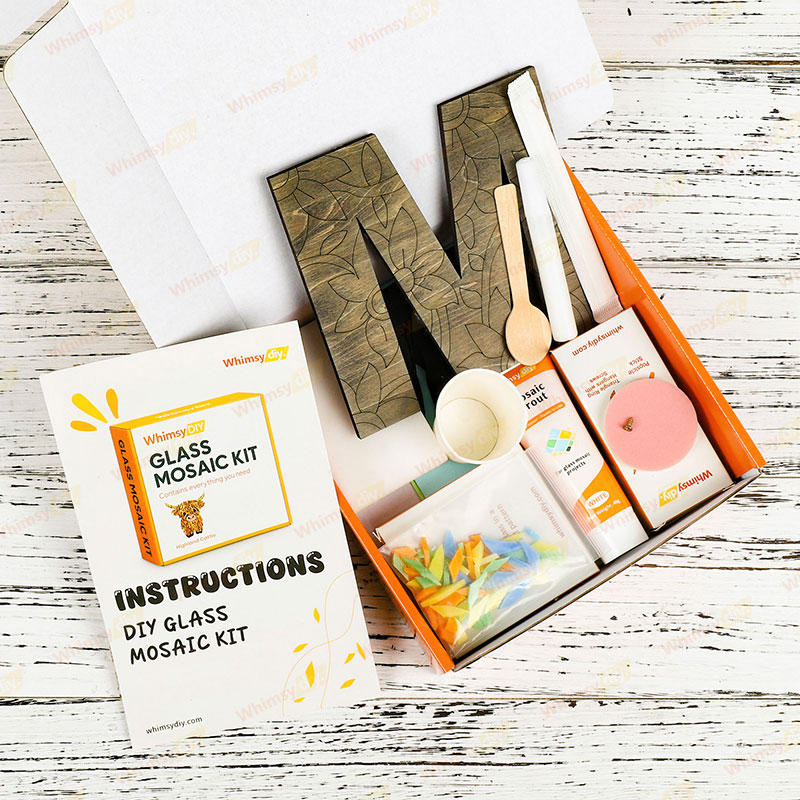
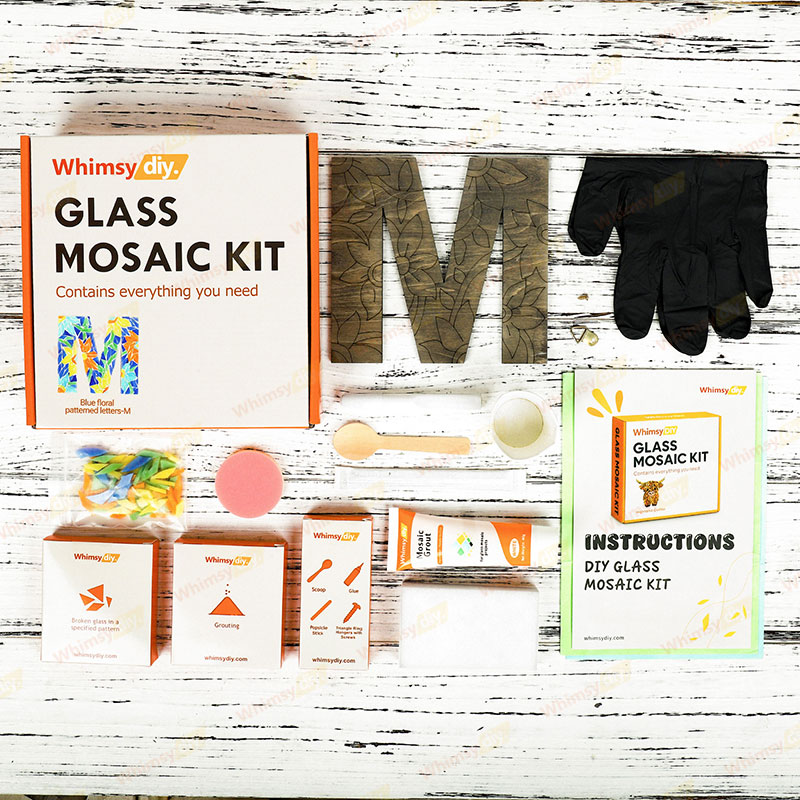
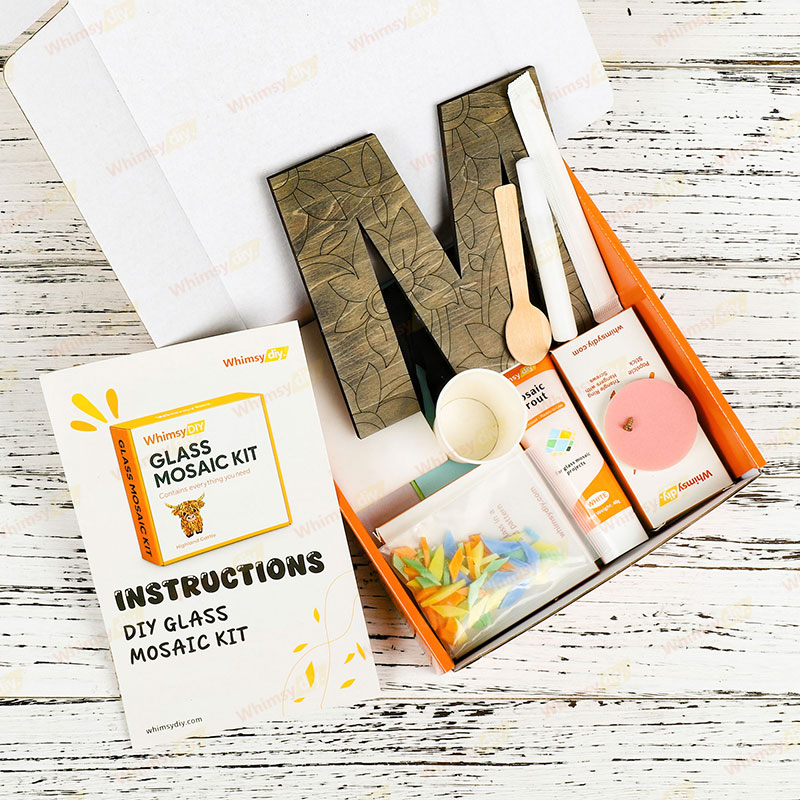
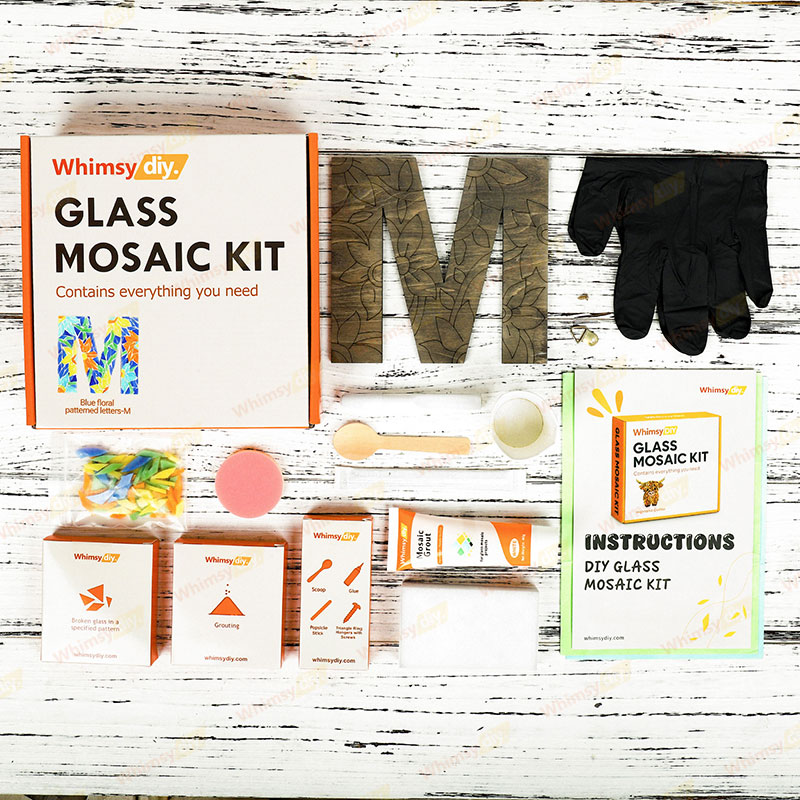
✅ EVERYTHING INCLUDED: illustrated step-by-step instructions, video tutorials, wooden backing board, crushed glass of specified pattern, grout, 1 bottle of glue, 2 sheets of work mat paper, latex-free gloves, mini spoon, wooden stick for mixing grout, foam sponge, abrasive sponge and back hook!
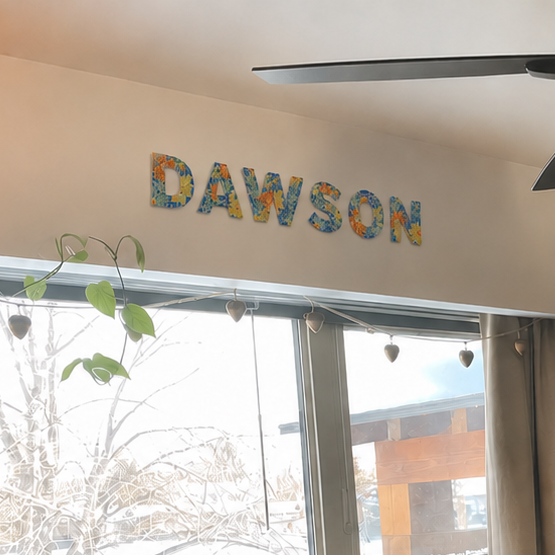
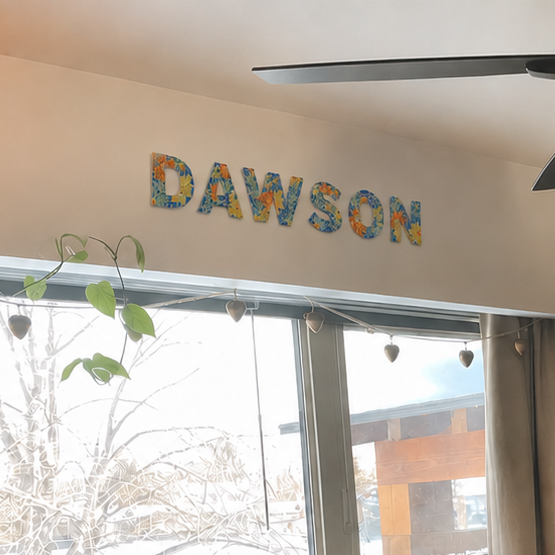
✅ TIMELESS DESIGN: Vibrant and eye-catching, this piece adds an uplifting touch wherever it is displayed. Whether it represents your own initial, celebrates someone special, or brings a personalized accent to your space, this mosaic letter feels meaningful, expressive, and beautifully unique.
GUARANTEED SUCCESS: Ensures professional results even for beginners.

When finished place your vibrant artwork in a sunny window, on a shelf, or as a holiday centerpiece.

Size
About 5.9 in (15 cm) .

Everything necessary is provided – 15pcs

How do you do glass mosaic art?

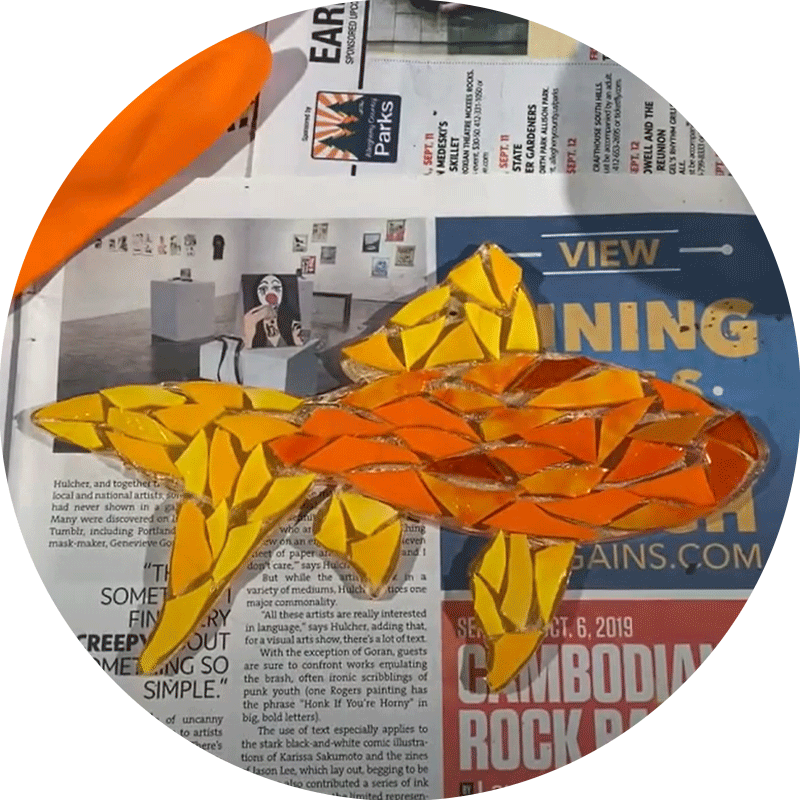
1. Apply adhesive
Apply some glue to the wooden backing and attach the glass pieces according to the patterned grain on the backing.
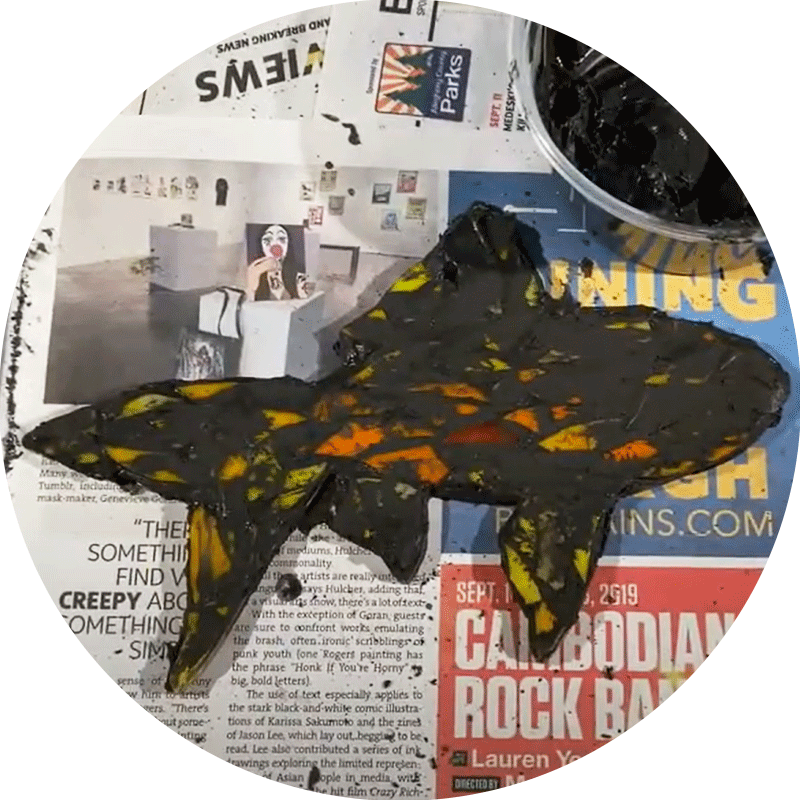
2. Grouting the mosaic
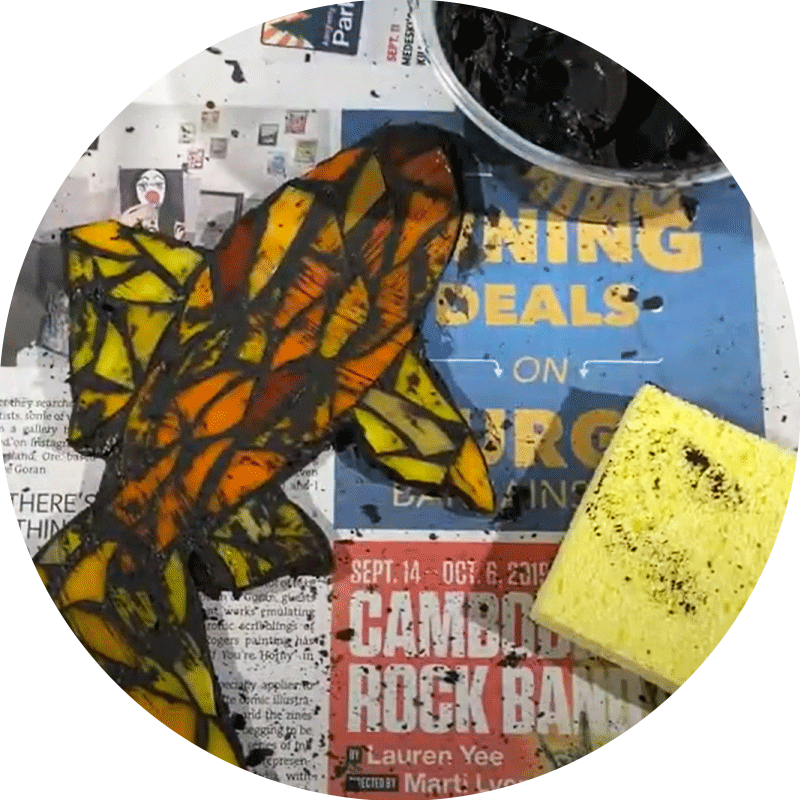
Follow our instructions for mixing the grout. Spoon the grout over the entire mosaic, making sure to fill all the gaps between the glass.
3. Cleaning and polishing
Once the grout is dry, use an abrasive sponge to gently wipe away any grout residue from the surface of the tile. Rub the tiles again with a foam sponge to make them shine.
1. Apply adhesive
Apply some glue to the wooden backing and attach the glass pieces according to the patterned grain on the backing.
2. Grouting the mosaic
Follow our instructions for mixing the grout. Spoon the grout over the entire mosaic, making sure to fill all the gaps between the glass.
3. Cleaning and polishing
Once the grout is dry, use an abrasive sponge to gently wipe away any grout residue from the surface of the tile. Rub the tiles again with a foam sponge to make them shine.
1 / 3

Cart

loading