




Unique original design
.png?w=300&h=300)
Over 20k+ kits have been sold

30-Day Money Back Guanrantee
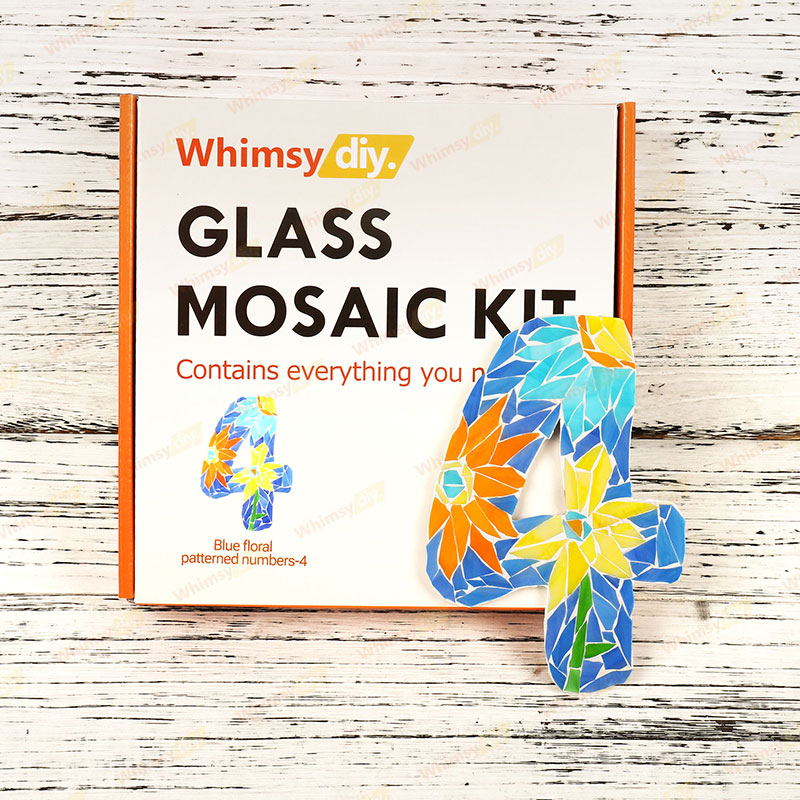
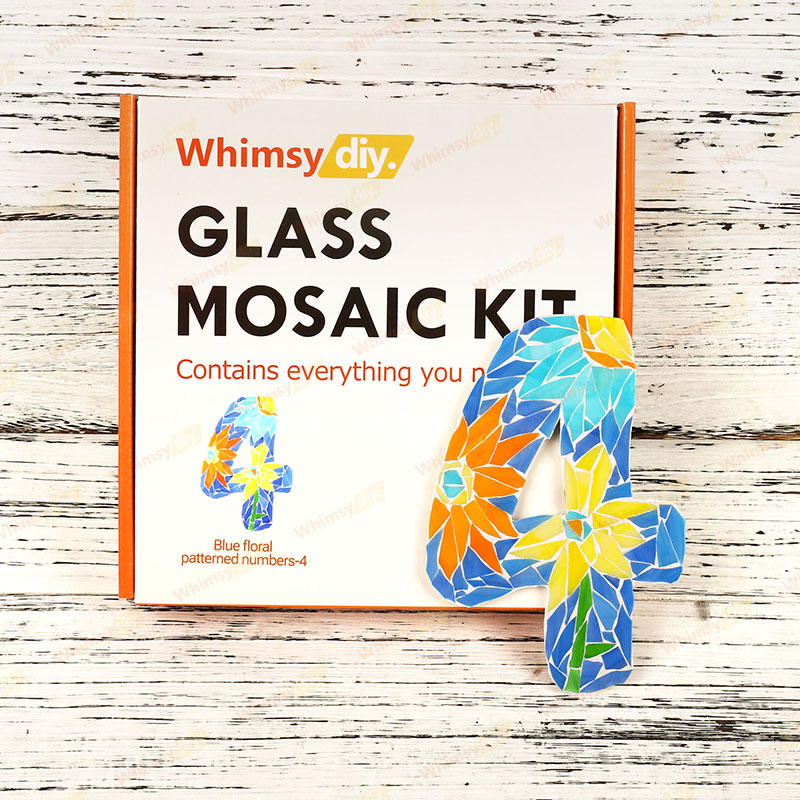
✨ DIY Glass Mosaic Number Kit – Personalized House Number Craft
With Hole or No-Hole Option
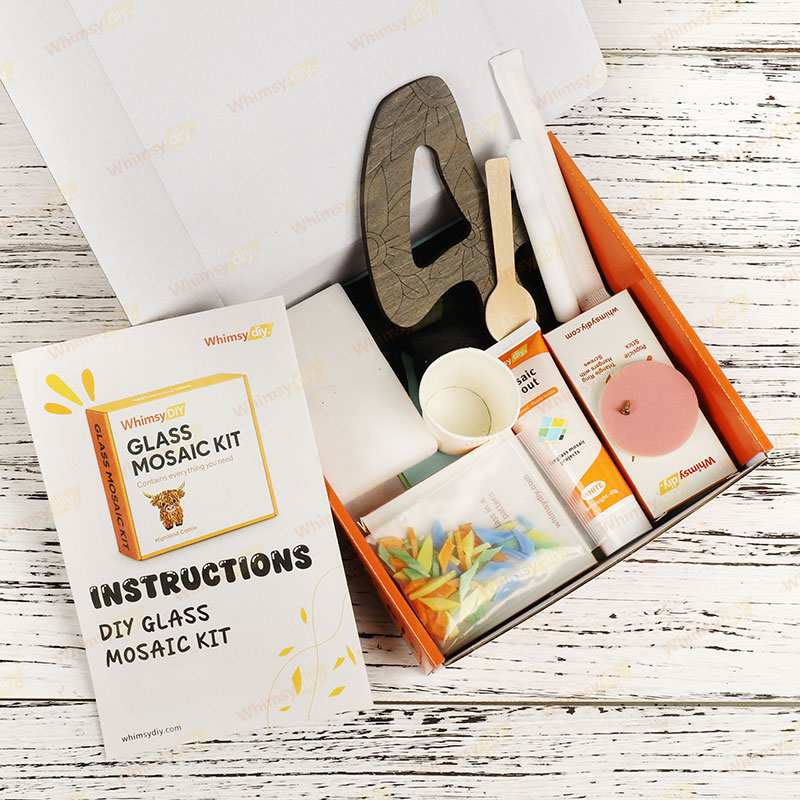
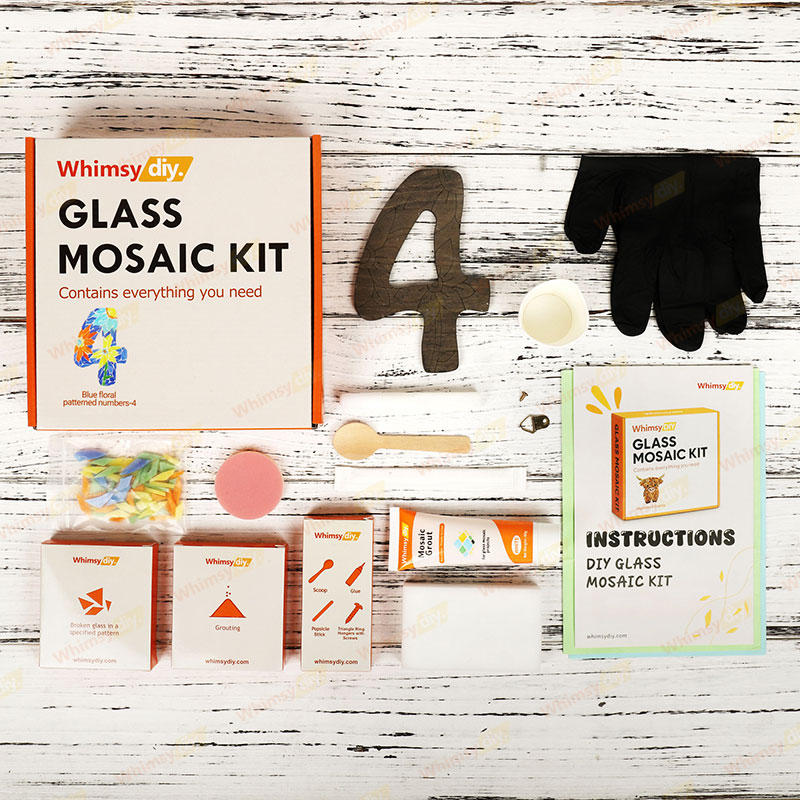
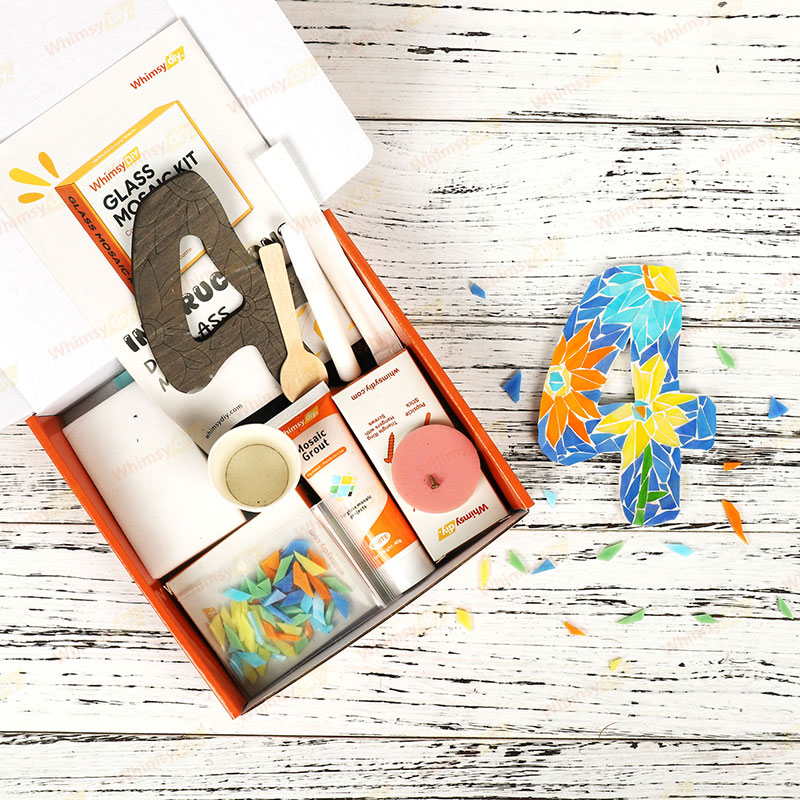
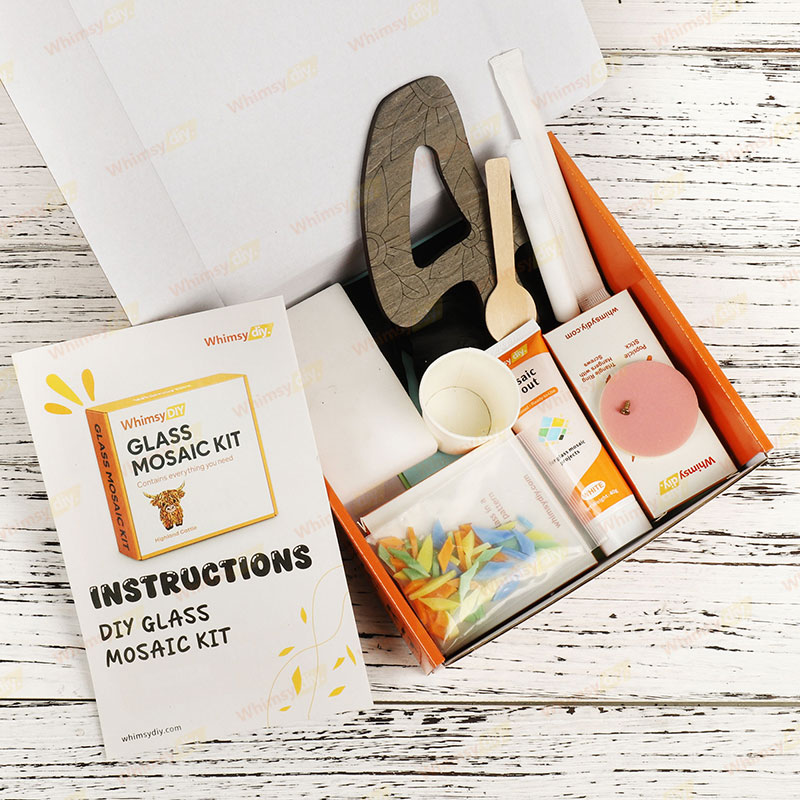
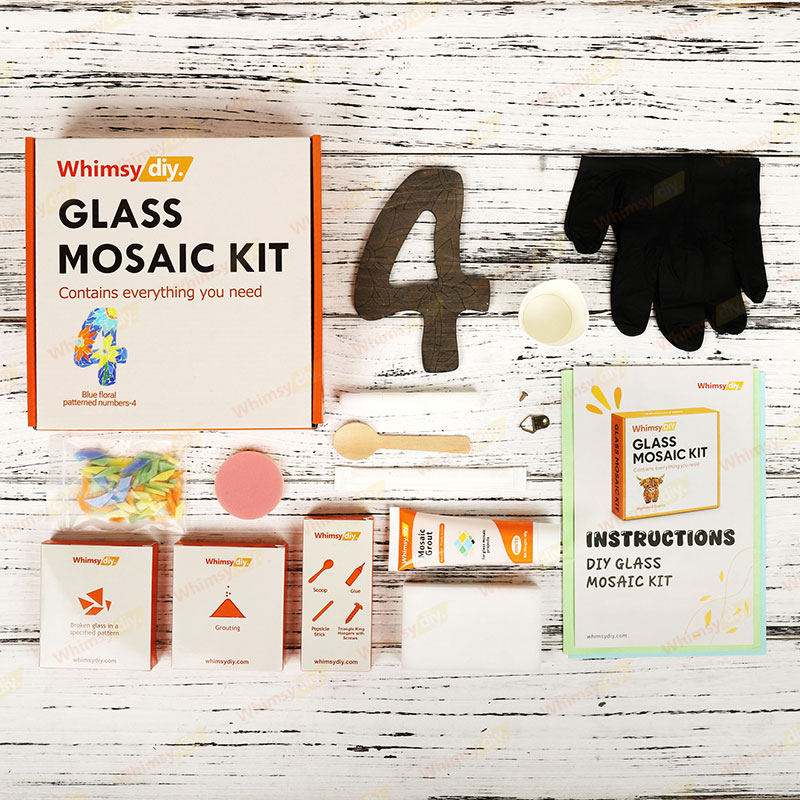
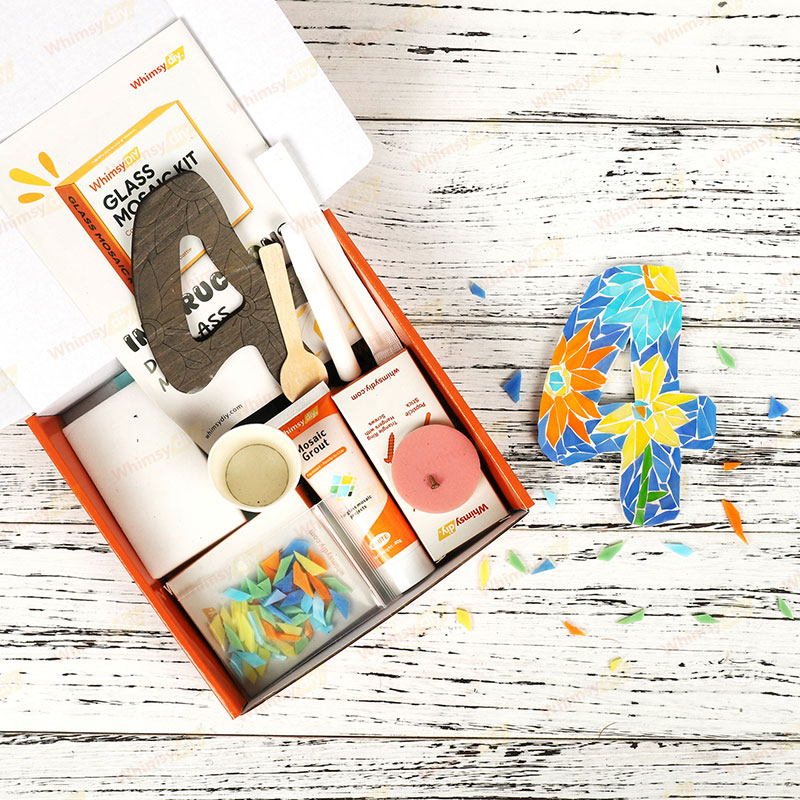
Create your own personalized glass mosaic number with this beginner-friendly DIY kit. Decorate each number with colorful glass pieces and turn a simple house number into a unique handmade piece for home décor, address display, or gifting.
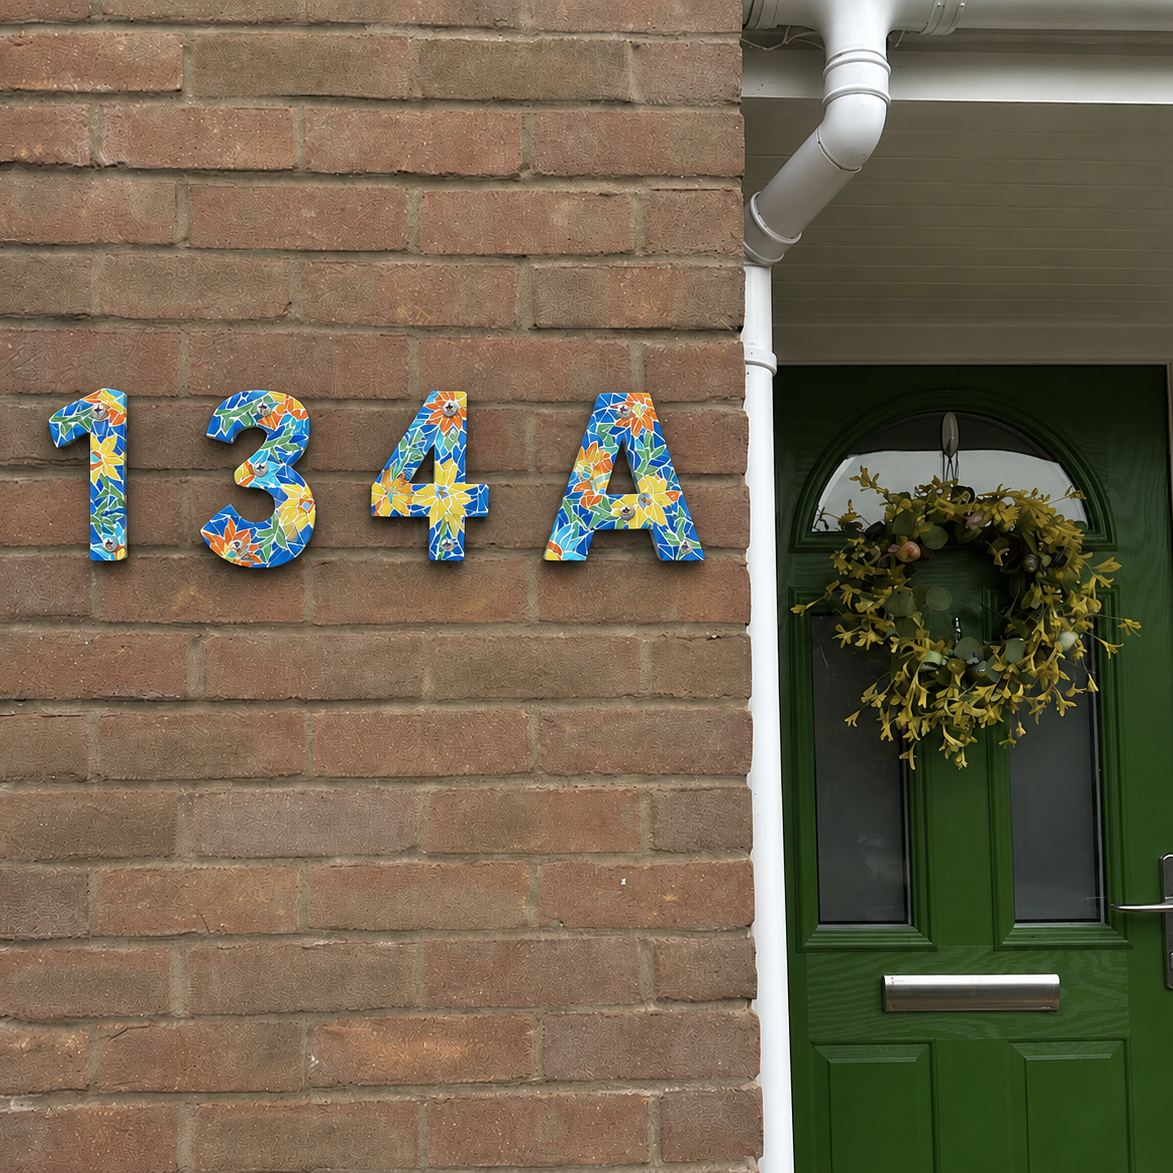
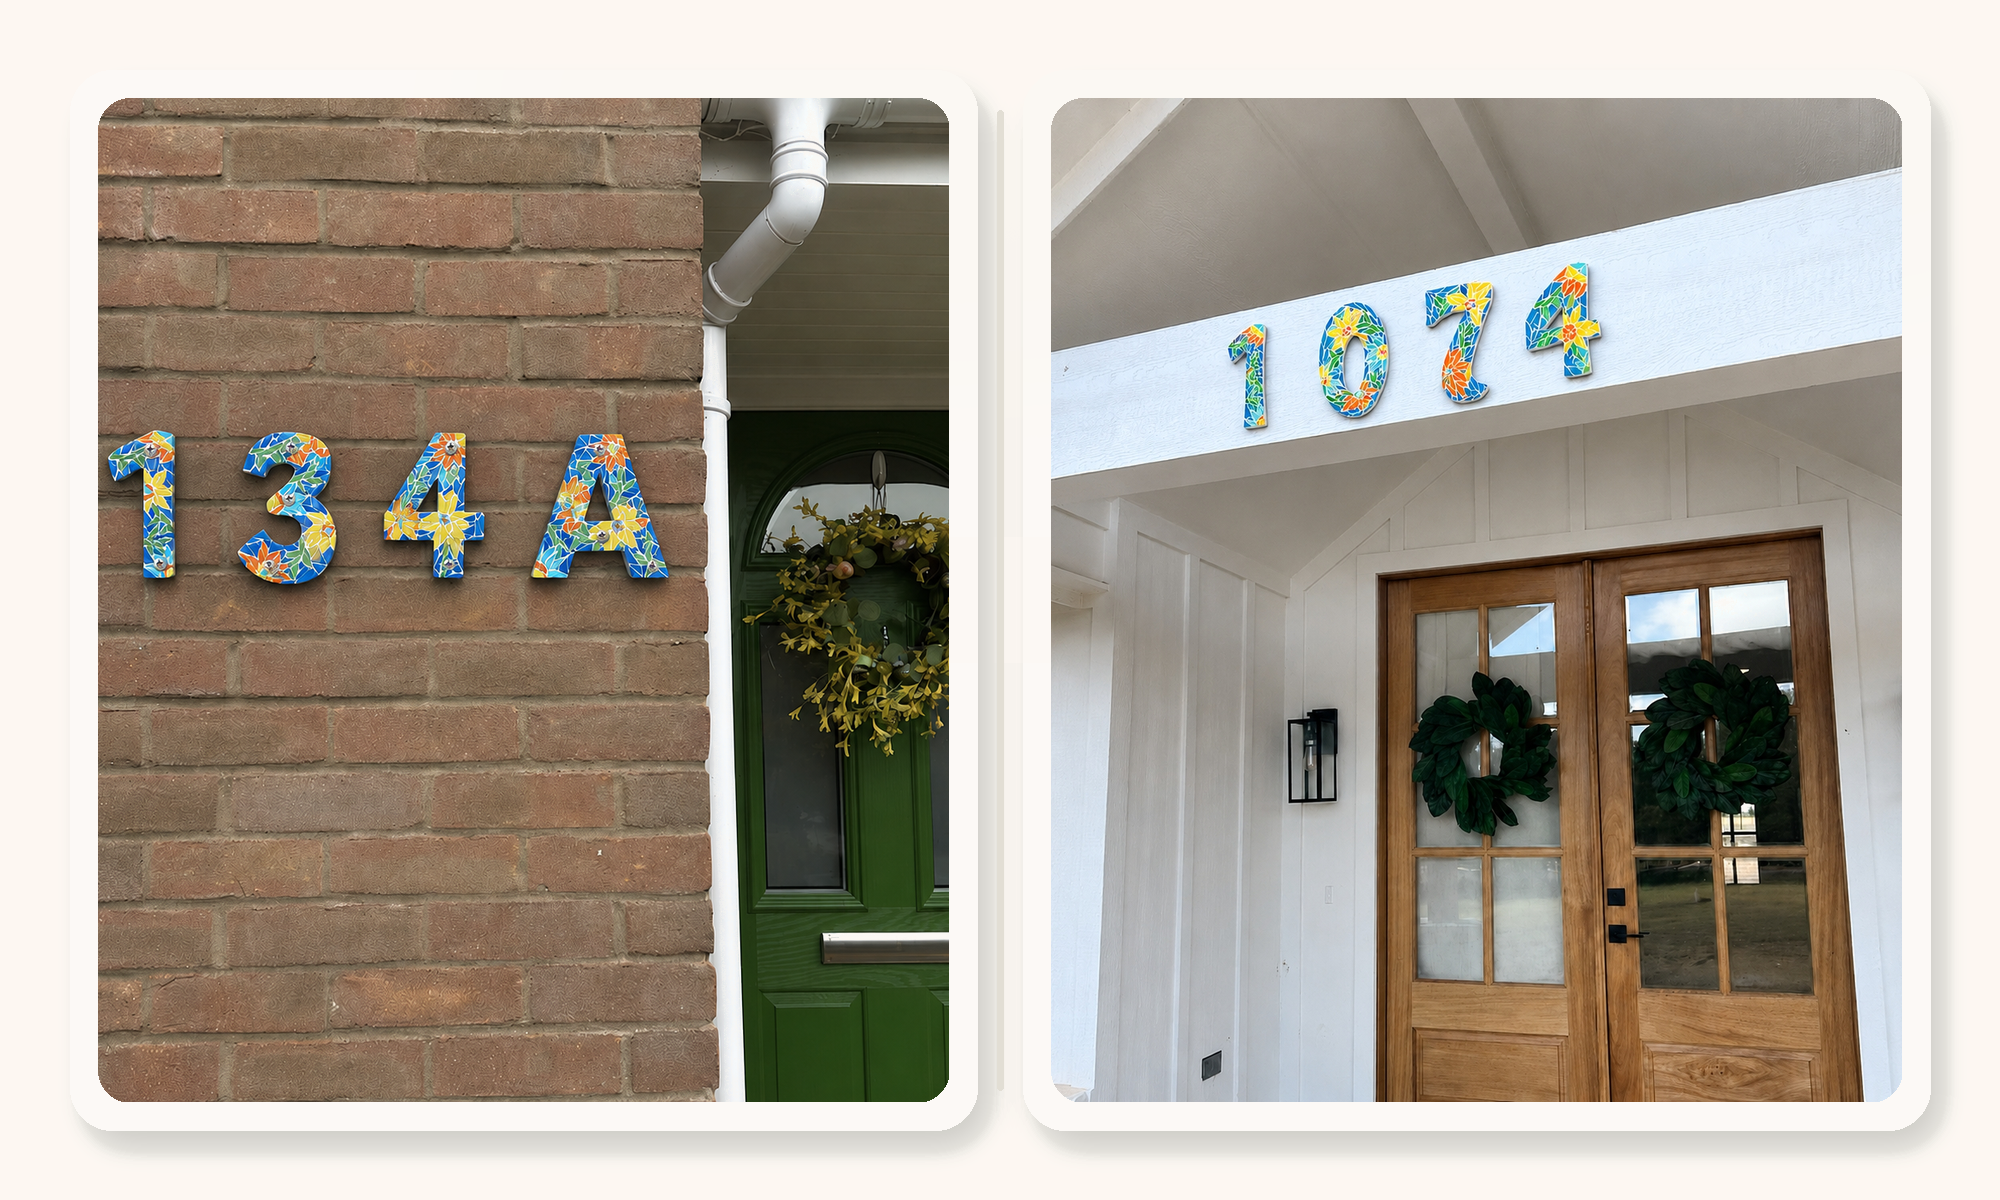
Choose the with-hole option for hanging on a wall, door, or hook.Includes 4 mounting nails, each approx. 1 in long × 0.14 in wide / 25 mm × 3.5 mm, perfect for hanging your house number sign on your front door, porch, fence, or entryway wall.
Choose the no-hole option for shelves, desks, tabletops, flat-lay décor, or adhesive display.
👉 Need other letters?
You can check our mosaic number, letter, and symbol options here.
🏡 Perfect For:
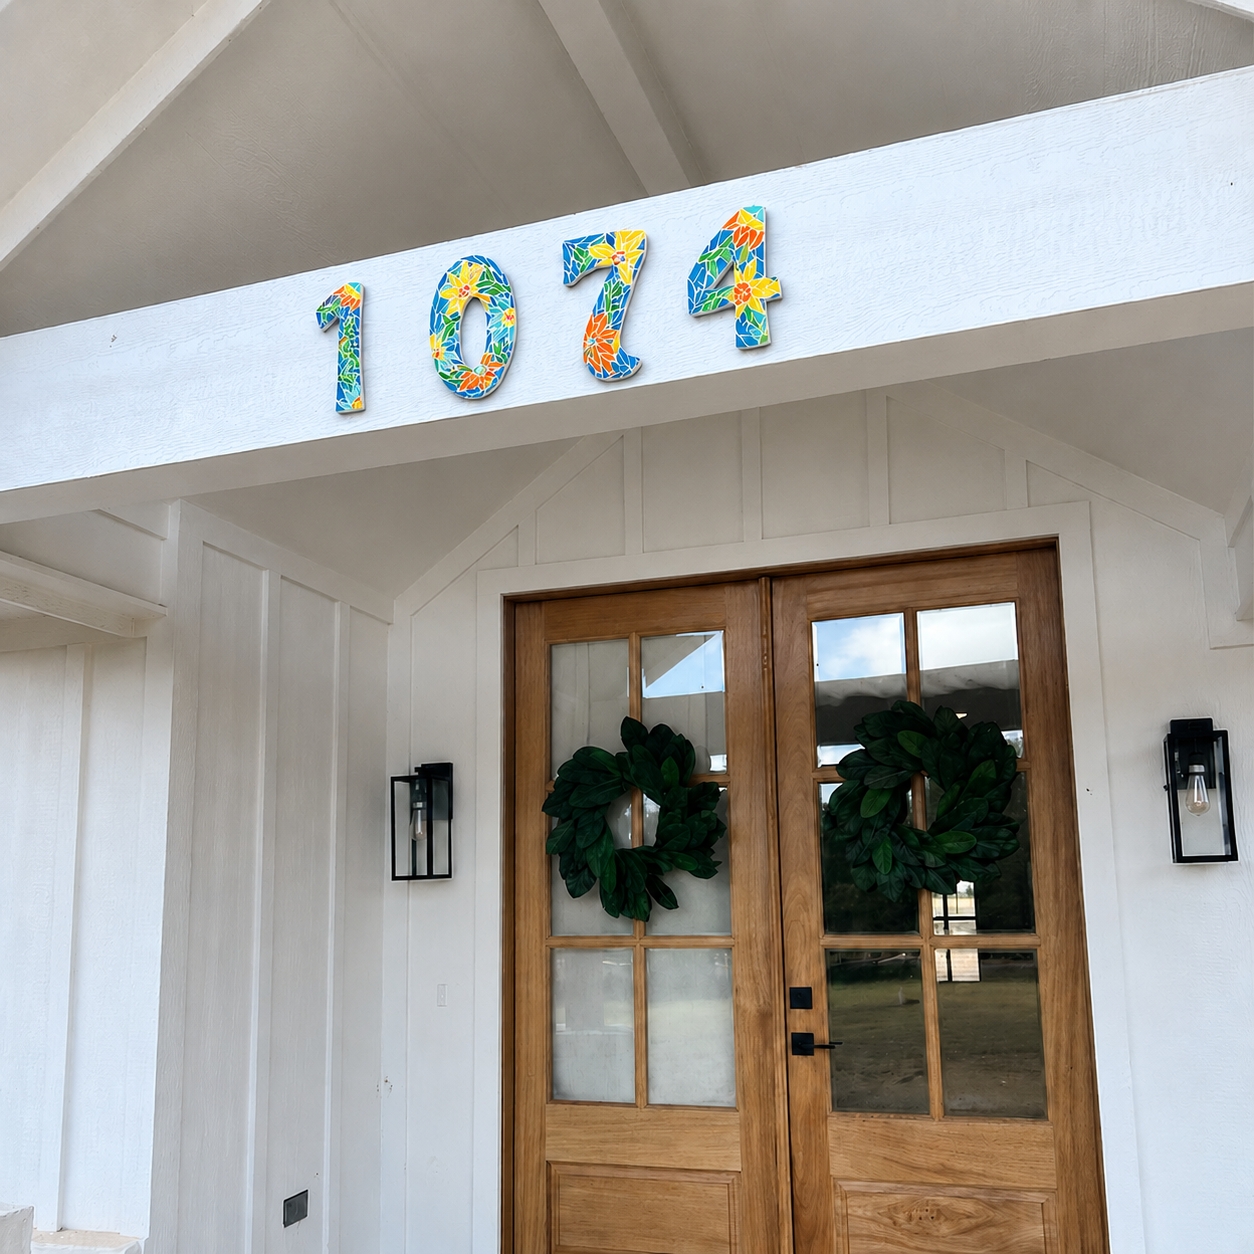
• Front doors
• Apartment entrances
• Houses & villas
• Airbnb / rental properties
• Covered outdoor walls
• House numbers & address display
• DIY craft nights and creative projects
Also known as house numbers, glass house numbers, or an address plaque, this piece is designed to combine functionality with timeless decorative appeal.
🎁 A Thoughtful Personalized Gift
A meaningful DIY gift for craft lovers, new homeowners, housewarmings, weddings, Mother’s Day, Father’s Day, holidays, or anyone who loves unique handmade pieces.
🛠️ Size
About 5.9 in (15 cm).
Includes 4 mounting nails: approx. 1 in × 0.14 in / 25 mm × 3.5 mm.
loading