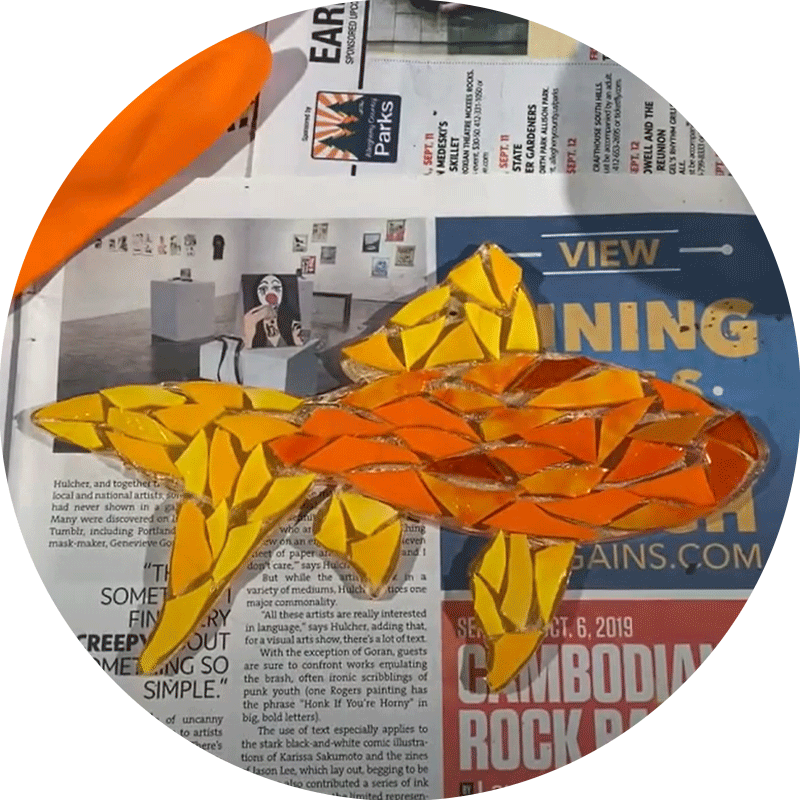
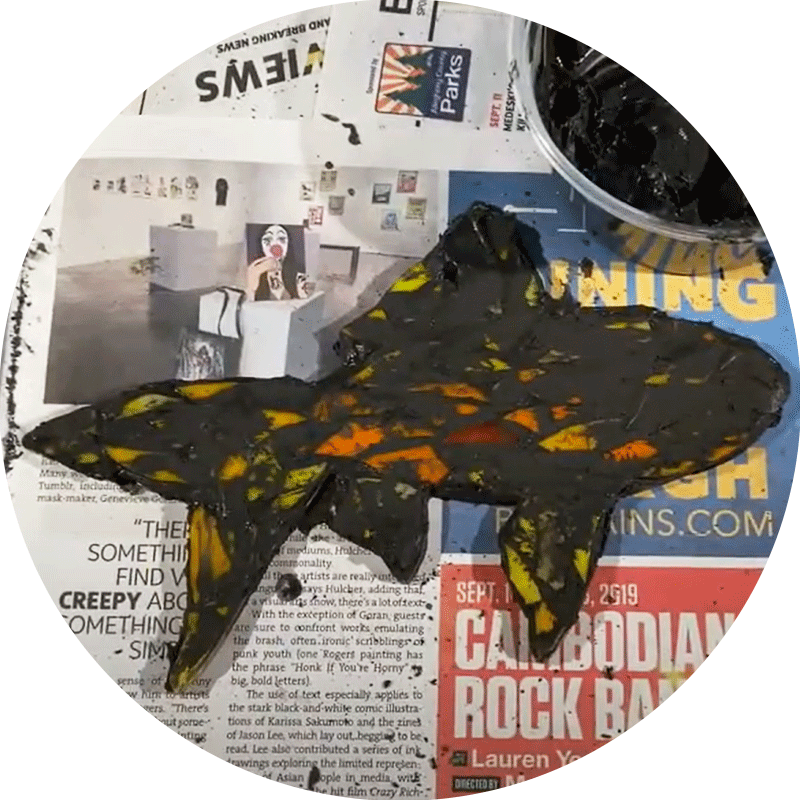
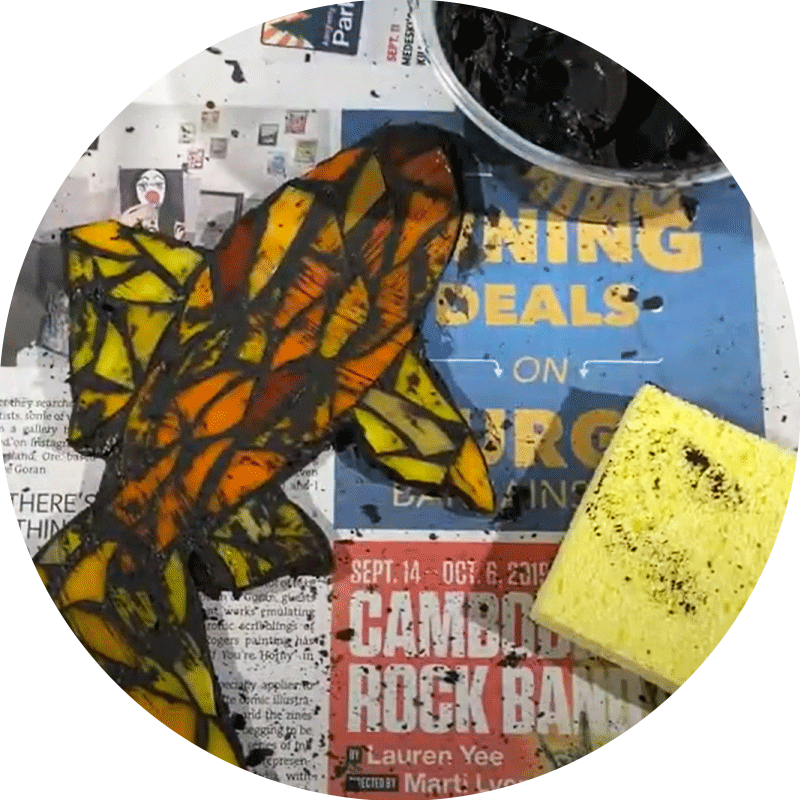
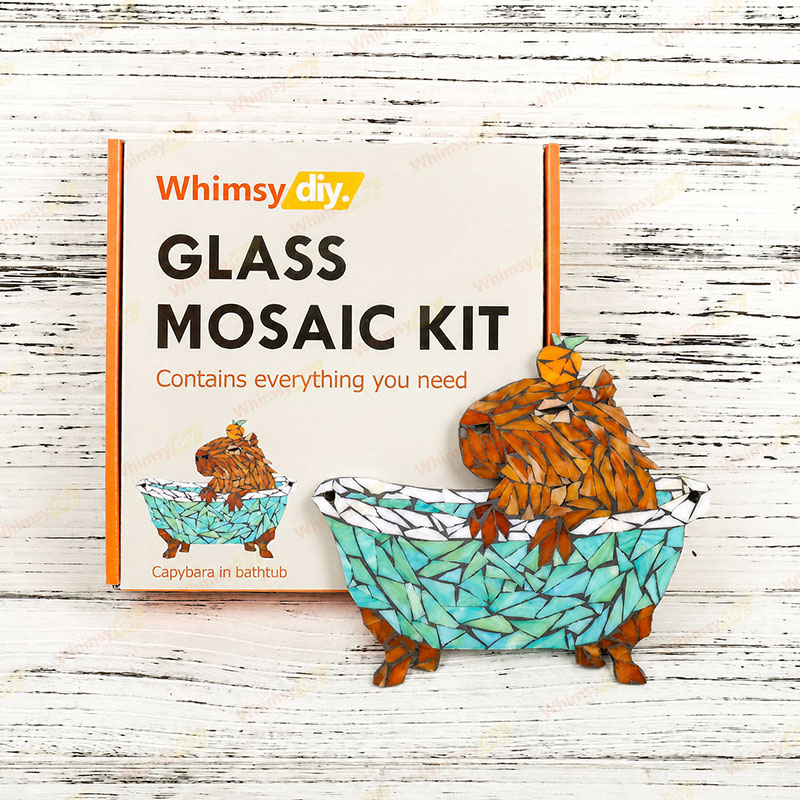
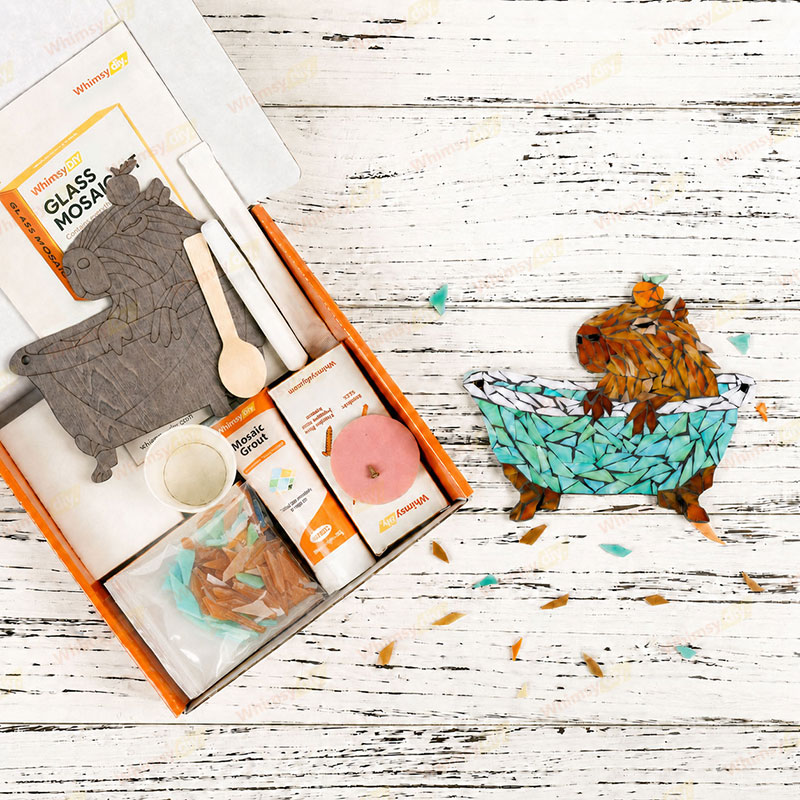
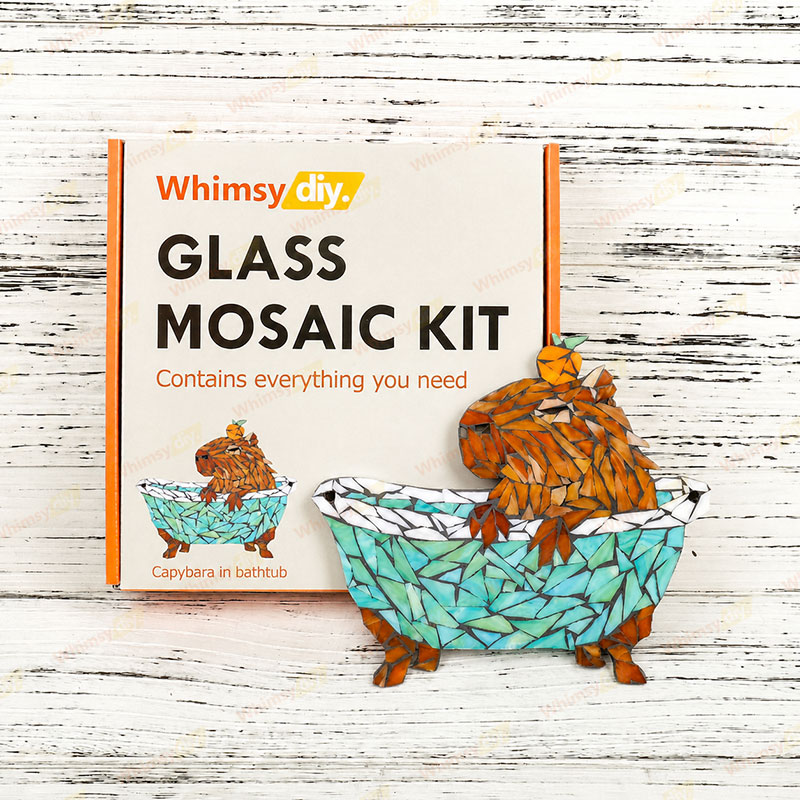
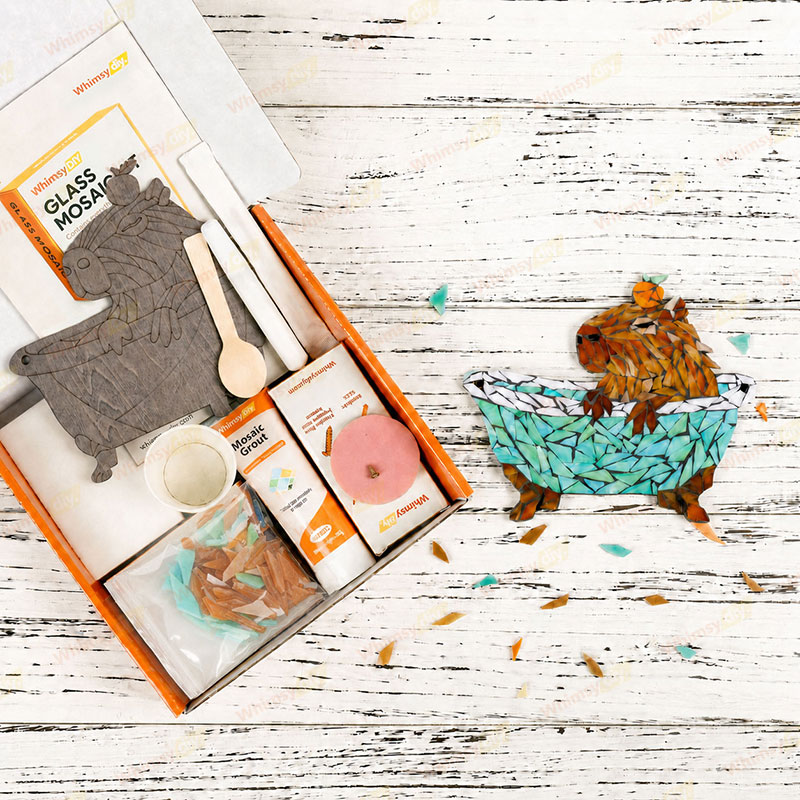
This Capybara in Bathtub Suncatcher features a charming stained-glass-inspired design that captures a relaxed capybara soaking peacefully in a vintage-style bathtub. The warm brown tones of the capybara pair beautifully with the soft aqua and white mosaic tub, while the little orange on its head adds a playful and cozy touch. Suspended by delicate chains, this whimsical piece brings a lighthearted and cheerful feel to windows, sunlit corners, bathrooms, or gift collections for animal lovers and anyone who enjoys cute, quirky décor.Ideal for beginners and experienced mosaic craftsmen alike, this kit contains everything you need to make a stunning work of art.
Why choose us?
✅ FOR ALL SKILL LEVELS: Step-by-step instructions and video tutorials guide you every minute from mixing grout to final assembly.
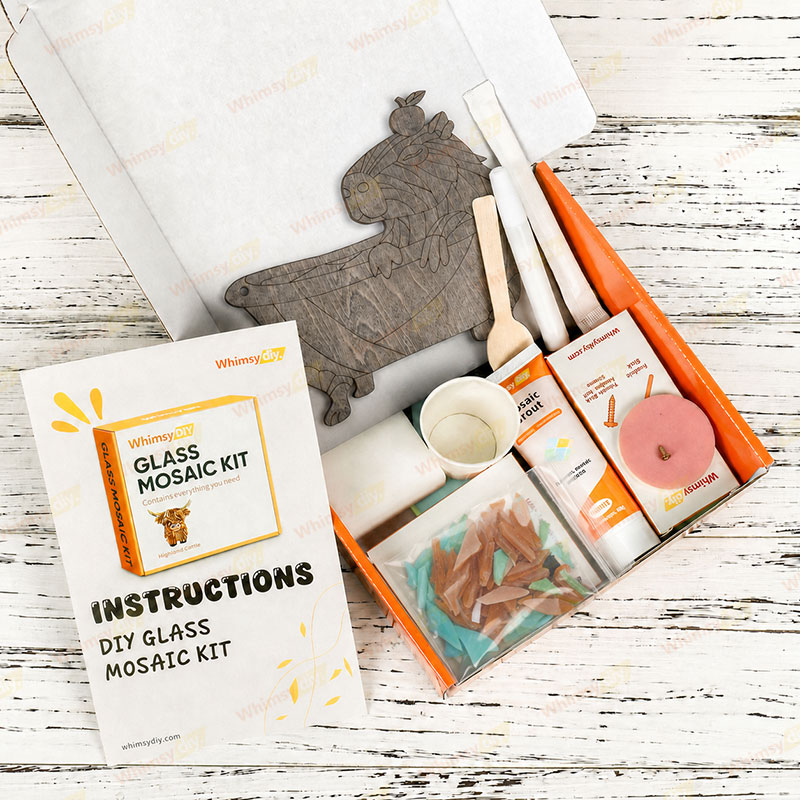
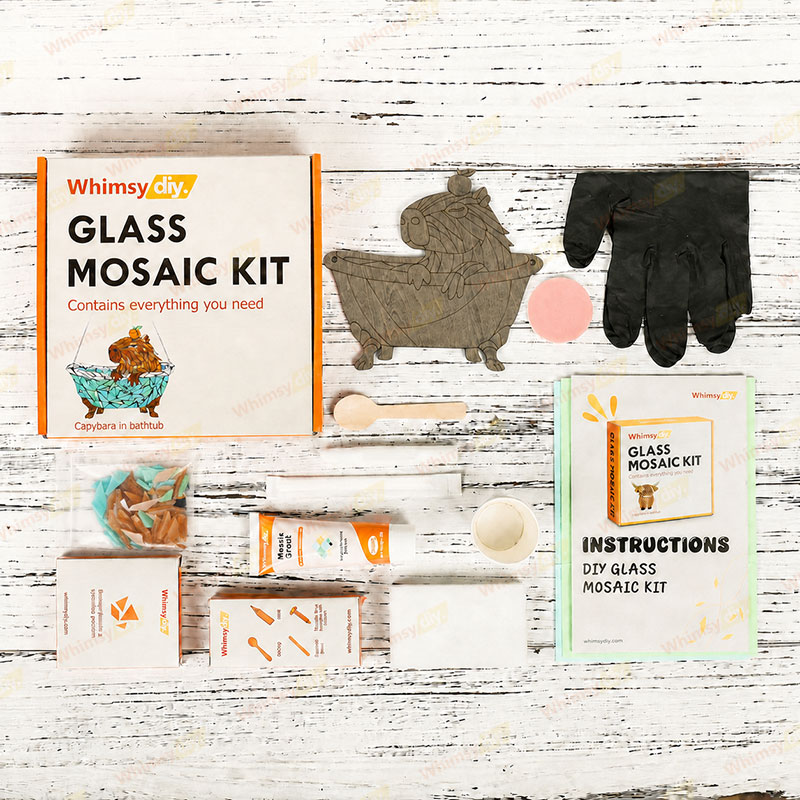
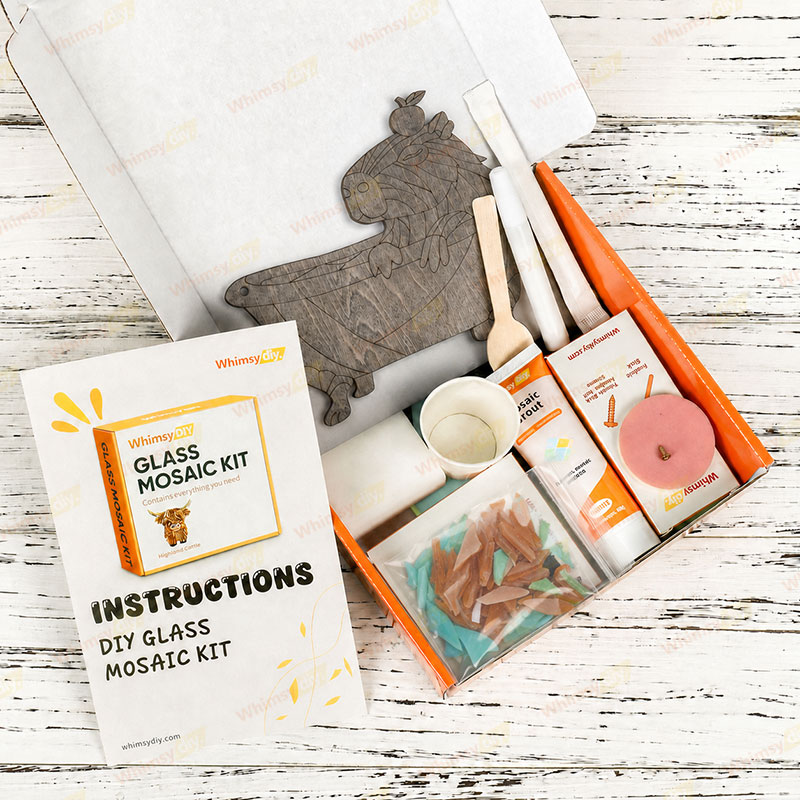
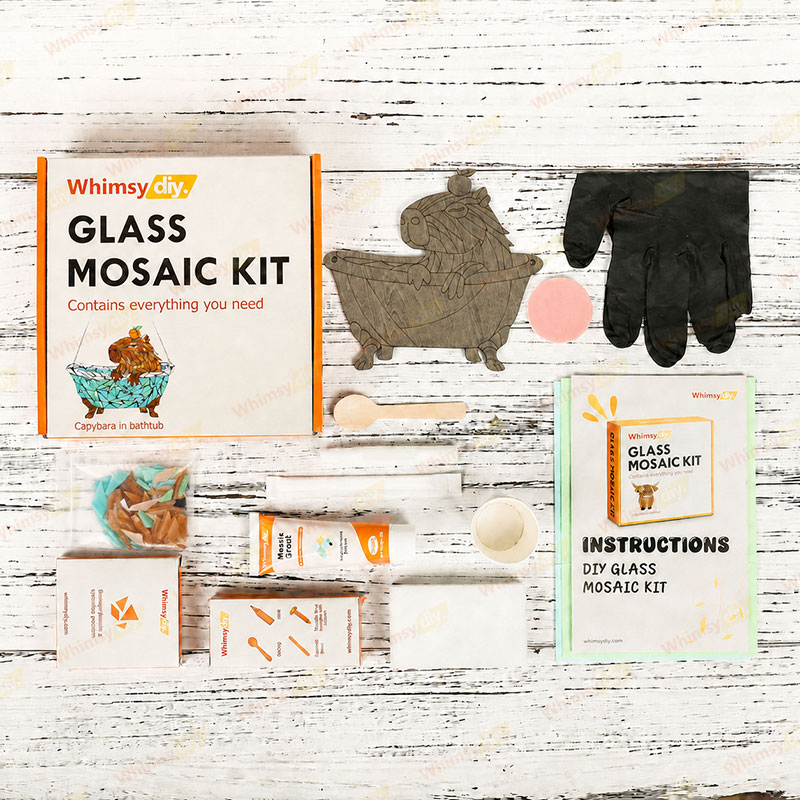
✅ EVERYTHING INCLUDED: illustrated step-by-step instructions, video tutorials, wooden backing board, crushed glass of specified pattern, grout, 1 bottle of glue, 2 sheets of work mat paper, latex-free gloves, mini spoon, wooden stick for mixing grout, foam sponge, abrasive sponge and back hook!
✅ TIMELESS DESIGN: It feels like a tiny spa day frozen in glass—calm, funny, and impossible not to smile at. The laid-back capybara, the soothing tub, and the sweet pop of citrus create a scene that feels both cozy and delightfully unexpected. Whether it catches the sunlight in your home or becomes a gift for someone who loves capybaras, this suncatcher adds a splash of joy that instantly brightens the space.
✅ GUARANTEED SUCCESS: Ensures professional results even for beginners.
When finished place your vibrant artwork in a sunny window, on a shelf, or as a holiday centerpiece.
Size
About 8 in (20 cm) .



.png?w=300&h=300)