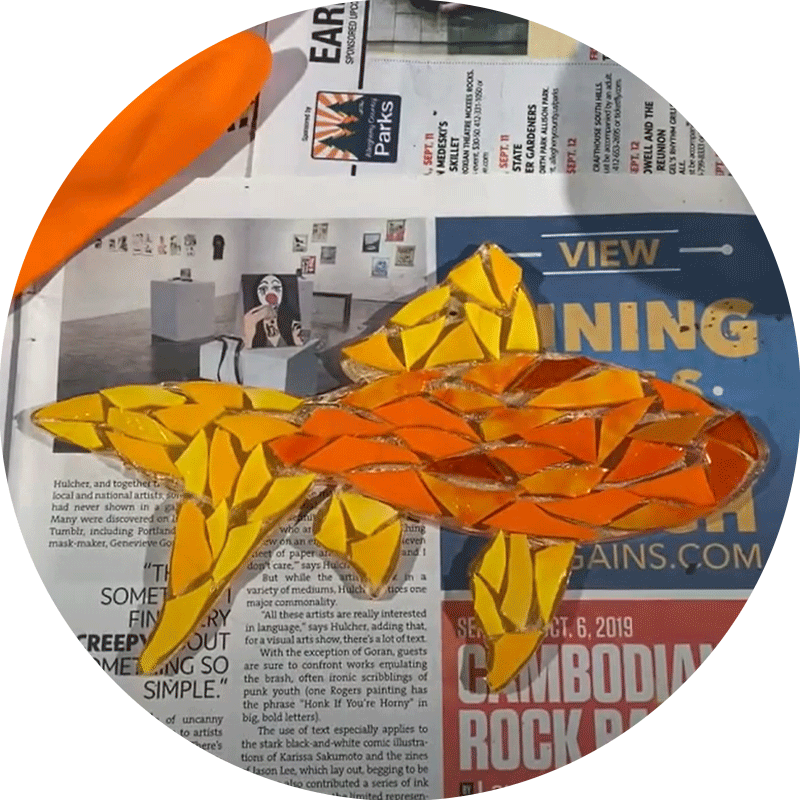
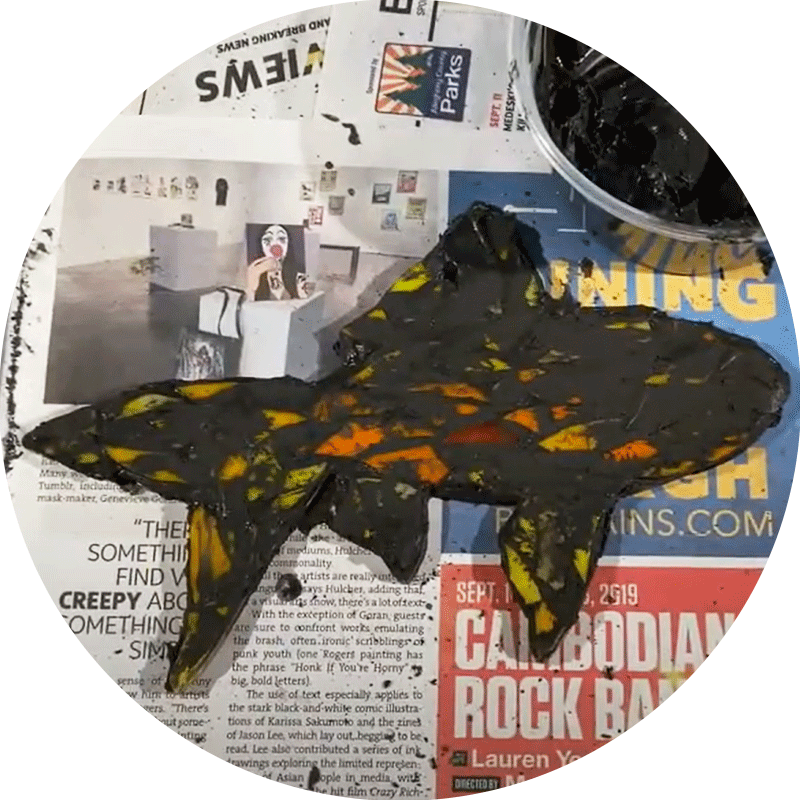
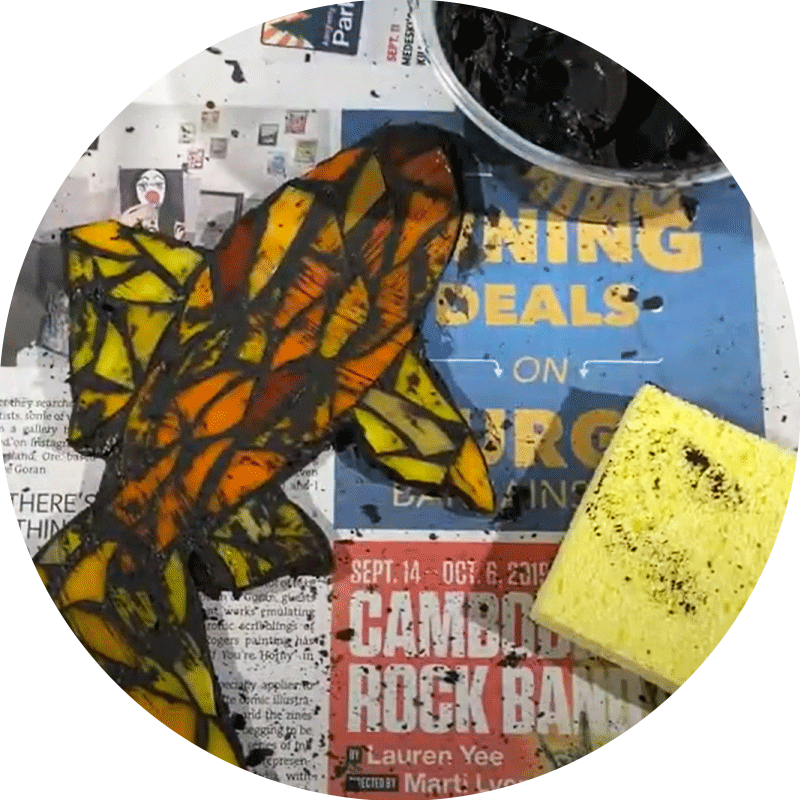
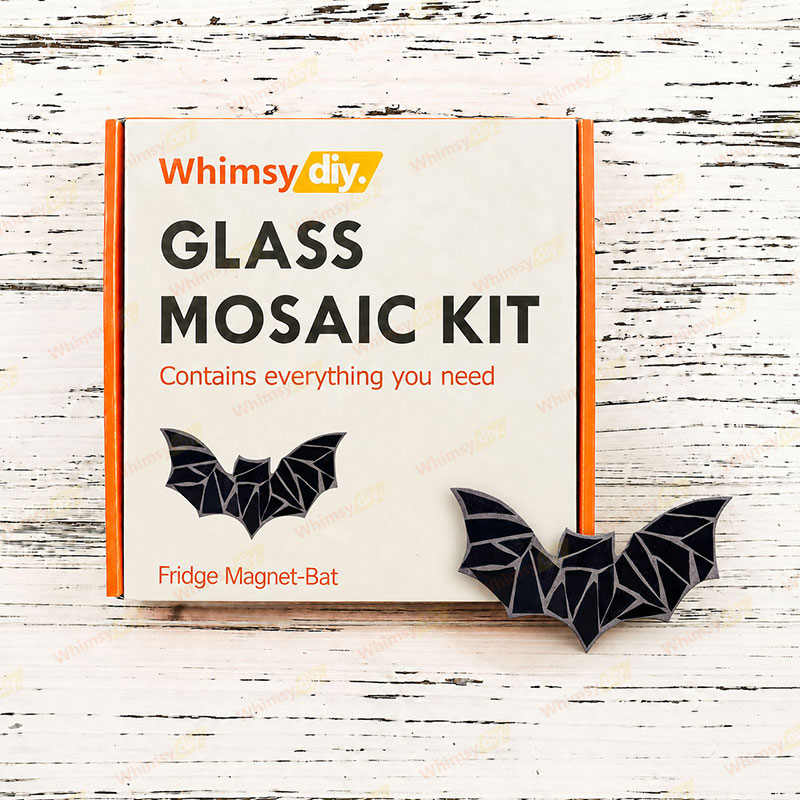
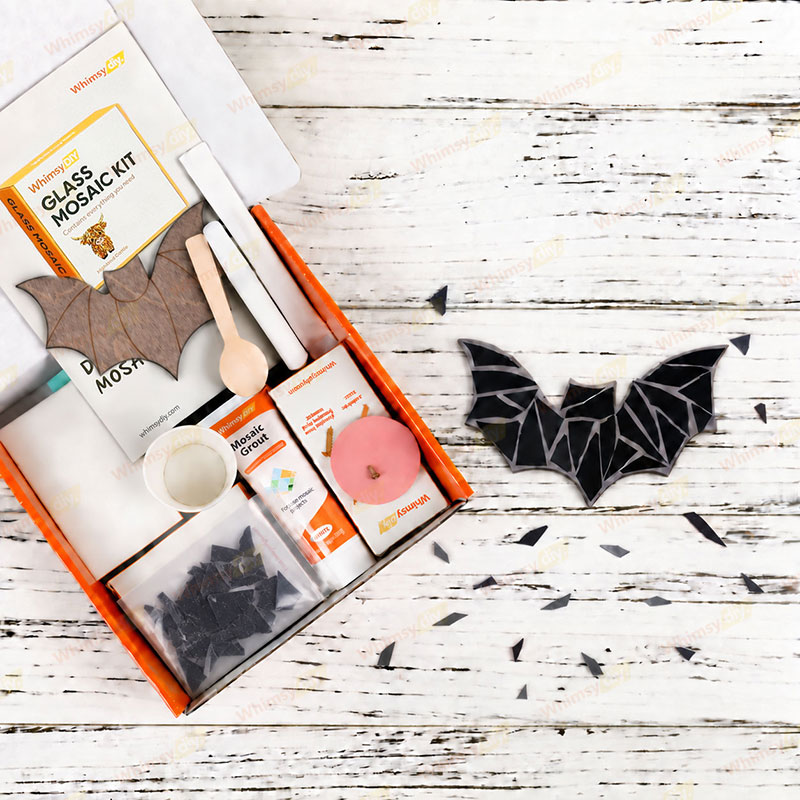
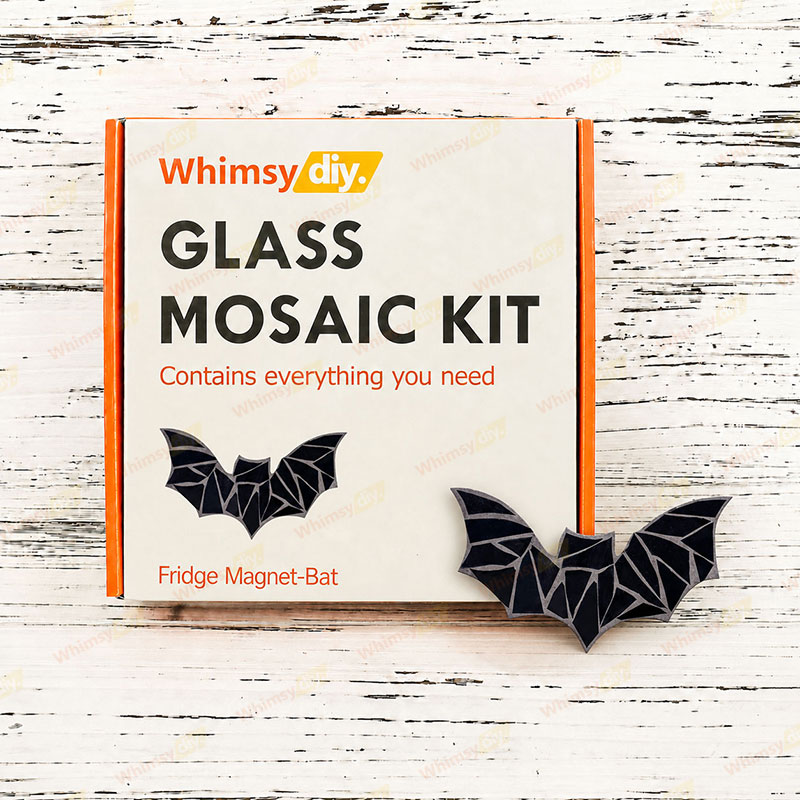
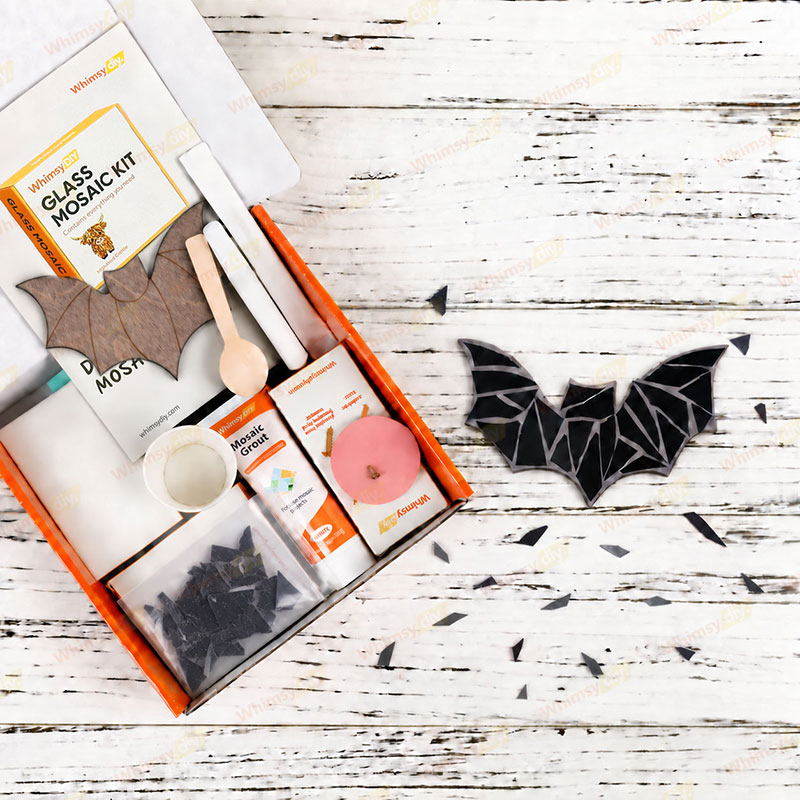
This Bat Glass Mosaic Fridge Magnet captures the spooky spirit of Halloween with a sleek and striking stained-glass-inspired design. Crafted in a bold black bat silhouette, the piece features angular mosaic-style segments that give it a dramatic, handcrafted look while keeping the overall design clean and eye-catching. The sharp wing shape and deep dark tones create a classic Halloween feel, making it a fun and stylish accent for seasonal decorating.Ideal for beginners and experienced mosaic craftsmen alike, this kit contains everything you need to make a stunning work of art.
Why choose us?
✅ FOR ALL SKILL LEVELS: Step-by-step instructions and video tutorials guide you every minute from mixing grout to final assembly.
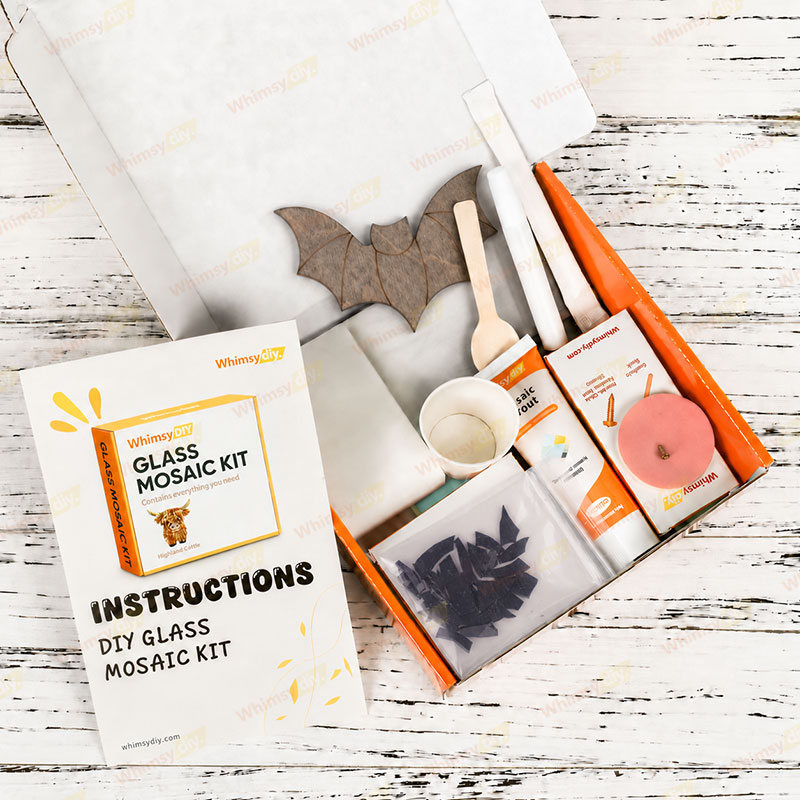
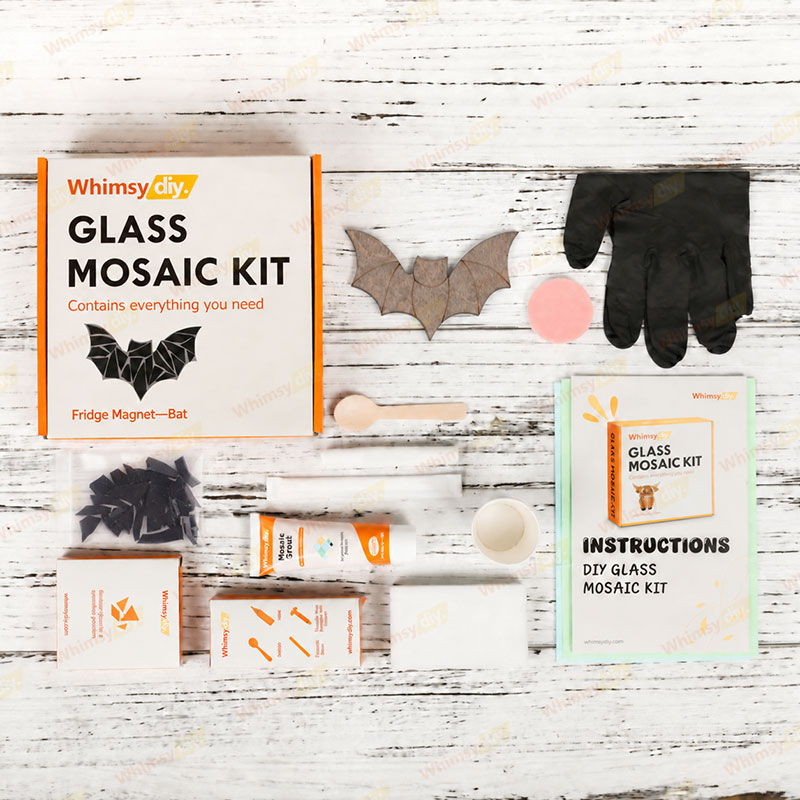
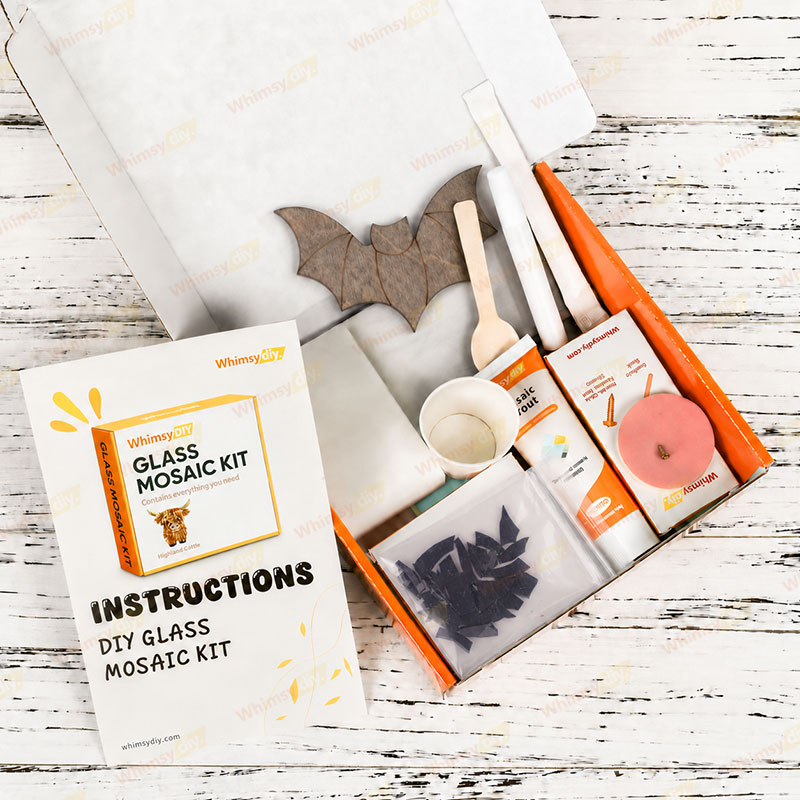
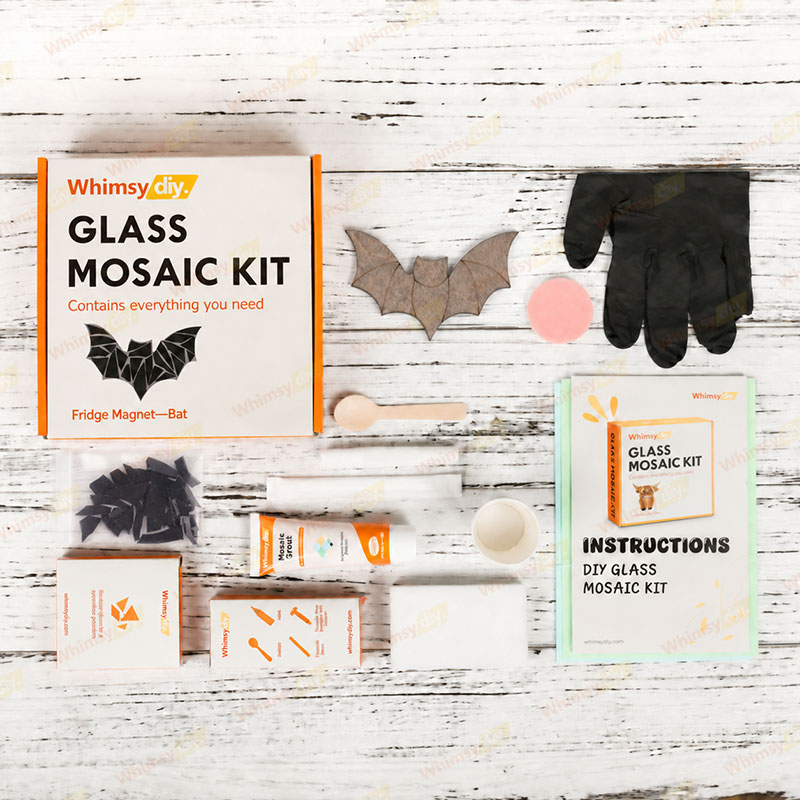
✅ EVERYTHING INCLUDED: illustrated step-by-step instructions, video tutorials, wooden backing board, crushed glass of specified pattern, grout, 1 bottle of glue, 2 sheets of work mat paper, latex-free gloves, mini spoon, wooden stick for mixing grout, foam sponge, abrasive sponge and back hook!
✅ TIMELESS DESIGN: Perfect for adding a little spooky charm to your kitchen, office, or any magnetic surface, this Bat Glass Mosaic Fridge Magnet is both decorative and playful. Its compact size makes it easy to mix with other Halloween magnets or display on its own as a standout piece. Ideal for Halloween lovers, bat enthusiasts, or anyone who enjoys unique handmade-style décor, this magnet also makes a charming little gift for the spooky season.
✅ GUARANTEED SUCCESS: Ensures professional results even for beginners.
When finished place your vibrant artwork in a sunny window, on a shelf, or as a holiday centerpiece.
Size
About 3.15 in (8 cm) .



.png?w=300&h=300)