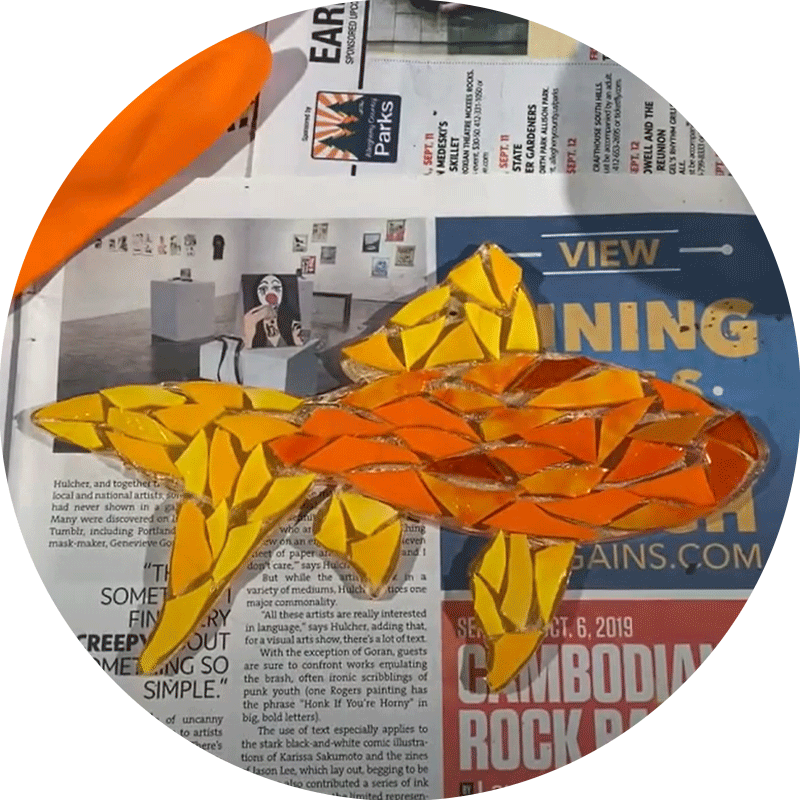
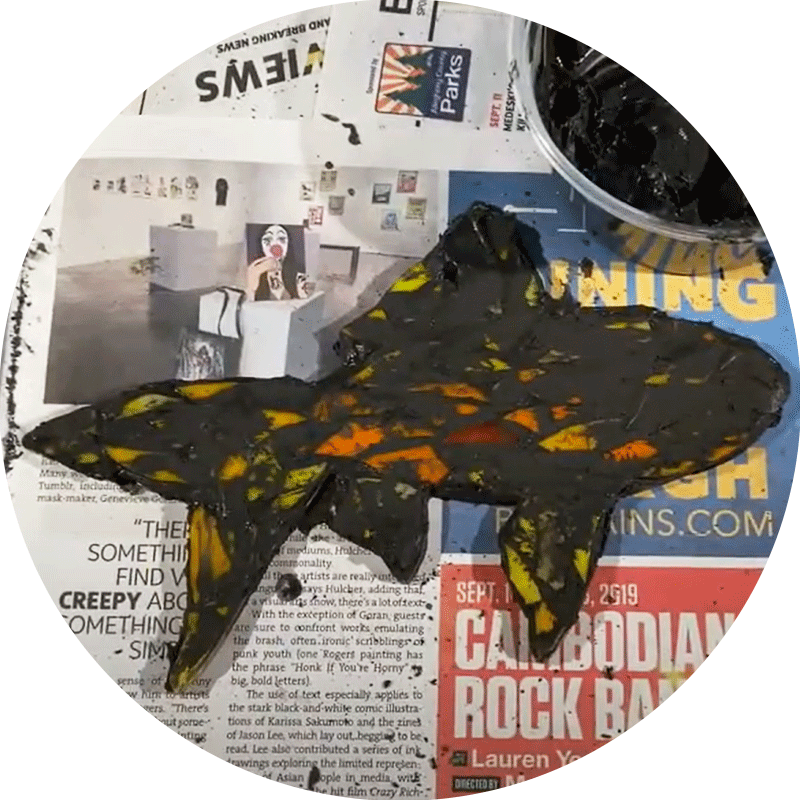
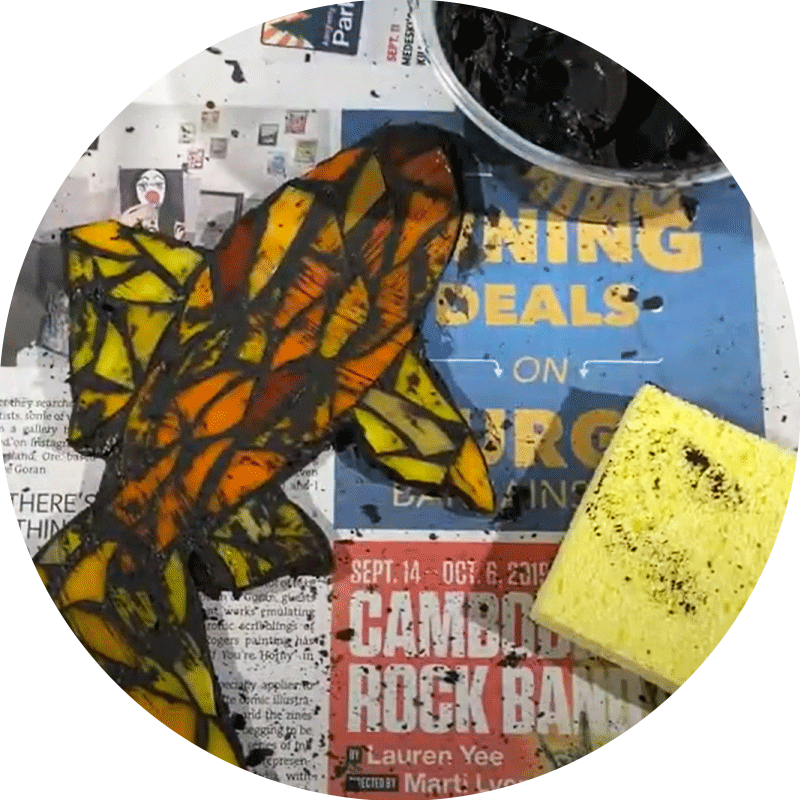
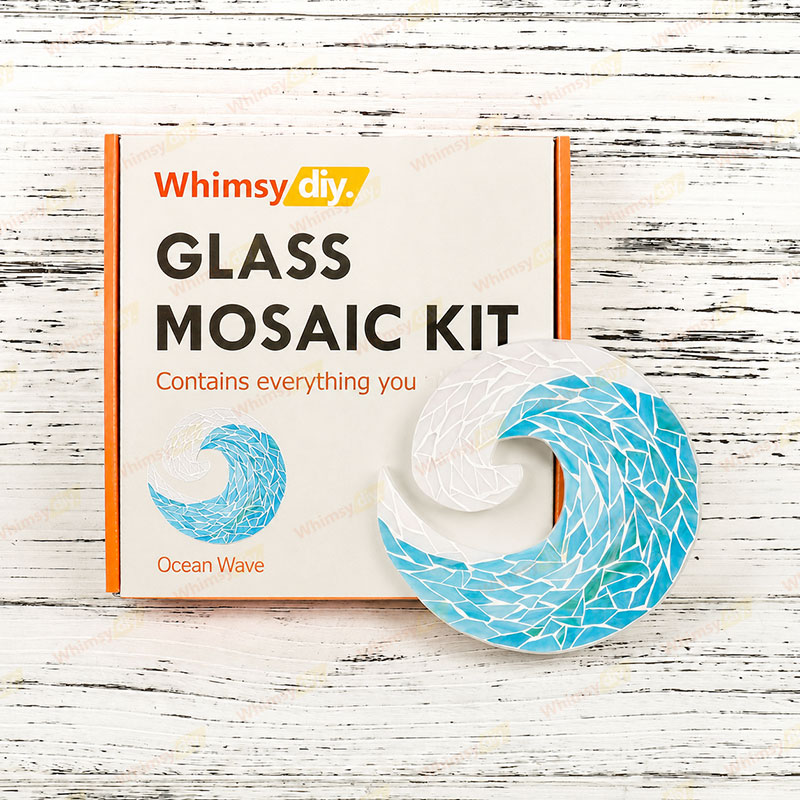
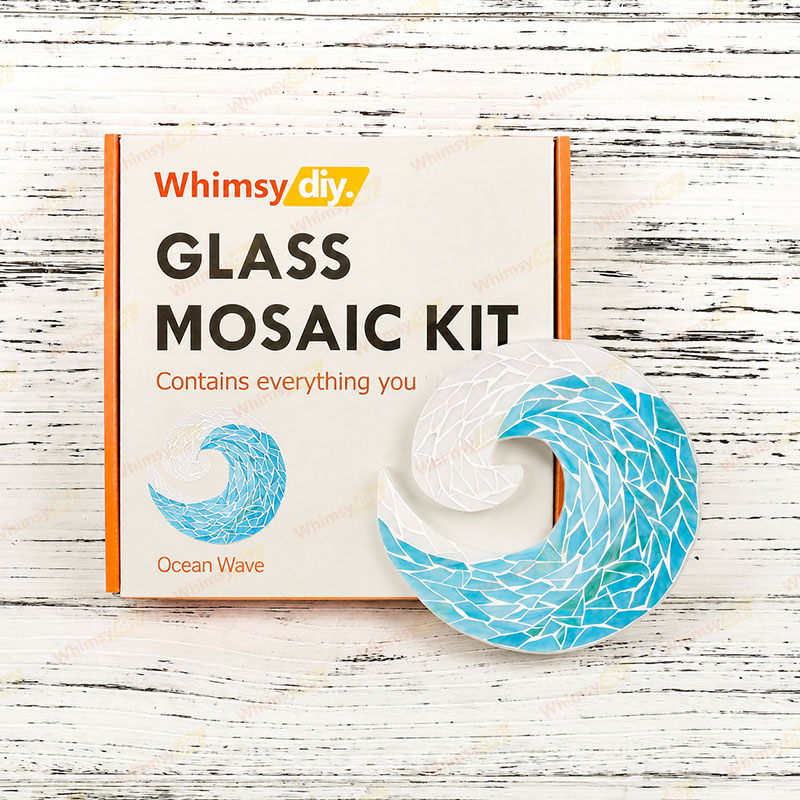
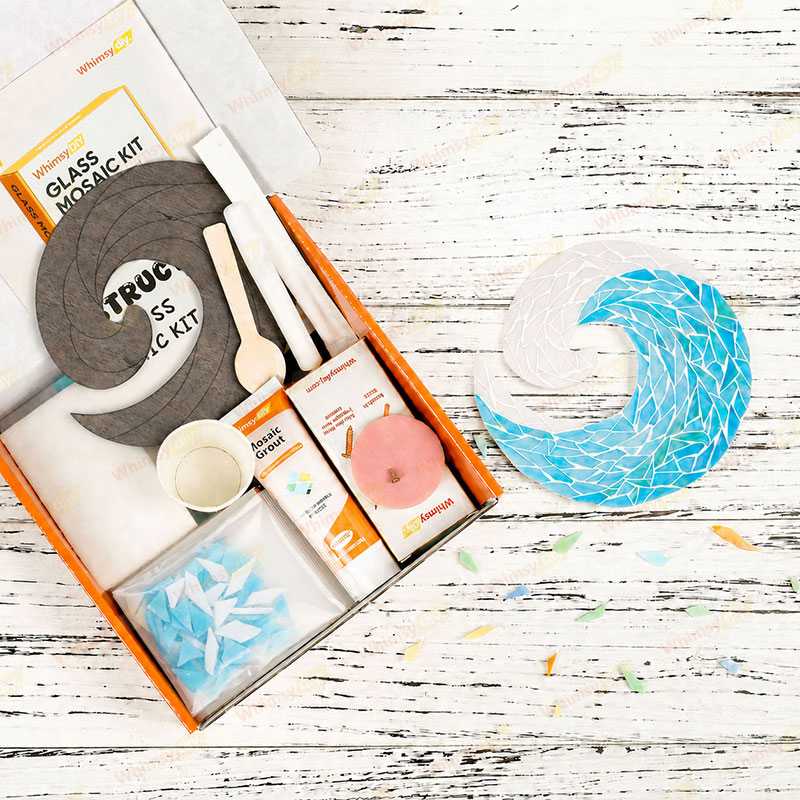
This ocean wave mosaic design brings the rhythm and beauty of the sea into a clean, modern stained-glass style. With its graceful curling shape and refreshing blend of white, aqua, and soft blue tones, the piece captures the feeling of moving water—calm, fluid, and endlessly captivating. Its simple yet striking composition makes it a beautiful accent for coastal décor, beach lovers, or anyone drawn to the peaceful energy of the ocean.Ideal for beginners and experienced mosaic craftsmen alike, this kit contains everything you need to make a stunning work of art.
Why choose us?
✅ FOR ALL SKILL LEVELS: Step-by-step instructions and video tutorials guide you every minute from mixing grout to final assembly.
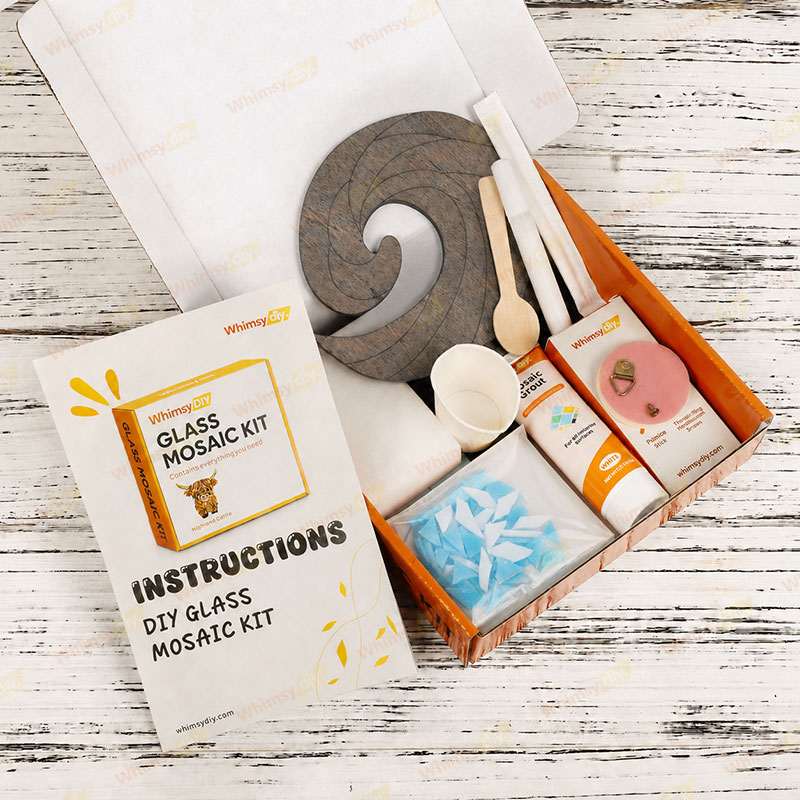
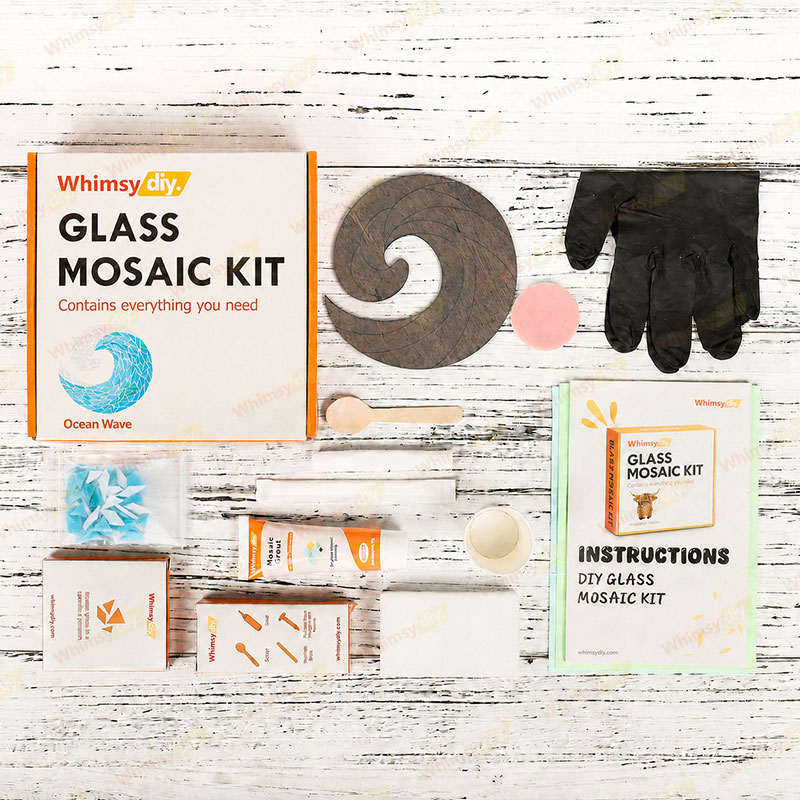
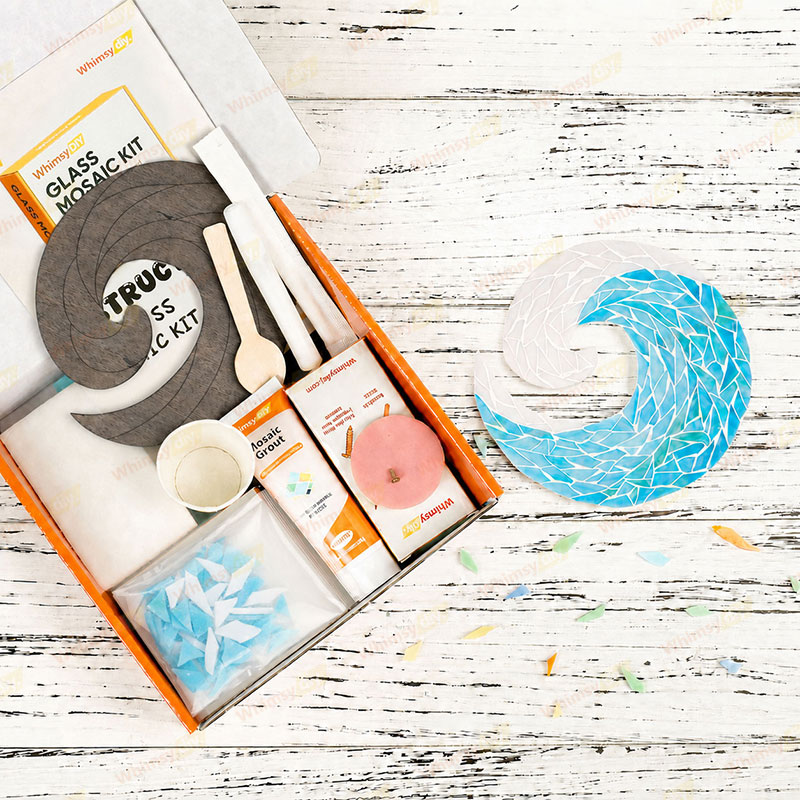
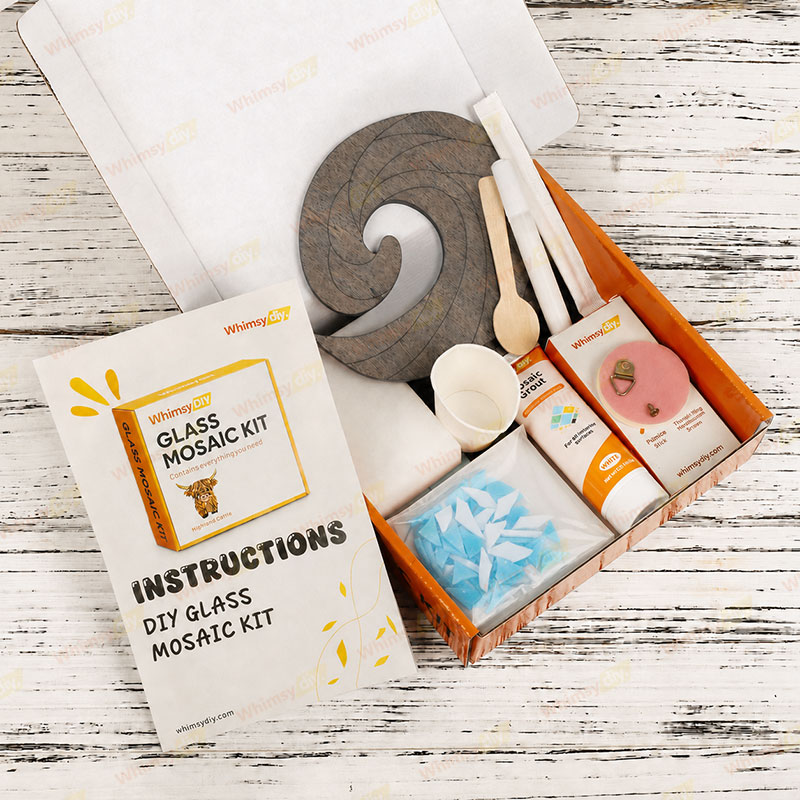
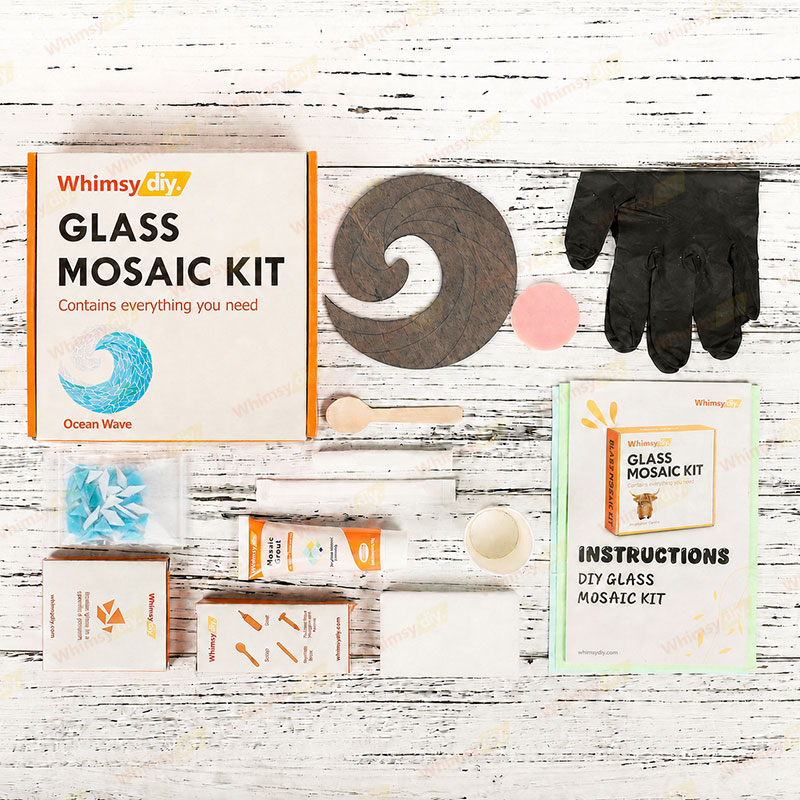
✅ EVERYTHING INCLUDED: illustrated step-by-step instructions, video tutorials, wooden backing board, crushed glass of specified pattern, grout, 1 bottle of glue, 2 sheets of work mat paper, latex-free gloves, mini spoon, wooden stick for mixing grout, foam sponge, abrasive sponge and back hook!
✅ TIMELESS DESIGN: Like a little piece of the shoreline frozen in motion, this design feels fresh, breezy, and full of life. It instantly brings to mind salty air, rolling tides, and that peaceful moment of standing by the water and letting everything else fade away. Whether displayed as a meaningful gift or a charming décor piece, it adds a soothing seaside touch that makes any space feel lighter, brighter, and more relaxed.
✅ GUARANTEED SUCCESS: Ensures professional results even for beginners.
When finished place your vibrant artwork in a sunny window, on a shelf, or as a holiday centerpiece.
Size
About 6.7 in (17 cm) .

.png?w=300&h=300)