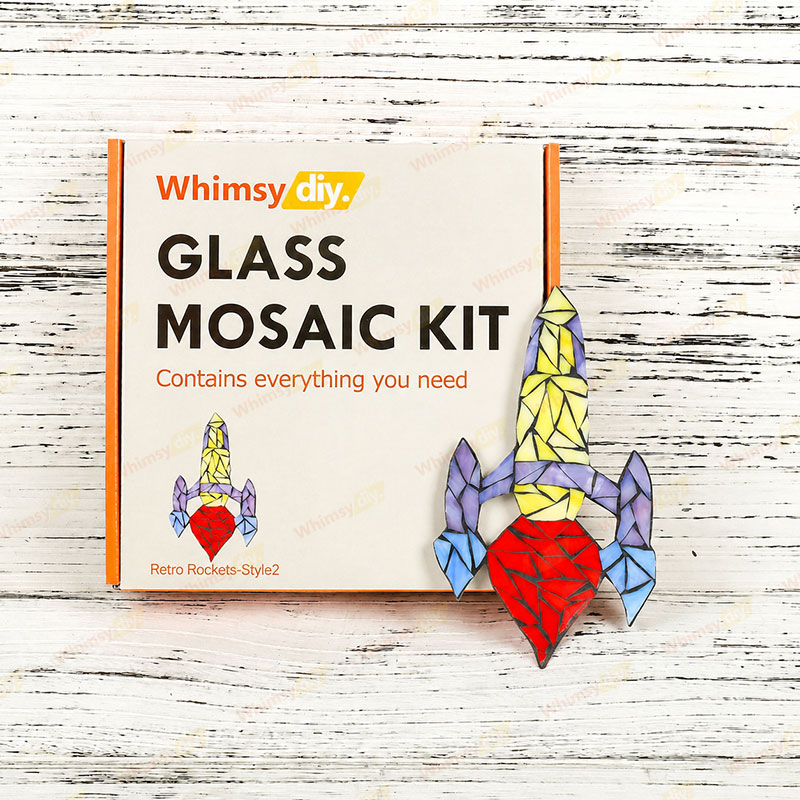
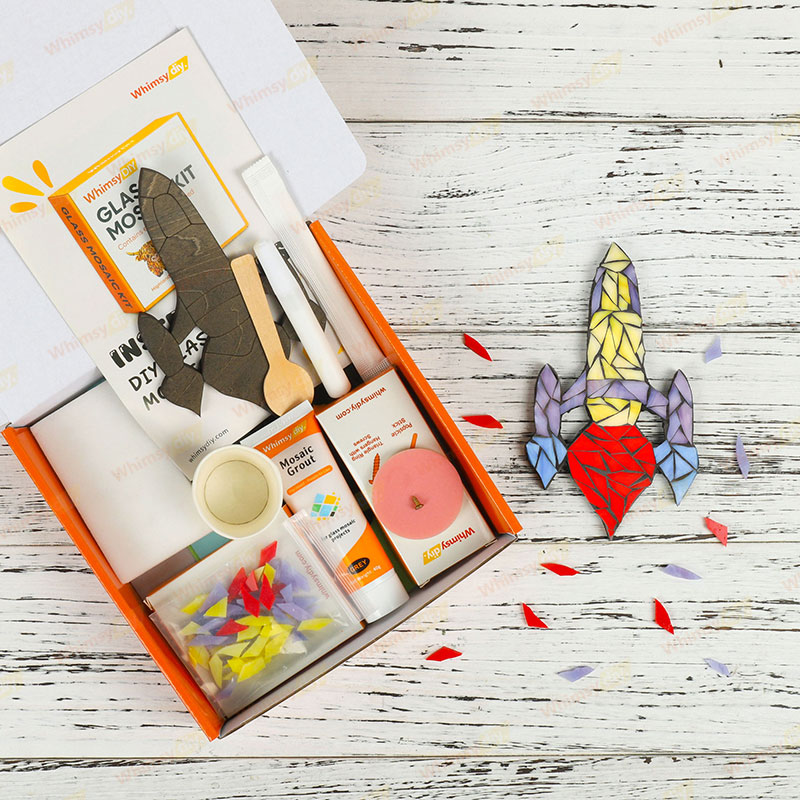
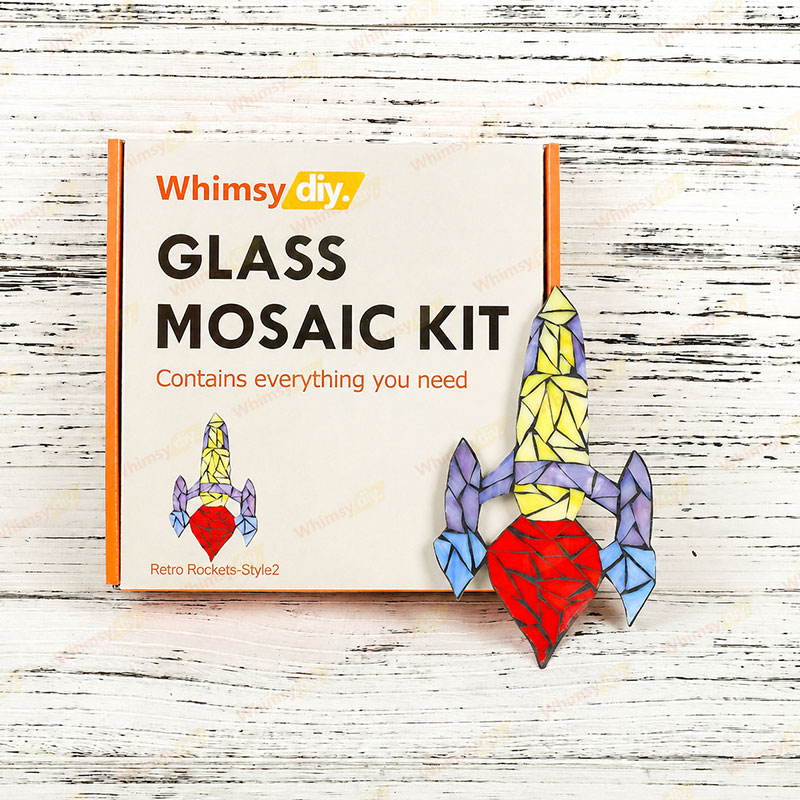
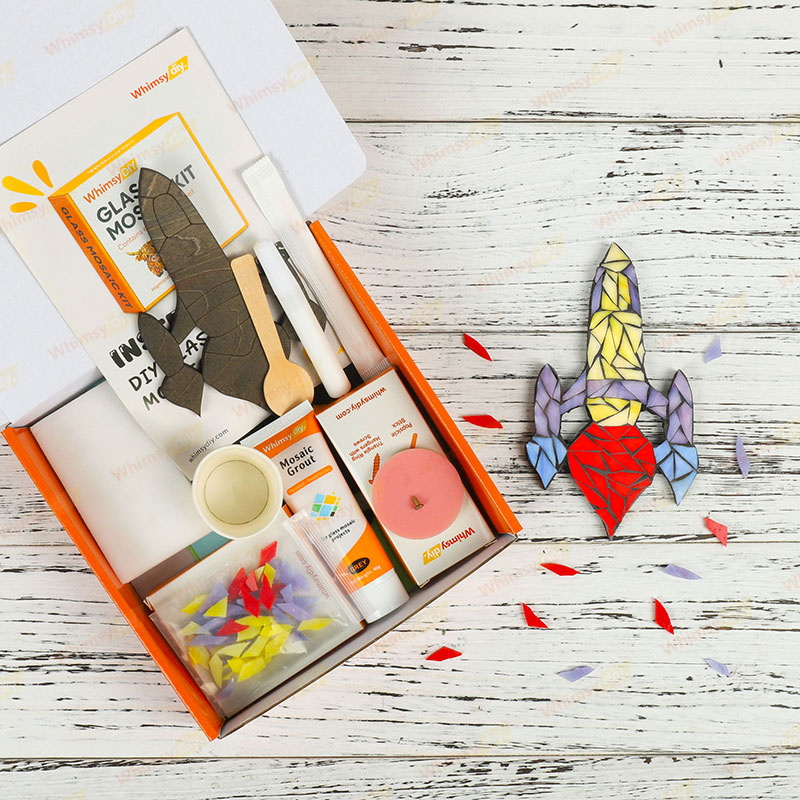
With its sleek retro silhouette, soft pastel tones, and bright red flame detail, this vintage rocket design feels playful, stylish, and full of charm. The gentle yellow body paired with lavender and sky-blue fins gives it a whimsical twist, while the bold red base adds just the right pop of energy. It’s a delightful piece that blends nostalgic space-age vibes with a lighthearted, eye-catching look, making it perfect for anyone who loves a little fun and imagination in their décor.Ideal for beginners and experienced mosaic craftsmen alike, this kit contains everything you need to make a stunning work of art.
Why choose us?
✅ FOR ALL SKILL LEVELS: Step-by-step instructions and video tutorials guide you every minute from mixing grout to final assembly.
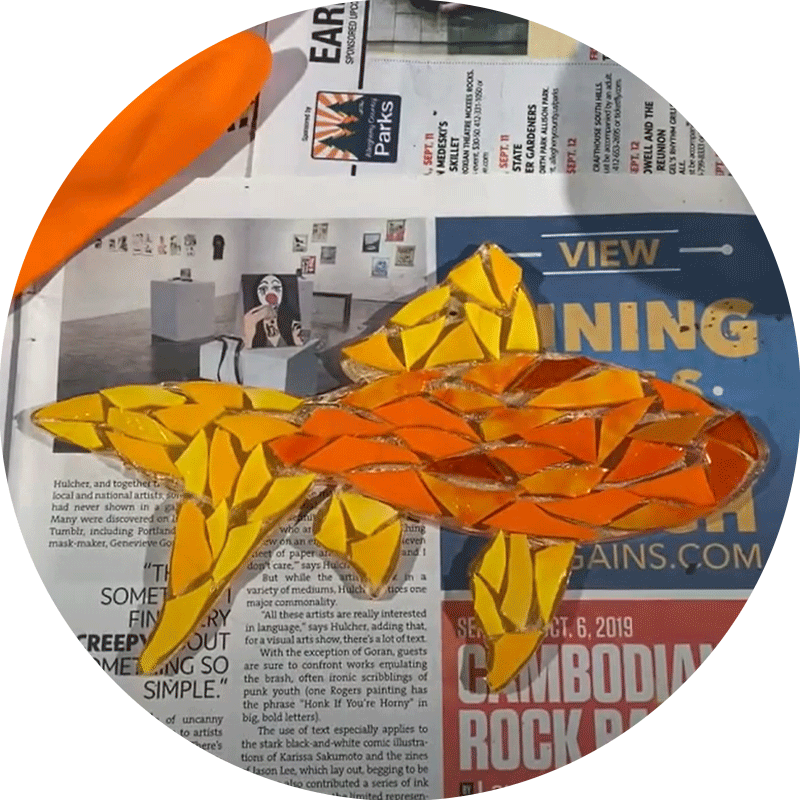
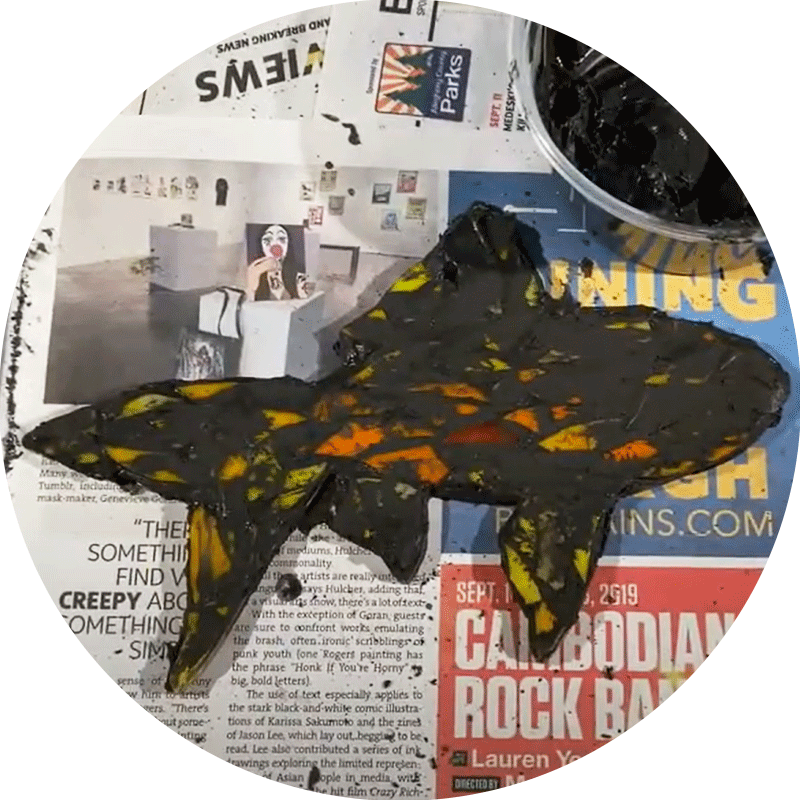
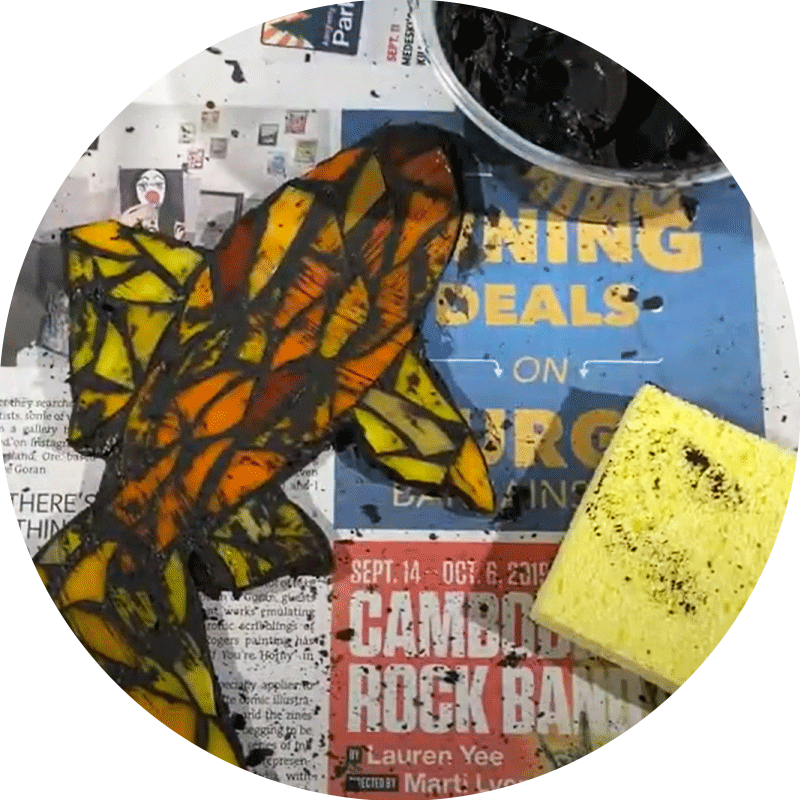
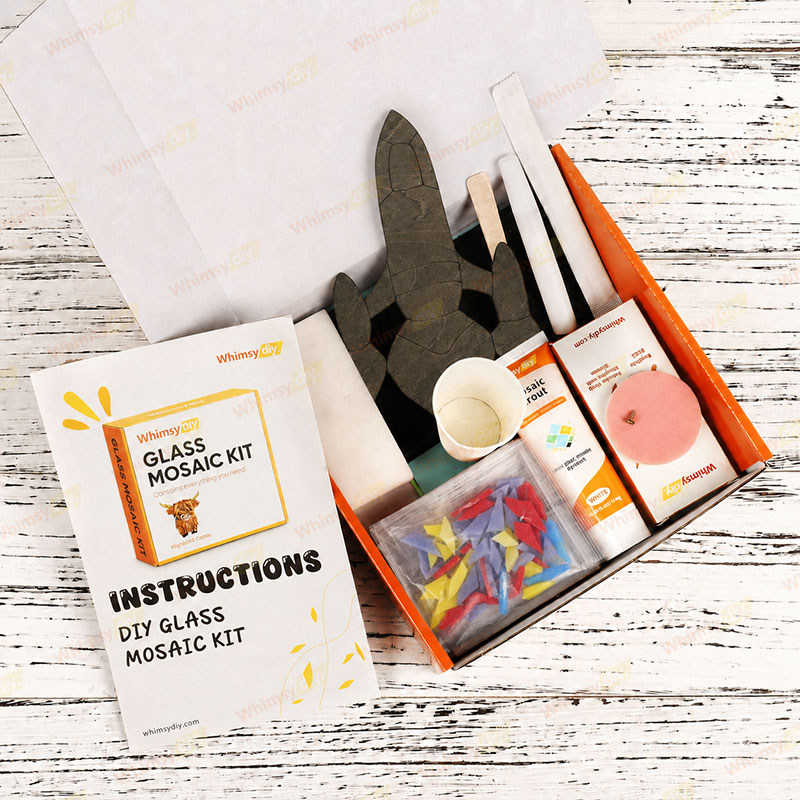
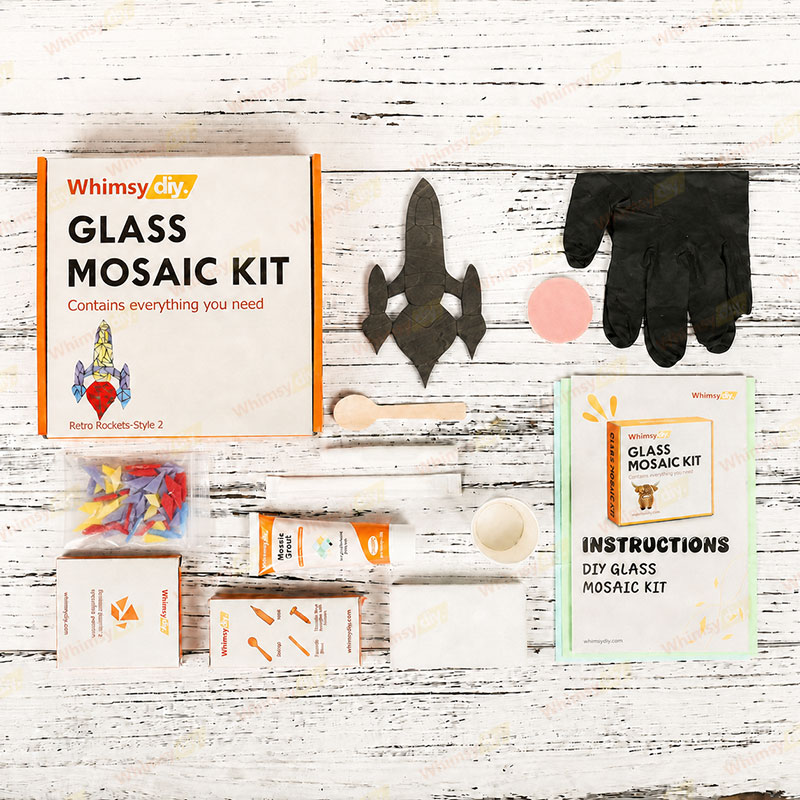
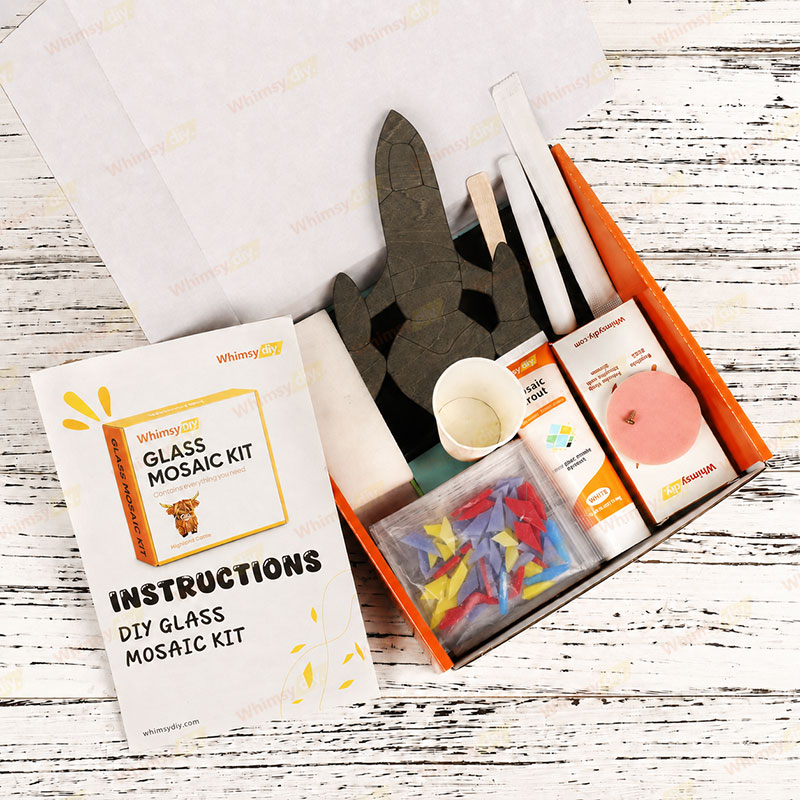
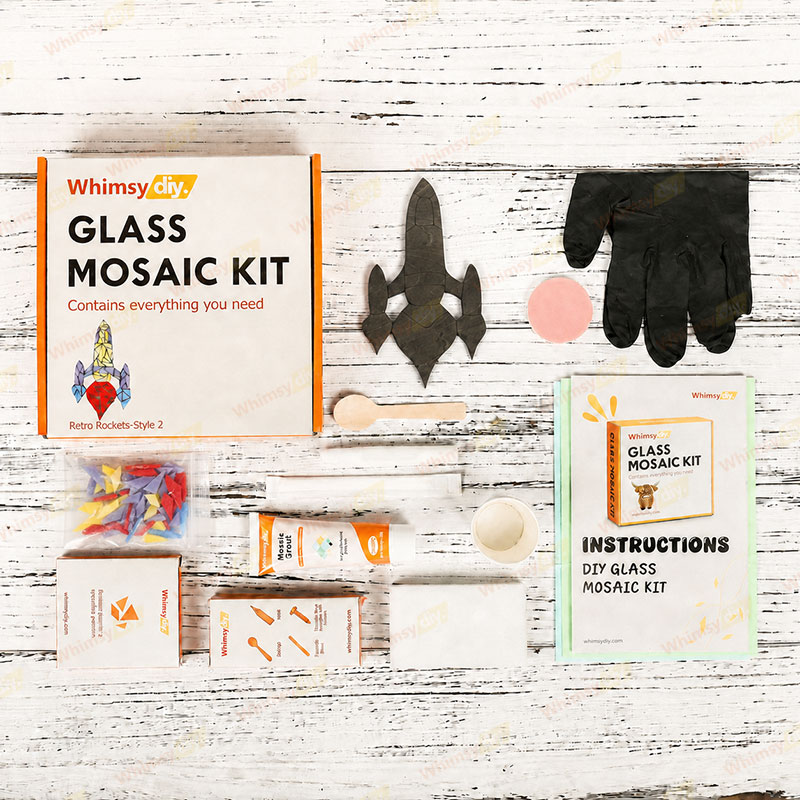
✅ EVERYTHING INCLUDED: illustrated step-by-step instructions, video tutorials, wooden backing board, crushed glass of specified pattern, grout, 1 bottle of glue, 2 sheets of work mat paper, latex-free gloves, mini spoon, wooden stick for mixing grout, foam sponge, abrasive sponge and back hook!
✅ TIMELESS DESIGN: This rocket doesn’t just sit still—it feels ready to blast off into a world of wonder. It captures that exciting spark of adventure, the kind that makes you dream a little bigger and smile a little wider. Cheerful, uplifting, and packed with personality, this design is a sweet reminder that every great journey begins with a little courage, a little curiosity, and a whole lot of imagination.
✅ GUARANTEED SUCCESS: Ensures professional results even for beginners.
When finished place your vibrant artwork in a sunny window, on a shelf, or as a holiday centerpiece.
Size
About 6.7 in (17 cm) .



.png?w=300&h=300)