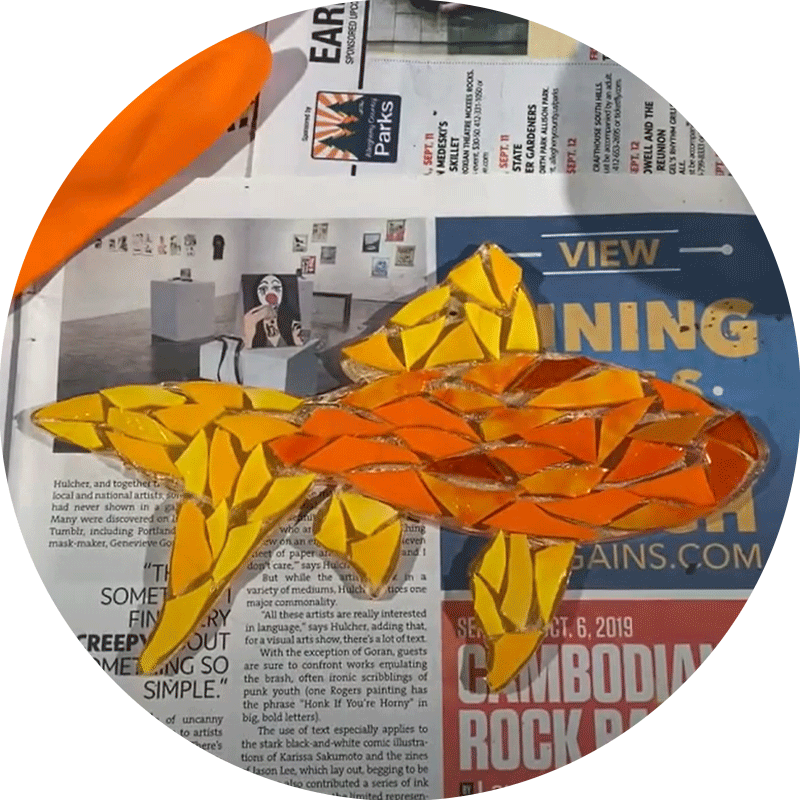
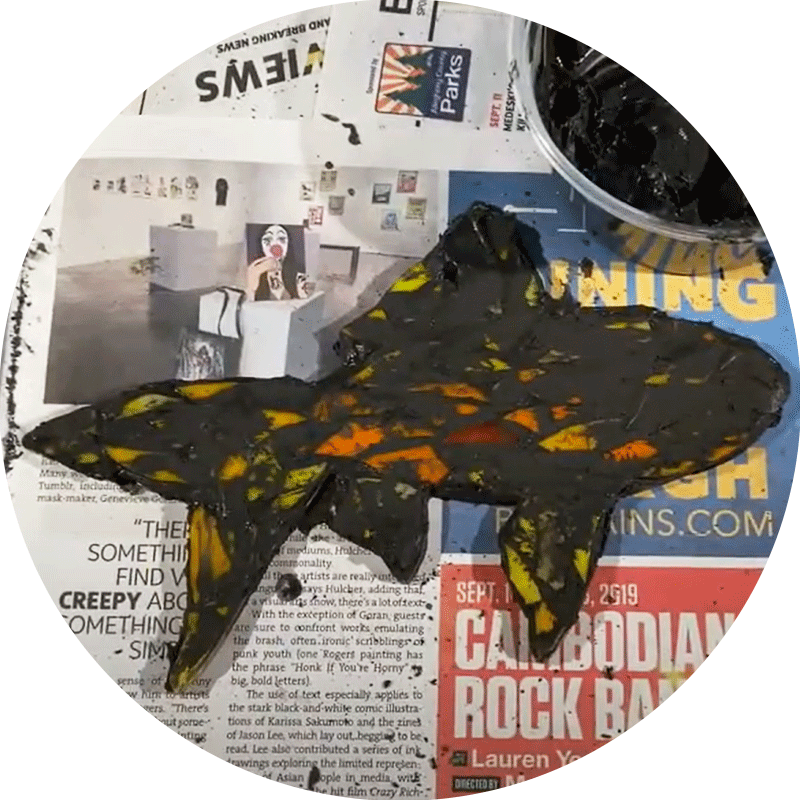
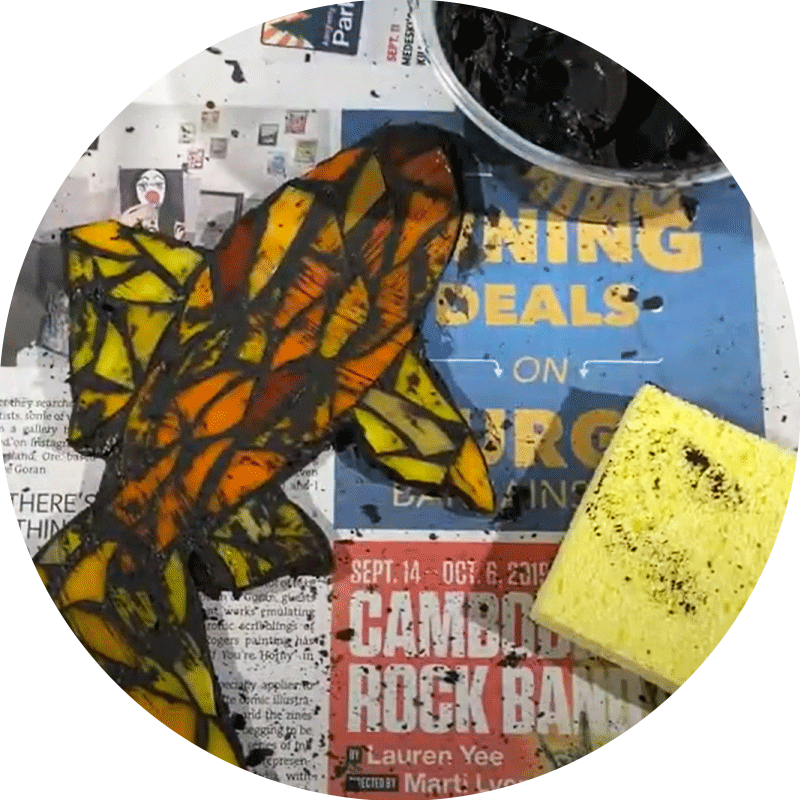
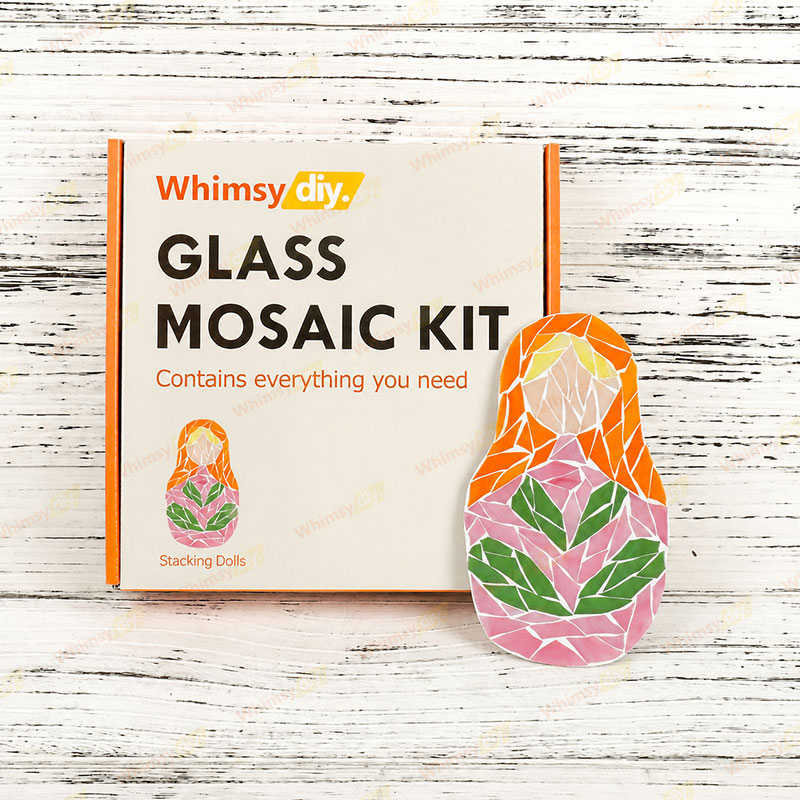
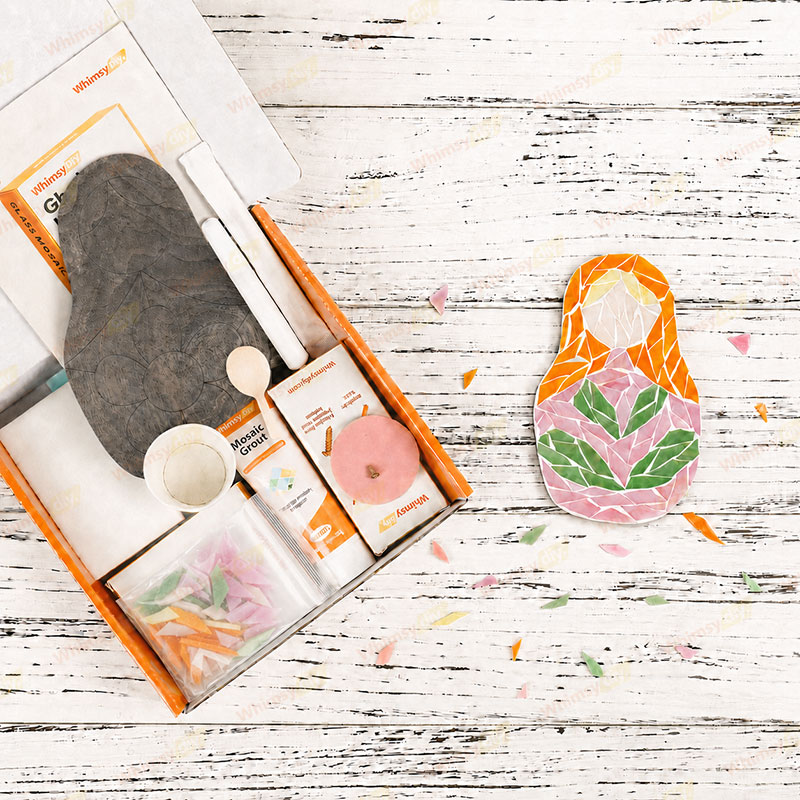
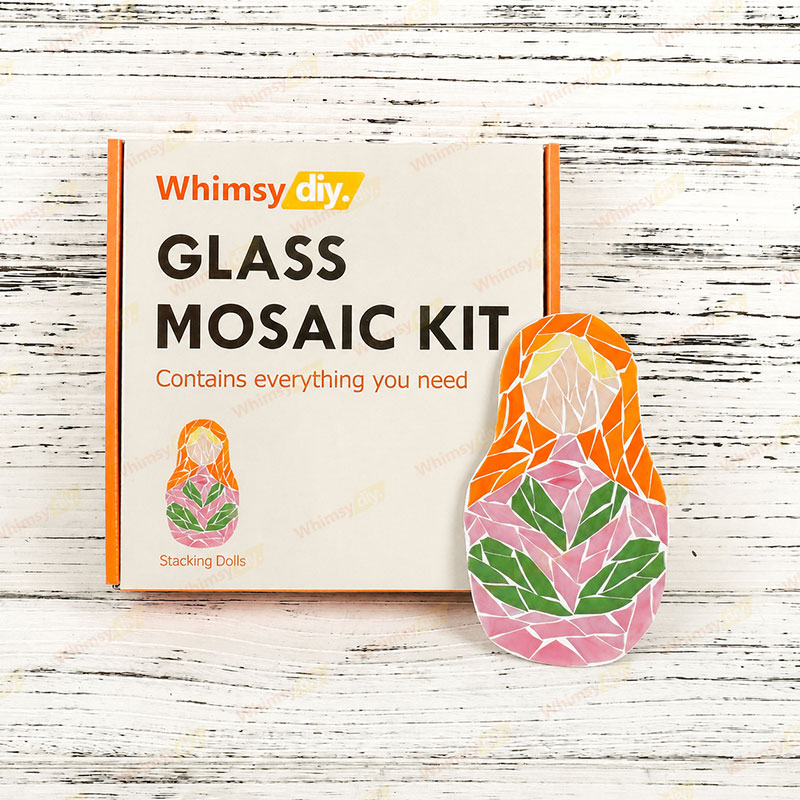
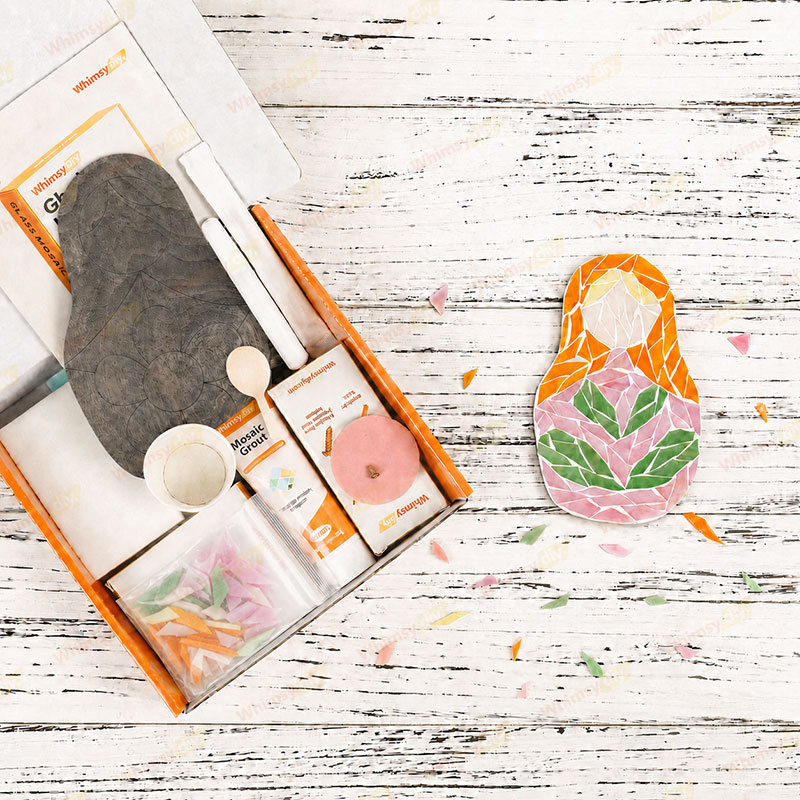
This Nesting Doll décor piece features a charming stained-glass-inspired design in soft pastel tones, with bright orange hair, a pink dress, and green leaf accents that create a fresh and playful look. Its rounded silhouette and mosaic-style pattern give it a handcrafted artistic feel, making it a lovely decorative accent for shelves, desks, nurseries, or cozy corners in the home. Lightweight yet eye-catching, it brings a sweet blend of whimsy, color, and folk-art charm to any space.Ideal for beginners and experienced mosaic craftsmen alike, this kit contains everything you need to make a stunning work of art.
Why choose us?
✅ FOR ALL SKILL LEVELS: Step-by-step instructions and video tutorials guide you every minute from mixing grout to final assembly.
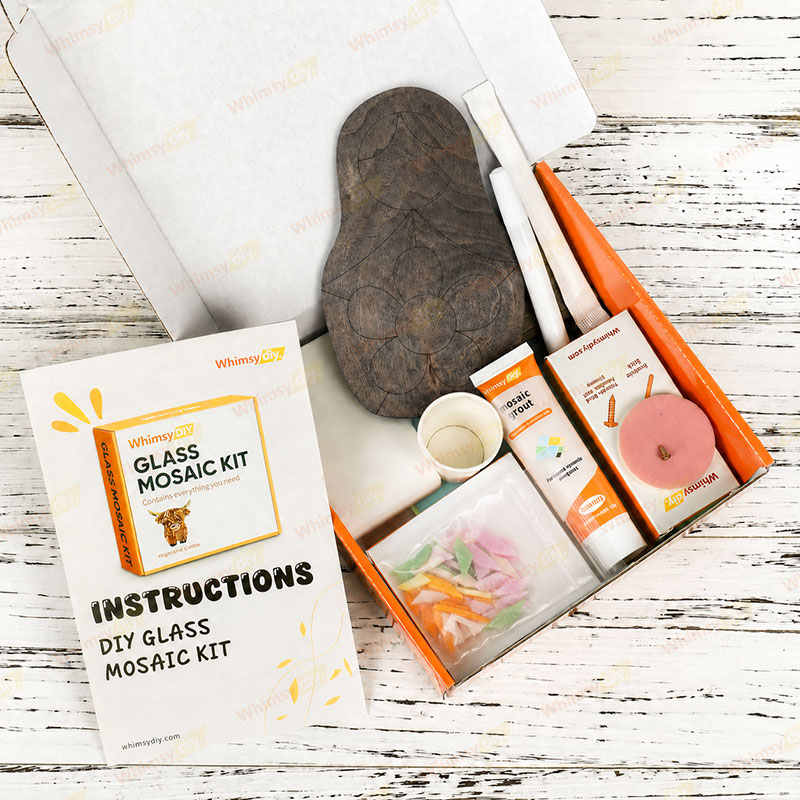
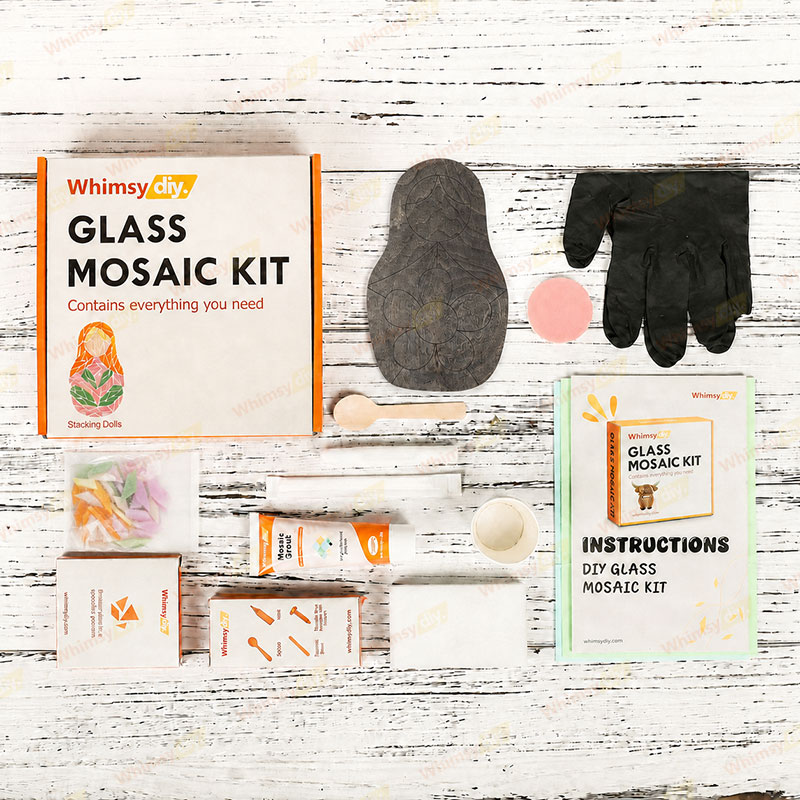
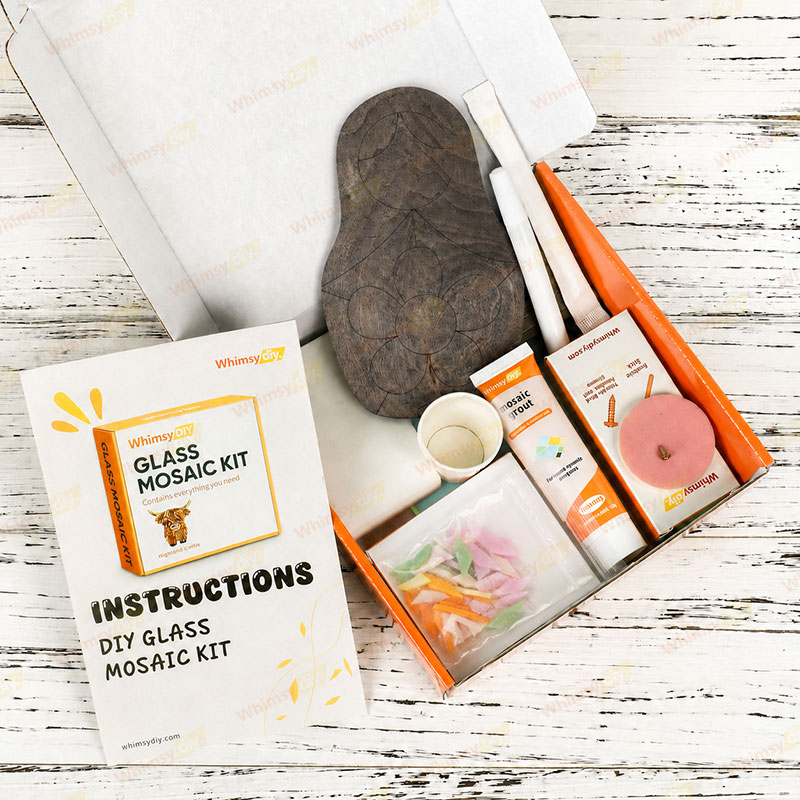
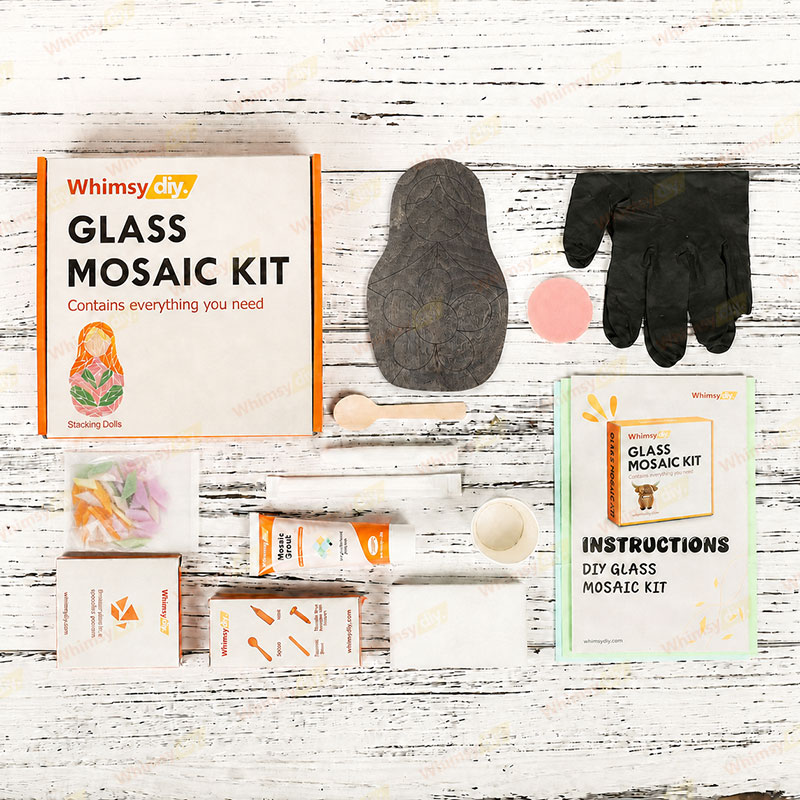
✅ EVERYTHING INCLUDED: illustrated step-by-step instructions, video tutorials, wooden backing board, crushed glass of specified pattern, grout, 1 bottle of glue, 2 sheets of work mat paper, latex-free gloves, mini spoon, wooden stick for mixing grout, foam sponge, abrasive sponge and back hook!
✅ TIMELESS DESIGN: It feels like a little storybook treasure—warm, cheerful, and full of personality. The bright hair and soft pink details make it instantly uplifting, while the nesting-doll shape adds a nostalgic charm that feels both cute and comforting. Whether you place it in a child’s room, add it to a spring display, or gift it to someone who loves playful décor, this piece brings a happy little pop of color that’s hard not to smile at.
✅ GUARANTEED SUCCESS: Ensures professional results even for beginners.
When finished place your vibrant artwork in a sunny window, on a shelf, or as a holiday centerpiece.
Size
About 5.9 in (15 cm) .

.png?w=300&h=300)