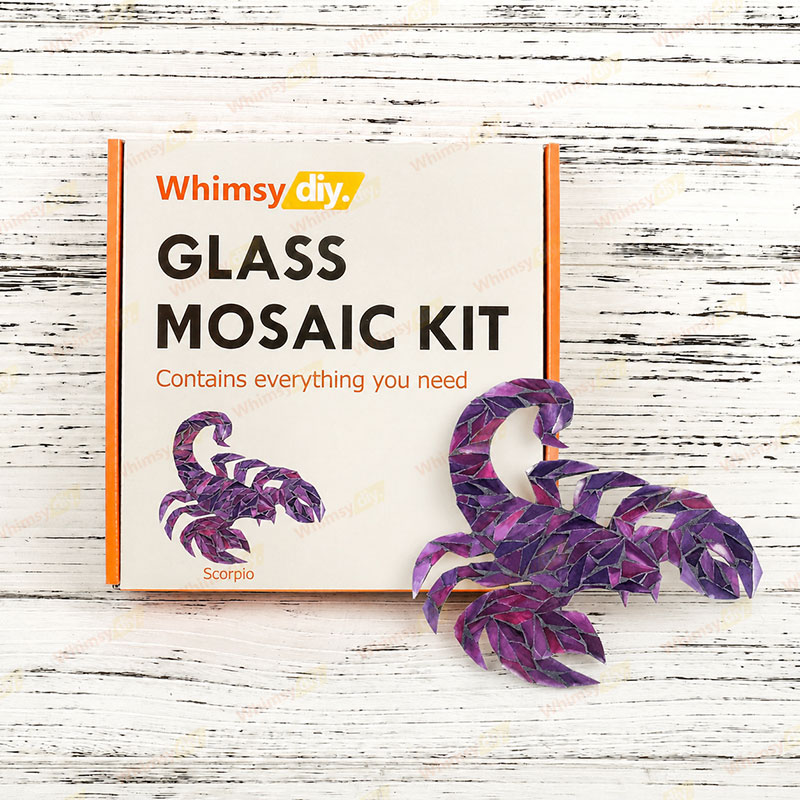
This Scorpio zodiac mosaic design captures the bold, magnetic energy of the Scorpion in a dramatic stained-glass-inspired style. Rendered in rich shades of deep purple and plum, the design reflects Scorpio’s mystery, intensity, strength, and emotional depth. The sharp silhouette and layered mosaic texture give the piece a striking presence, making it a meaningful decorative accent for astrology lovers, zodiac collectors, or anyone who feels connected to Scorpio’s fearless and passionate spirit.Ideal for beginners and experienced mosaic craftsmen alike, this kit contains everything you need to make a stunning work of art.
Why choose us?
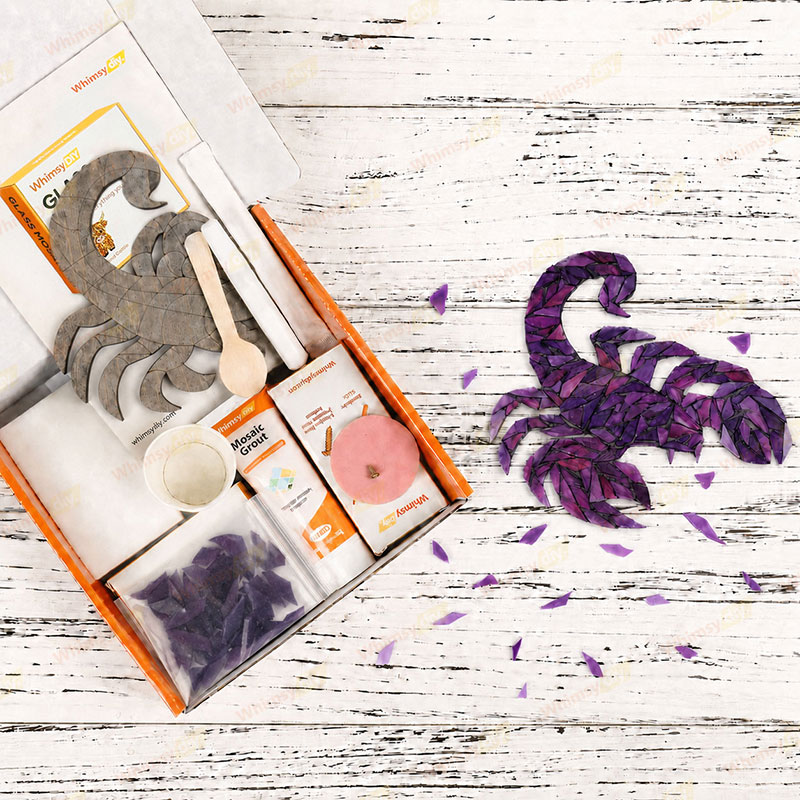
✅ FOR ALL SKILL LEVELS: Step-by-step instructions and video tutorials guide you every minute from mixing grout to final assembly.
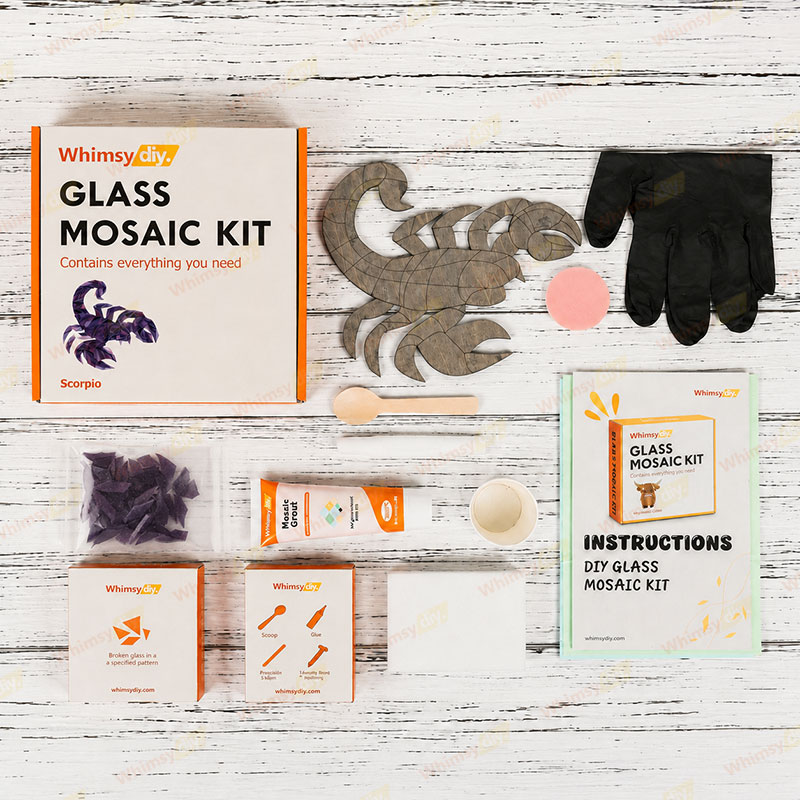
✅ EVERYTHING INCLUDED: illustrated step-by-step instructions, video tutorials, wooden backing board, crushed glass of specified pattern, grout, 1 bottle of glue, 2 sheets of work mat paper, latex-free gloves, mini spoon, wooden stick for mixing grout, foam sponge, abrasive sponge and back hook!
✅ TIMELESS DESIGN: There’s something undeniably powerful about this piece—it doesn’t just sit quietly in a space, it makes an impression. The dark purple tones give it a moody, enchanting feel, while the strong scorpion form adds a sense of confidence and edge. Whether displayed as a personal zodiac symbol or gifted to a Scorpio, it brings a touch of mystery, personality, and bold celestial charm to any room.
✅ GUARANTEED SUCCESS: Ensures professional results even for beginners.
When finished place your vibrant artwork in a sunny window, on a shelf, or as a holiday centerpiece.
Size
About 6.7 in (17 cm) .


.png?w=300&h=300)