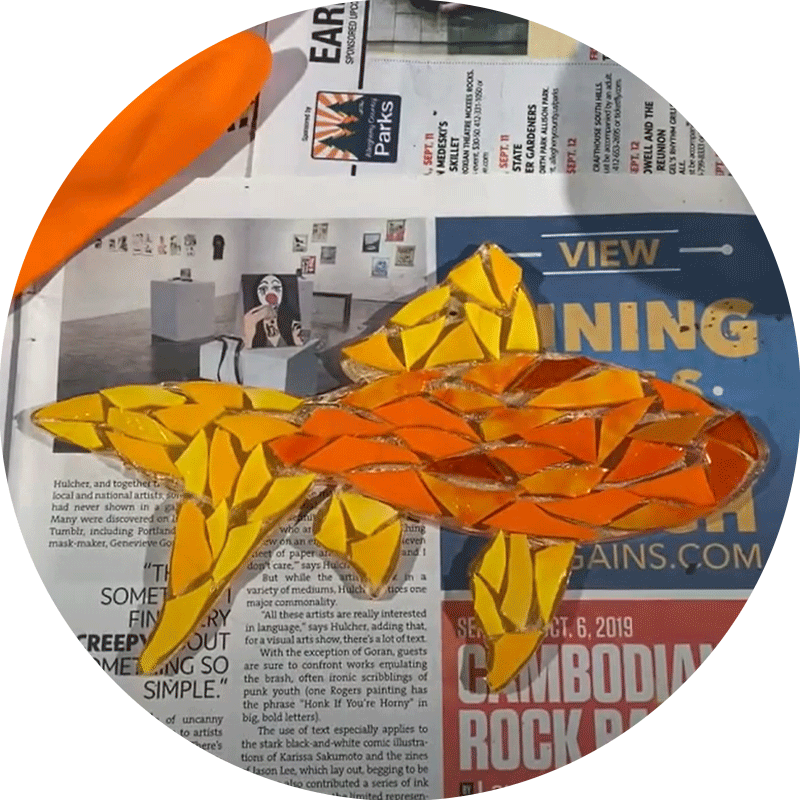
This Virgo mosaic design presents a calm, thoughtful profile framed by flowing amber and ivory stained-glass pieces that create a warm, earthy elegance. The side silhouette gives it a graceful, almost celestial presence, while the layered glass-like texture adds depth and artistry to the piece. Refined yet eye-catching, it beautifully captures the quiet intelligence, poise, and grounded beauty often associated with Virgo energy.Ideal for beginners and experienced mosaic craftsmen alike, this kit contains everything you need to make a stunning work of art.
Why choose us?
✅ FOR ALL SKILL LEVELS: Step-by-step instructions and video tutorials guide you every minute from mixing grout to final assembly.
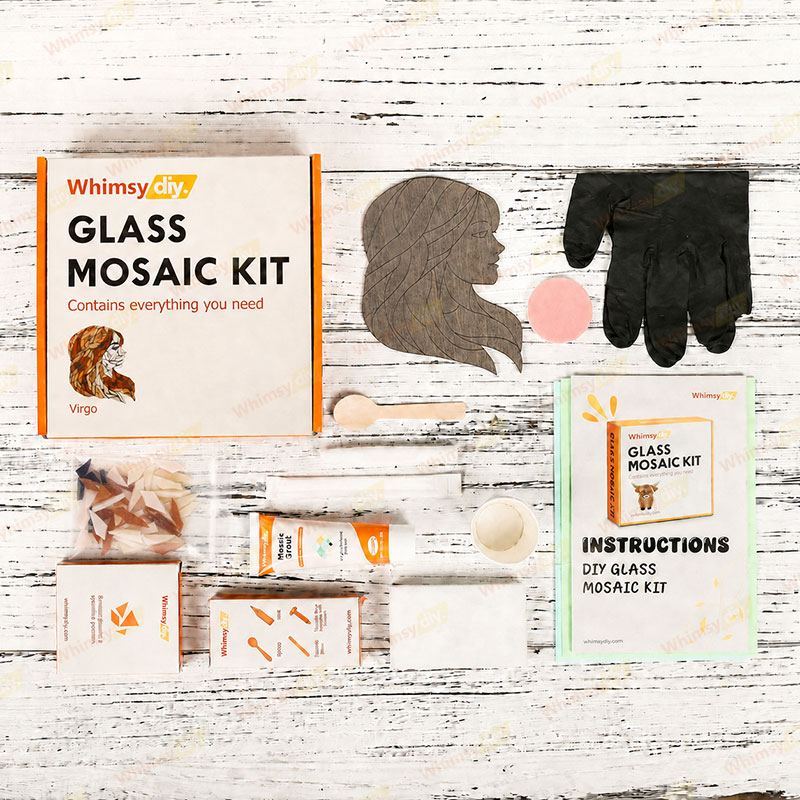
✅ EVERYTHING INCLUDED: illustrated step-by-step instructions, video tutorials, wooden backing board, crushed glass of specified pattern, grout, 1 bottle of glue, 2 sheets of work mat paper, latex-free gloves, mini spoon, wooden stick for mixing grout, foam sponge, abrasive sponge and back hook!
✅ TIMELESS DESIGN: Full of symbolic meaning, this piece feels like a tribute to the Virgo spirit—practical, observant, gentle, and deeply sincere. It’s the kind of décor that instantly sparks curiosity, whether displayed in a personal space, gifted to a Virgo friend, or added to a zodiac-themed collection. With its rich tones and artistic charm, it brings a lovely mix of personality, mystery, and star-sign magic into any room.
✅ GUARANTEED SUCCESS: Ensures professional results even for beginners.
When finished place your vibrant artwork in a sunny window, on a shelf, or as a holiday centerpiece.
Size
About 6.7 in (17 cm) .


.png?w=300&h=300)